-
Red List spells DANGER…

Some ancient crafts and skills are in grave danger of disappearing!
Heritage organizations warn of rapid technological changes threatening traditional vocational trades. We’ve all noticed the creep of AI generated images, with patterns that bear no resemblance.
To combat this a Red List of Endangered Crafts managed by the national charity Heritage Crafts, tracks traditional skills at risk of disappearing within a generation.
But help is at hand with a surge in grassroots interest from younger generations into things like cottage core. Social Media Exposure on platforms like TikTok have unexpectedly saved fading techniques like bobbin lace making. Communities like the London Lace Club are thriving with young hobbyists seeking digital detoxes and hands-on making.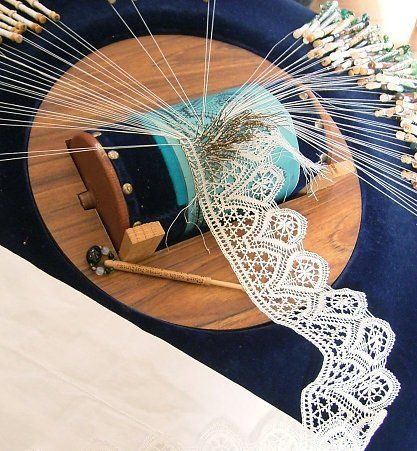
And it’s not just online. Aunty Social Arts Centre, near to me in Blackpool, are running monthly workshops in Red List crafts. On the first Saturday of each month, a different craft is highlighted and needless to say yours truly is booked on!
The first one I’m attending is on Spinning and Nalbinding. I can already use a drop spindle but it is the Nalbinding I’m really keen to learn. Nålbinding is an ancient textile technique that involves creating fabric by looping short lengths of yarn using a single, large, blunt needle. It predates both knitting and crochet and was used by the Egyptians and Vikings.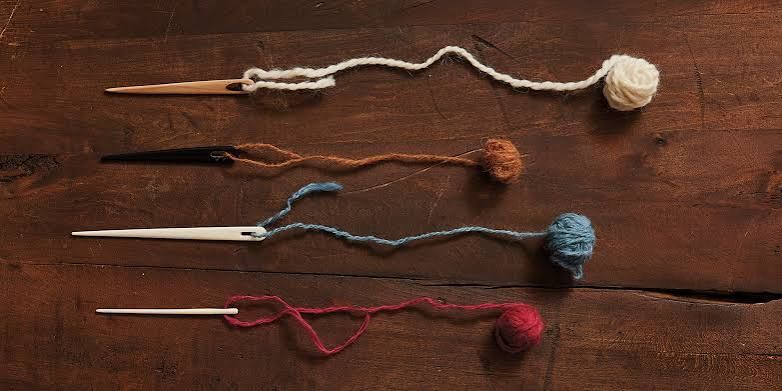
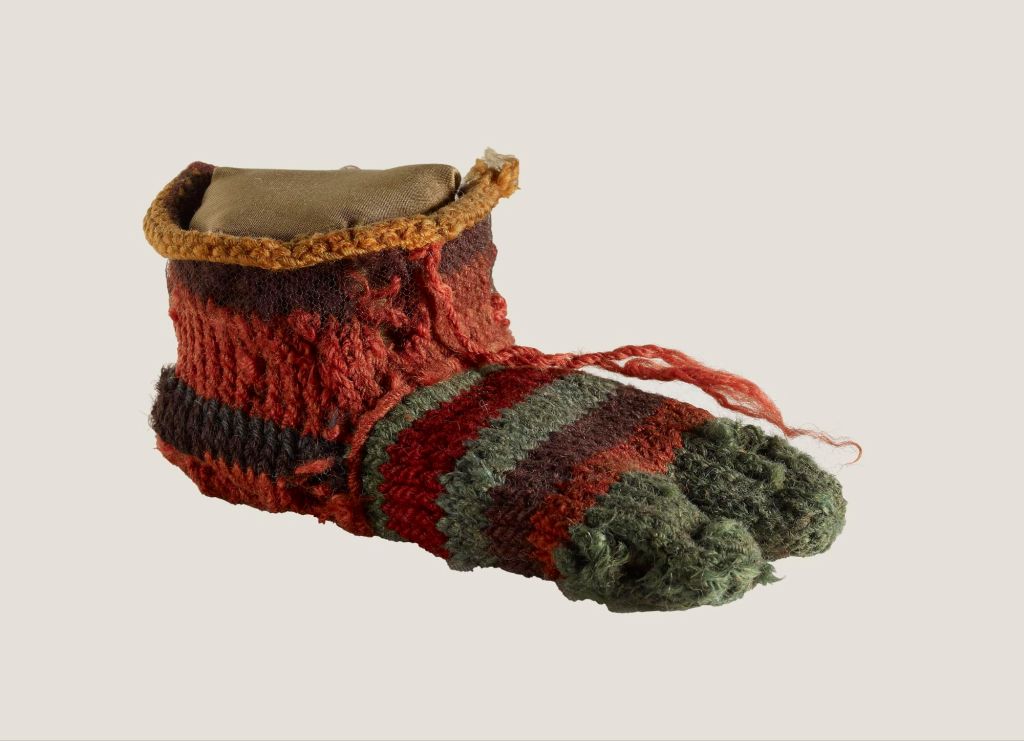
In fact the oldest surviving piece of yarn craft are the Coptic Socks, found in Egypt and believed to be over 2000 years old.
I’ve tried to teach myself from videos and never got the hang of it, so I’m really looking forward to it. Other workshops in the series include wet felting, lace making, weaving and natural dyeing.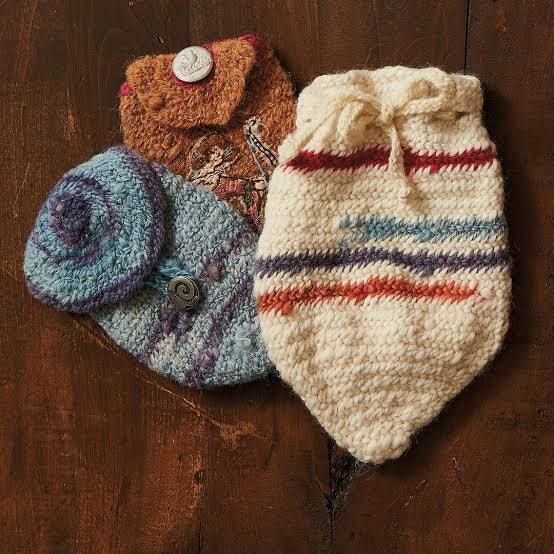
If you are interested, go to their website, Aunty Social, to book. Oh, and if you book for two, one of you goes free! -
Crafting for good
Use your hands to do good! You can knit, sew, or crochet items to donate directly to UK causes. Do you have little projects that you make in between bigger ones? Often I have blanket squares or small toys that break up the bigger projects but what to do with them afterwards? If you do, then think about donating them to a charity.
Local hospitals often take blankets and small knitted or crocheted items for preemies and still births. If you make blankets squares then it’s worth asking if they would take them to make bigger blankets for adults and elderly patients. My local hospital has ‘ blanket fairies ‘ who just make up blankets from donated squares. Little hearts are popular, given our in pairs, one for the patient and one for the family to form a connection between them. Hats and scarves are great to help keep the homeless warm.
If you would prefer to donate your work to people in crisis around the world them look for a charity dealing with refugees or children affected by conflict.
Or maybe you have a connection to a particular medical condition, a family member who suffered from dementia or breast cancer, or had a stoma, and you would like to help others suffering with the same condition.
Here are a few suggestions to help get you crafting for good.
Babies and Children
• Octopus for a Preemie: Crocheted octopuses are very popular. Their curly tentacles remind babies of the umbilical cord. This comforts them in the neonatal unit.
• Bonnie Babies: Knit or sew premature baby clothes, blankets, and burial clothes.
• Pyjama Fairies: Sew custom, wrap-around pyjamas and surgical gowns for children. They make hospital stays less scary. Hospitals and Patients
• Local NHS Trusts: Many regional hospital hubs accept volunteer-made twiddle muffs, tray mats, and baby memory box items
• Mastectomy Pillows: Sew heart-shaped pillows for men and women after breast surgery. They fit comfortably under the arm to protect tender areas.
• Twiddle Mitts: Knit or crochet thick muffs with buttons and ribbons sewn on them. These give dementia patients something to keep their hands busy. It helps calm and comfort them.
• Syringe Driver Bags: Sew small fabric bags for patients who need pain medicine. It lets them walk around easily while getting care.Big Charity Campaigns
The Innocent Big Knit: Every winter, knit tiny woolly hats for Innocent Drinks smoothie bottles. For every hat sold, 25p goes to Age UK to help older people keep warm.
Project Linus – Project Linus UK is a volunteer-led Community Interest Company that provides handmade, washable quilts and blankets to sick, disabled, or traumatised babies, children, and teenagers up to 19 years old. Named after the blanket-carrying Charlie Brown character, the organisation’s mission is to offer a sense of physical and emotional security through “a hug you can keep.” All blankets are gifted directly to the child to own forever.
Charities abroad
There are many charities serving communities in areas of crisis. Make blankets, warm clothing and simple toys for refugees.
The dress a girl campaign takes simple cotton dresses for girls in African countries because dressing in a new dress implies a girl is cared for and less likely to be abused. Simple sanitary packs help maintain dignity for women and girls in crisis.
Teddies for tragedies provides soft knitted toys to comfort children in crisis all over the world.These are just a few of the many charities you can help by donating a little bit of you crafting time and skills
How to Get Started
1. Find a Pattern: Charities list the exact patterns you must use on their websites. This keeps items safe and comfortable for patients.
2. Use the Right Materials: Most charities ask for specific fabrics (like soft, washable cotton) or specific yarn (like acrylic) so items are easy to clean in hot hospital machines.
3. Check the Rules: Some charities (like Pyjama Fairies) require you to sew a test item first to get approved.
Check with your chosen charity on how to donate your items. Get together with a group of friends to make things and send them off in a batch to save postage.Check out these links to projects home and abroad
-
The Art of Teapot Cosies: How To Make One & Why You Want To
Who doesn’t love a good pot of tea,and who doesn’t love a teapot cosy? Whether a tea lover is English or not, one of the most common accessories found tucked away in their cupboards is a cosy. The covers act as warming sweaters or hats to retain heat inside the pot and do wonders for stretching a brew over a good social visit (some report several hours).
Ive got several, each different to fit my different teapots. I confess I’m not a fan of chucking a tea bag in a mug, I like a nice, brewed cuppa and have teapots for loose tea with an infuser, a one bag tiny teapot for just me and a couple of larger ones for guests.
Cosies can be made in unlimited styles, and some households, like mine, have several on hand:
▪ One for everyday use
▪ One for serving guests or for a fancy “afternoon tea”
▪ A few others to switch out as the mood strikes
A homemade cosy is miles ahead of most shop-bought varieties in terms of charm and quality. If you don’t have the time or ability to make one yourself, it’s well worth it to check out handmade shops such as Etsy for unlimited options (they’re also a great place to get inspiration from too).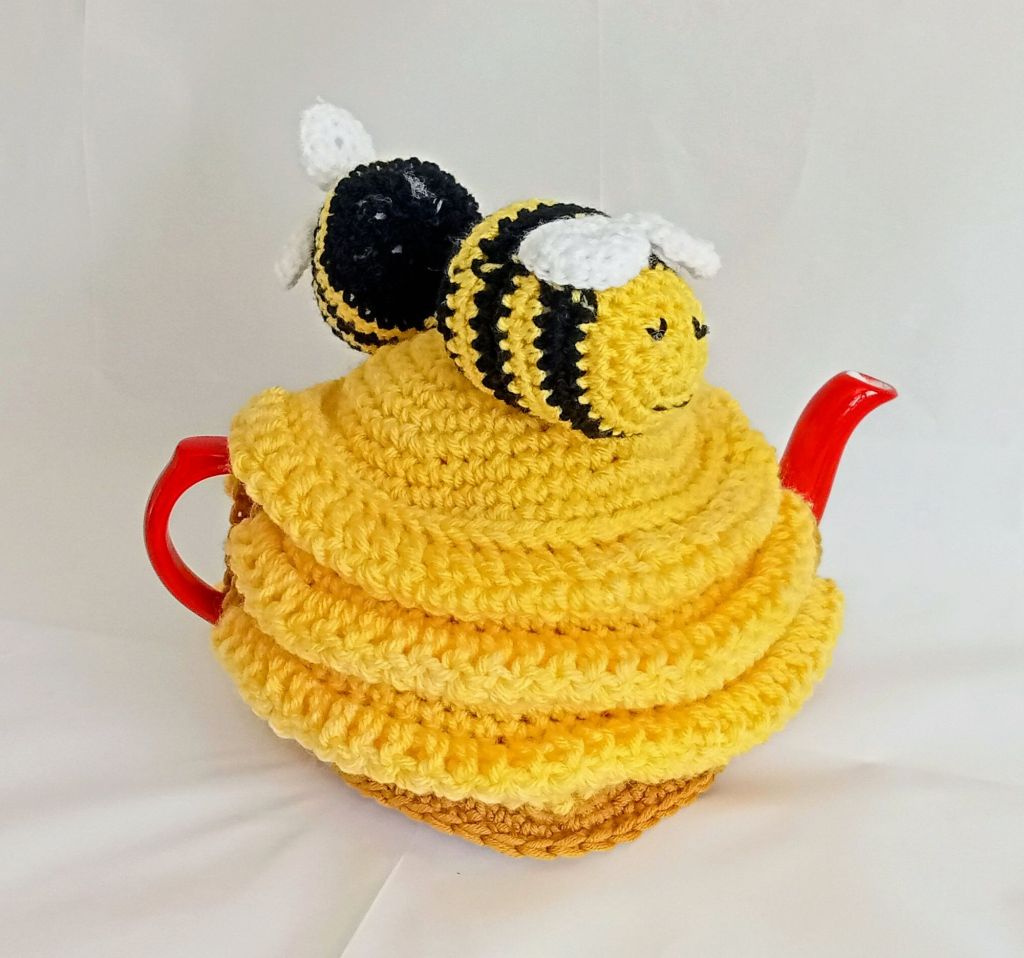
Basic Features To Note:
▪ A loop or handle of some sort at the top: this is to pluck the cozy off easily.It can be a pom-pom (bobble), a tassel, loop, crochet flowers and/or leaves, icords, braids & other decorative yarn work.Loops can also be used for hanging the cozy after use.
▪ A slit for the spout to poke through and another for the handle. This type is known as a muff, bachelor’s or serving cozy, snuggie or wraparound. These enable you to pour a cuppa without having to remove the covering.
▪ Other models cover everything, spout and handle included (also known as over the top cozy). These are in the typical “dome” or “cloche” style that fits over top and doesn’t wrap the vessel underneath.
▪ There’s also a “drawstring purse” style that encases the pot and provides padding at the bottom to protect wooden surfaces from being scorched by the heat. Often they’ll have a drawstring opening at the top where the lid sits,some provide openings for the spout and handle to poke through.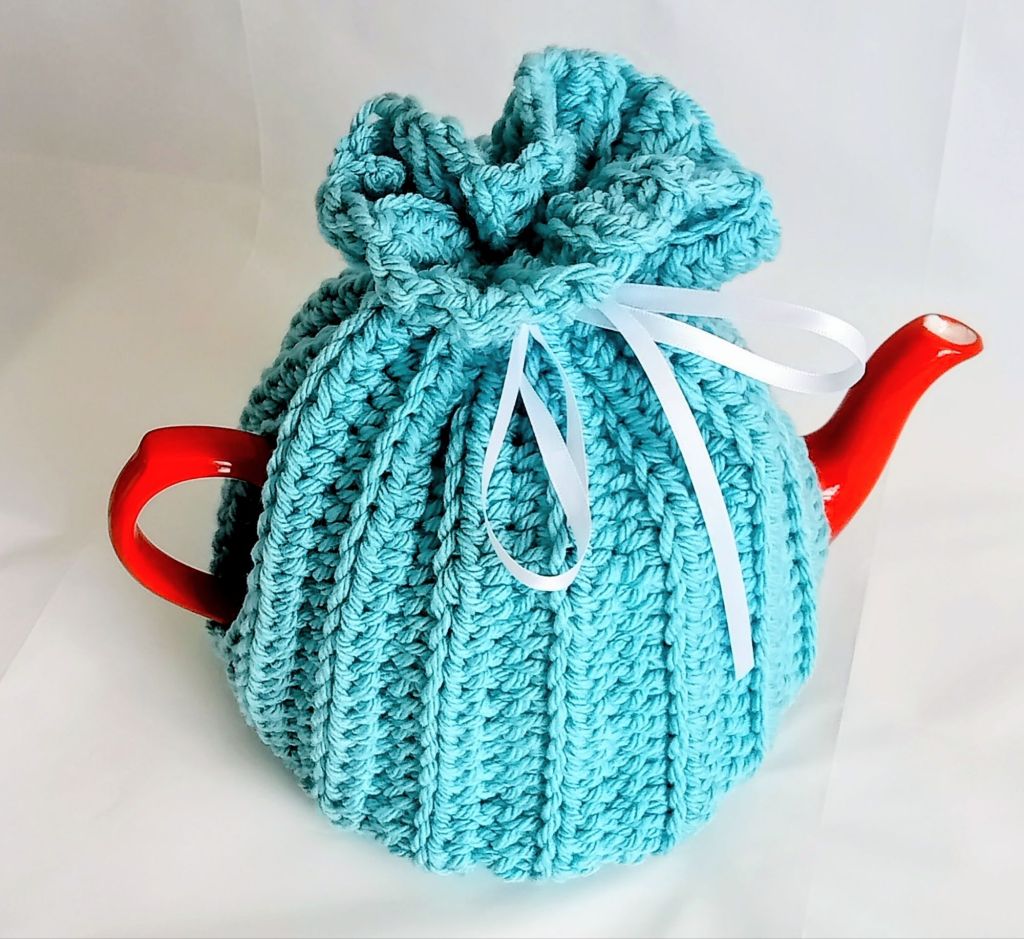
Which Is Better: A Snug or Loose Fit?
It all depends on the user’s preference:
▪ A snug body hugs the pot close & tends to look a little tidier on the table.
▪ A loose dome style cover is larger but easier to put on & take off. This can bebeneficial for those who are elderly or who have problems with pain and
stiffness in their hands. `A looser fit also leaves pockets of air around the vessel that get warmed too, this wall of hot air helps retain heat even longer.
What Fabrics & Materials Are Best?
Yarn: Obviously my favourite. Wool & acrylic blends will hold heat effectively and have
a nice stretch while cotton yarns tend to not have as much give to them.
Fabrics: a good quilting cotton, linen, upholstery fabric or wool will do the job nicely.
Keep in Mind: You want something that will wash well (either by machine or hand) andholds its shape–keep this in mind too when choosing a lining or a padding material.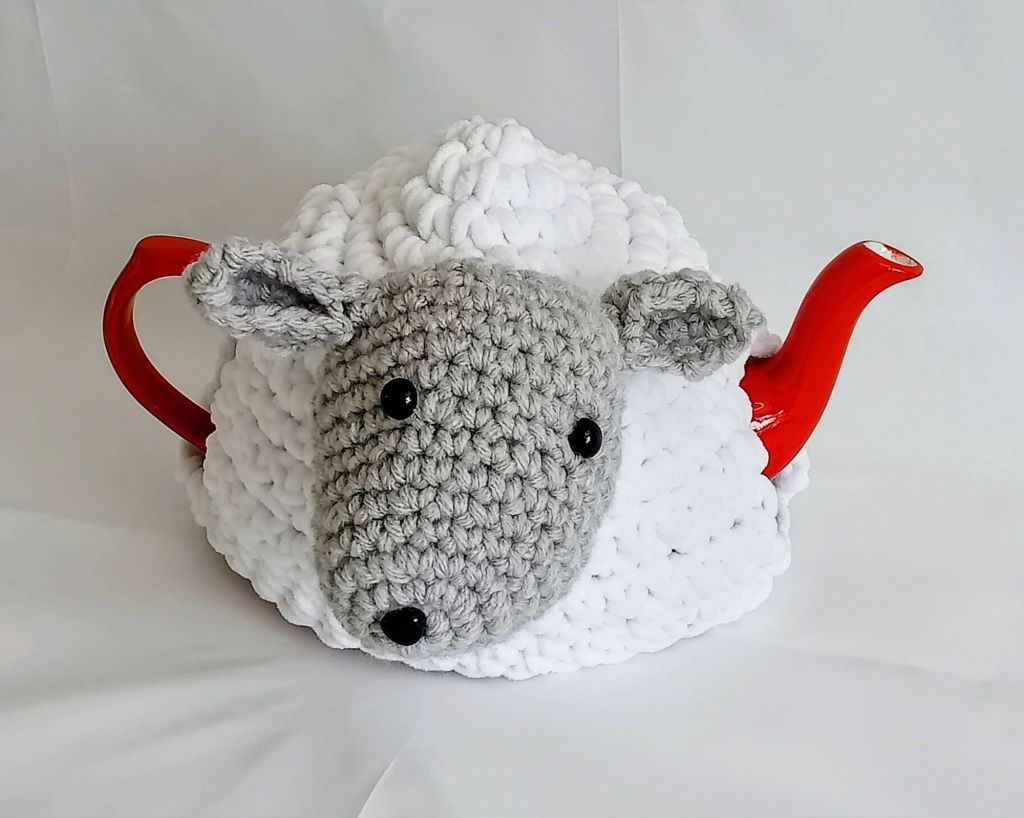
What Are The Best Insulating Fabrics For Padding or Lining?
As mine are crocheted, adding a lining depends on the pattern. If its a close stitch anda thicker yarn, I don’t bother lining it. For more open patterns like granny squares i will add a neutral liner.
Good linings include:
▪ Batting made from cotton or polyester is a good choice
▪ Wool felt
▪ Thinsulate
▪ Fleece
▪ Some report good success with using a couple layers of old towels as aninsulating liner.
Some Design Tips & TweaksNo matter the pattern you decide to go with, there are plenty of options to personalize it with your own custom elements:
▪ Consider adding a small outer pocket to hold tea packets or even a couple of small spoons.
▪ Charms, buttons & beads can be stitched on as decorative embellishments or dangled from ties.
▪ Crochet flowers, animals or birds
▪ Pom Poms
▪ Tassels
▪ Inner pockets to hold scented sachets of dried herbs and flowers against the hot vessel (this releases their fragrance into the room)
▪ Embroidered patches & designs
Does the Cozy Go On During Or After Steeping?
It’s a good question that can generate some hardcore rules (sometimes contradicting) from afternoon tea adherents but the general rule of thumb:
▪ If you have a good teapot that retains sufficient heat during steeping, the cozy will go on immediately after removing the tea (bags or leaves). This avoids any
chance of overheating.
▪ If it cools down too quickly while steeping, the cozy goes on the same time the tea bag is added and then replaced again when tea has been removed.
Is A Cozy Really Necessary?
If, on a regular basis, you find yourself emptying the pot before the brew has a chance to get cold, there’s no need. For the rest of us who enjoy a big pot to ourselves or with a friend, stretching it out over an afternoon or social visitors, then, yes they do work and come in handy.
But they do look pretty and are great fun to make and to gift.How to crochet a Tea Cosy
Here’s my basic crochet tea cosy pattern:
You will need:
4mm hook
Aran yarn about 100g
Stitch markers
Darning needle
Abbreviations
Ch = chain
Htr = half treble
Inc = Increase
Dec = decrease
I Start at the top with a flat circle:
2 ch or Magic Circle
work 6 dc into first of your 2 ch, (6) or into the MC
Place a stitch marker in the loop on your hook and move it up each round
Next round – ( inc ) x
Next round – (Inc, 1 dc) x 6. (18)
Next round – (Inc, 2 dc) x 6.. (24)
Next round – (Inc, 3 dc) x 6. (30)
Next round – (Inc, 4 dc) x 6. (36)
Next round – (Inc, 5 dc) x 6. . (42)
Next round – (Inc, 6 dc) x 6. . (48)
Next round – (Inc, 7 dc) x 6. (54)
You want your circle to be big enough to cover the top of your pot. Keep increasing as above until you have a big enough circle.Next work 2 rounds of 1 htr in each stitch. Now, divide for the openings for handle and spout.
Divide the number of stitches by two, count around this number and place a stitch marker.
1 htr in each stitch to the marker and turn. You now work back and forth in htr until the
side is long enough to reach the bottom of the handle. Fasten off
Work the same with the remaining stitches, don’t fasten off
Still working in half treble, join to the other half and work 1 round.
Next round – (dec, 7 dc) x 6. Fasten off. Weave in ends.
You can now decorate your cosy -
WIP’s Away
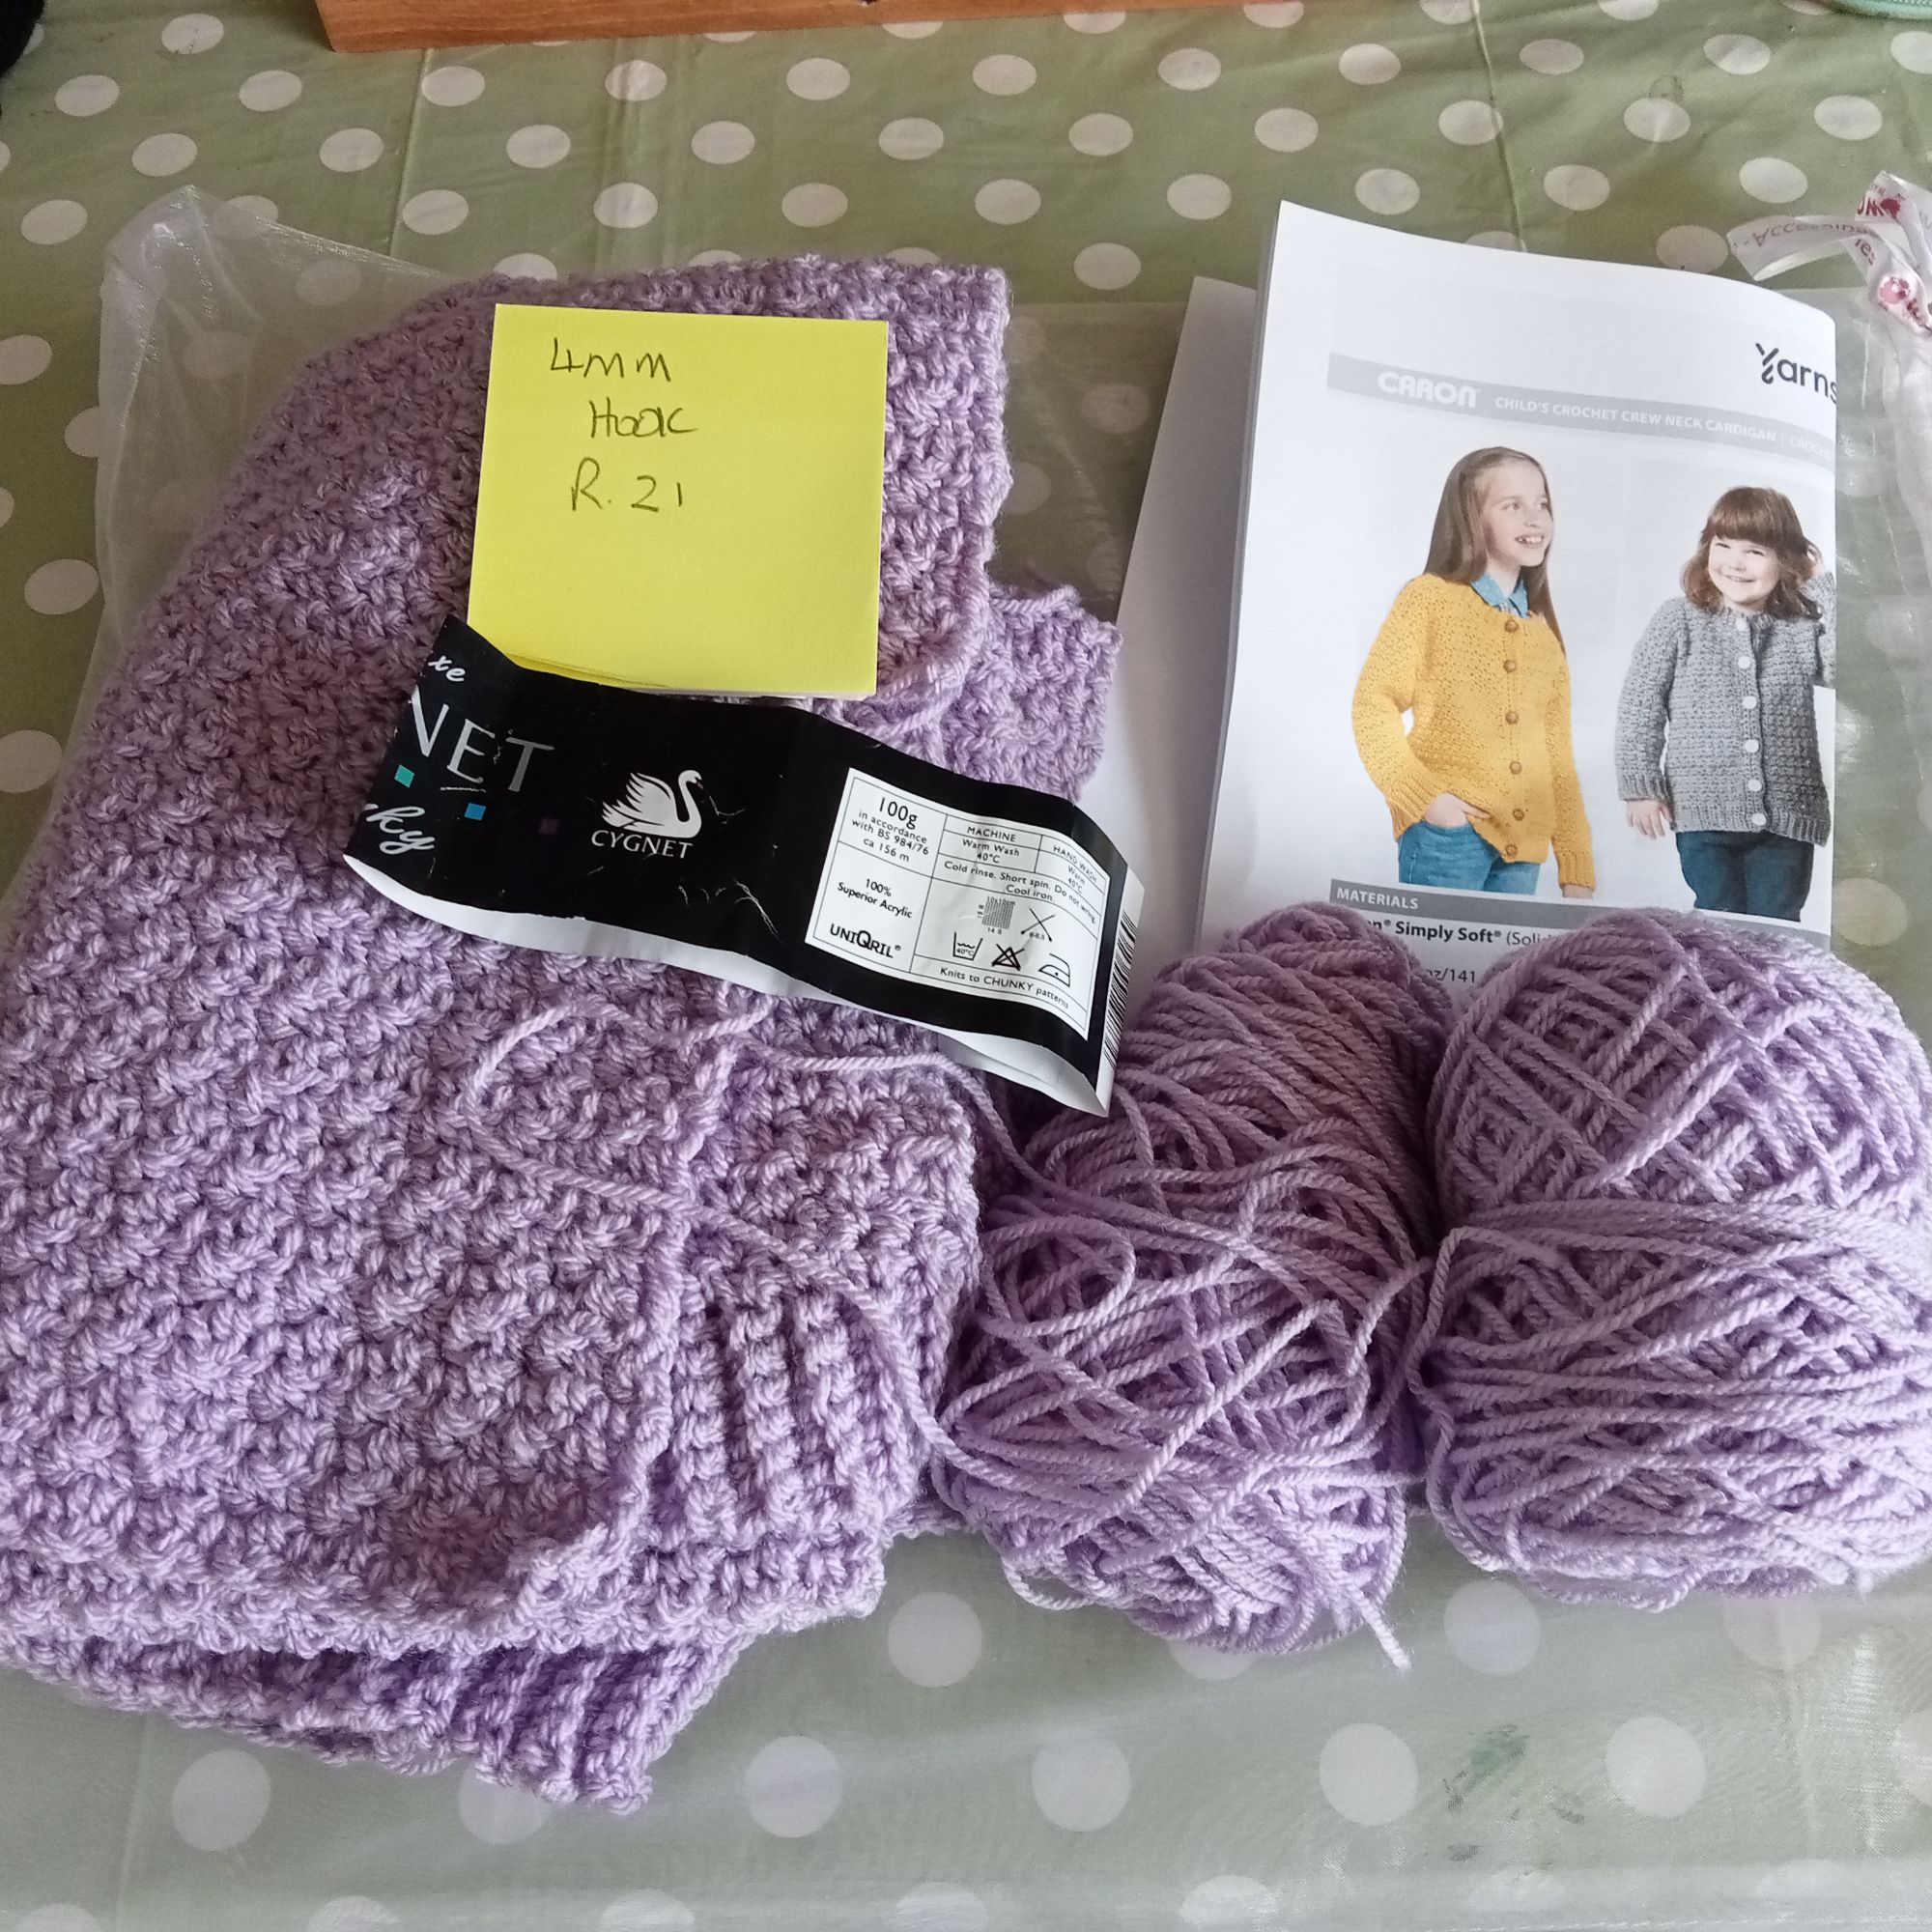
We all have a corner of shame, that hidden place where all our WIP’s (works on progress)hang out. Mine is in a corner tucked behind a chair in the craft room and has got so full its spilling out into the room.
So, last week i decided the time had come to take it in hand and get some of these almost forgotten projects done. Out came all those project bags and boy was i glad that I had a system for them where the pattern was marked with the place I’d got to and the ball band
for the yarn was there.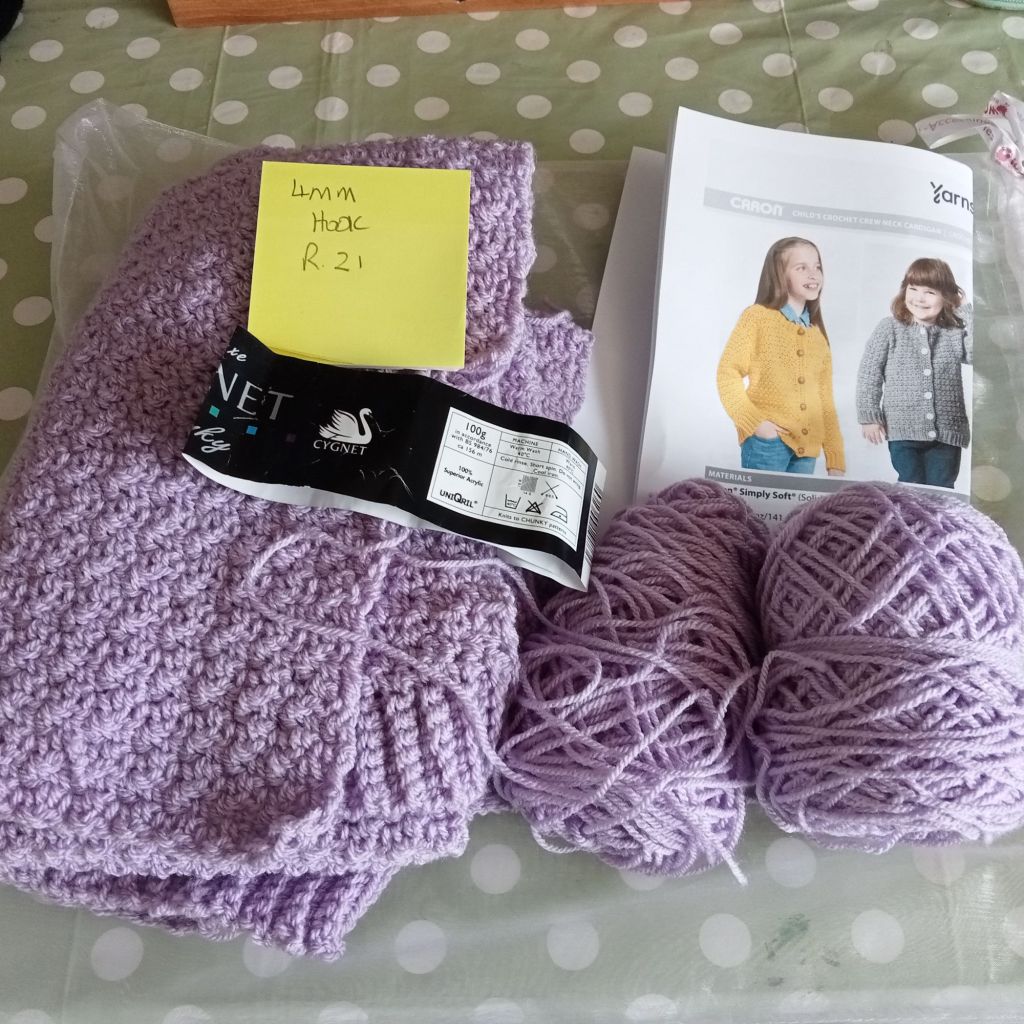
Some of them were just bags of squares waiting to be made into blankets and blankets waiting to be edged. Some were random shapes that I started making with no real idea of a finished item.
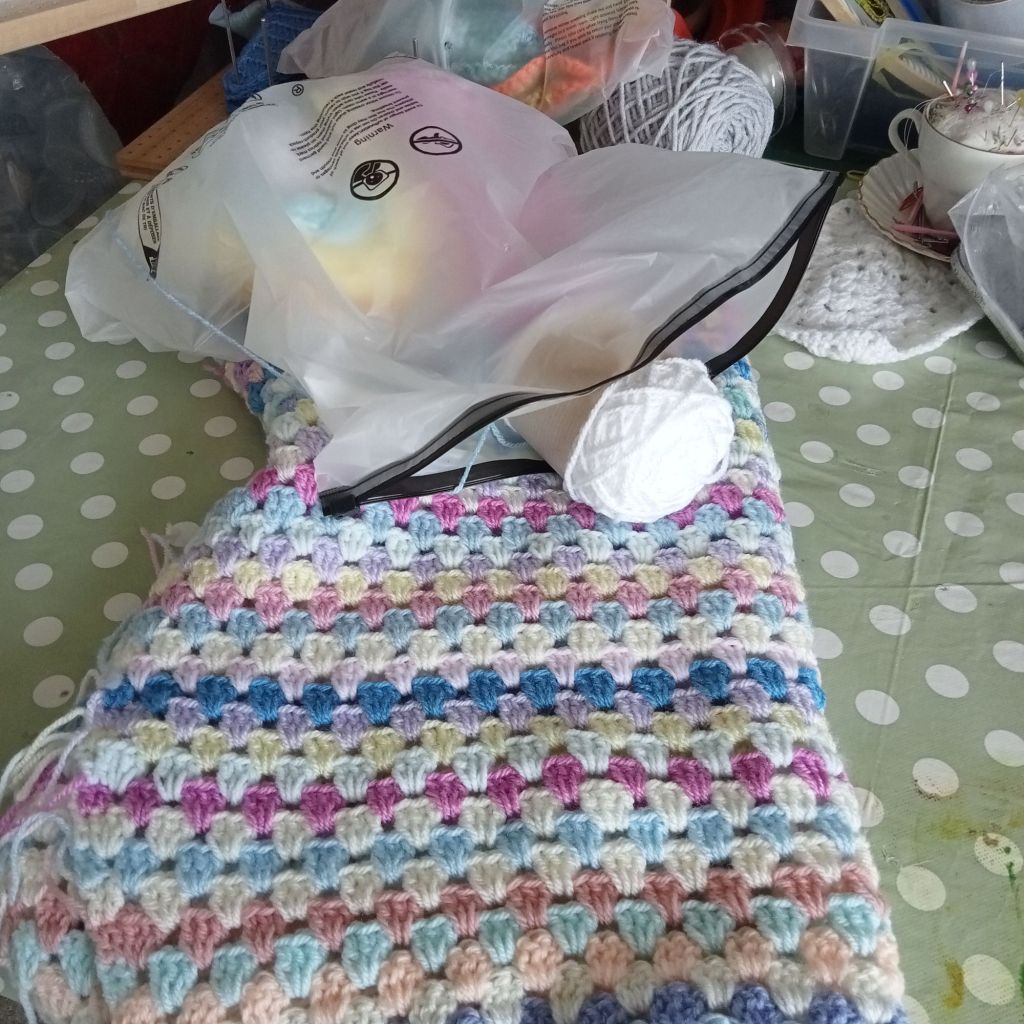
The blankets were the easiest thing to tackle first. Squares were blocked, then joined, and edgings were added. What a great sense of satisfaction!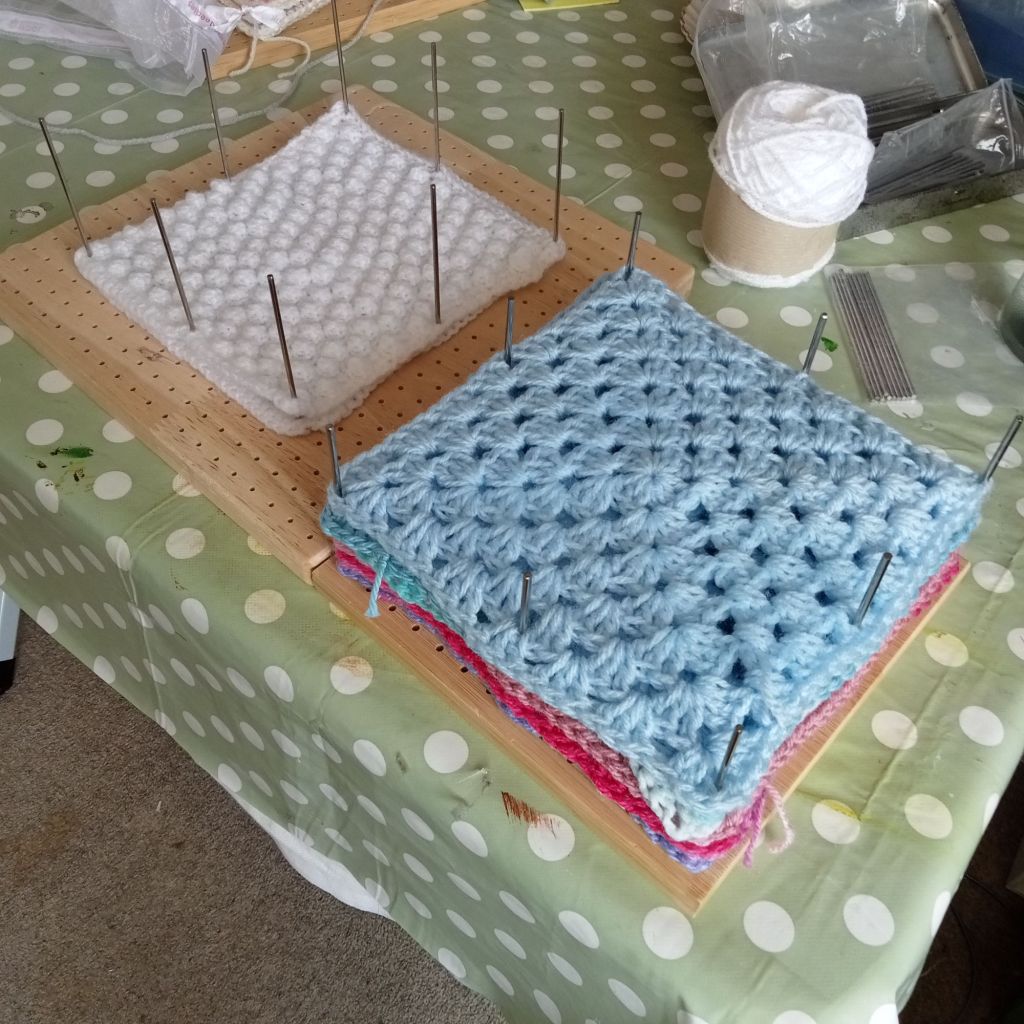
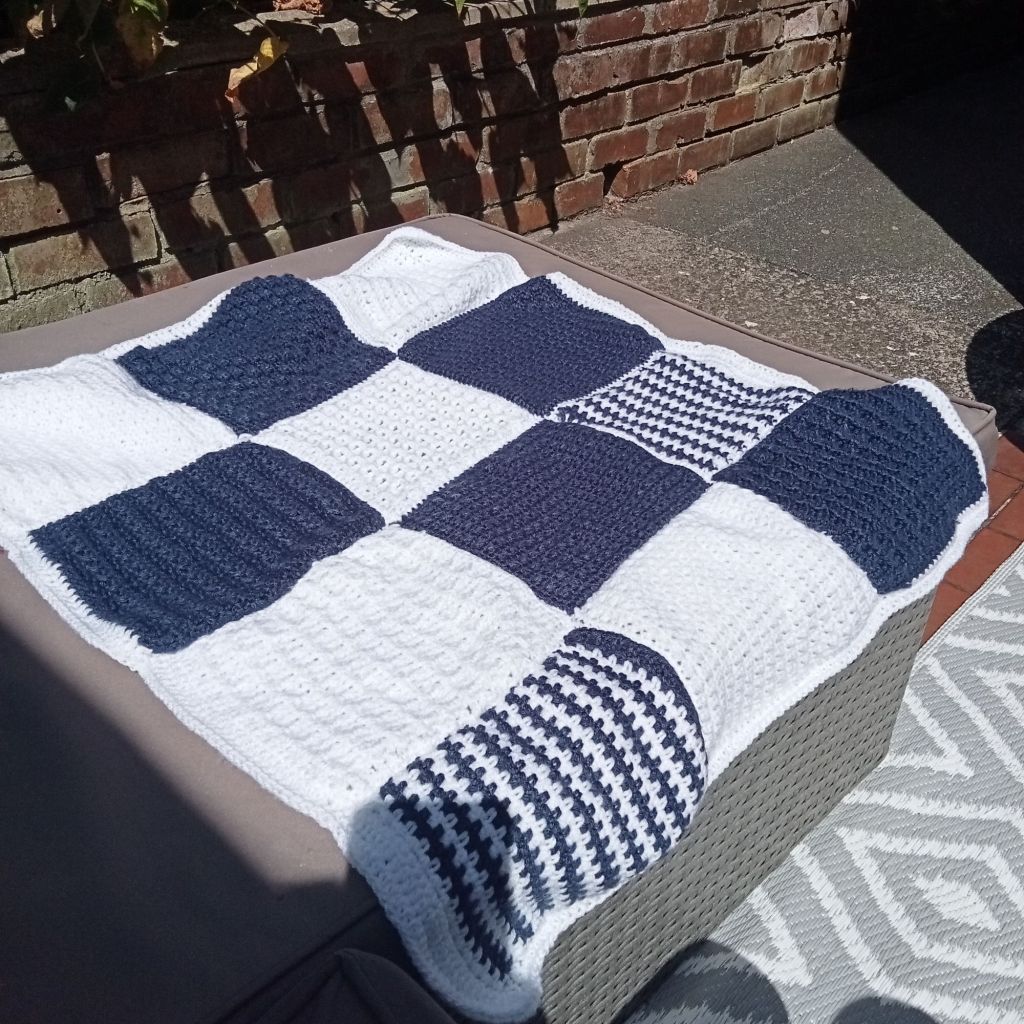
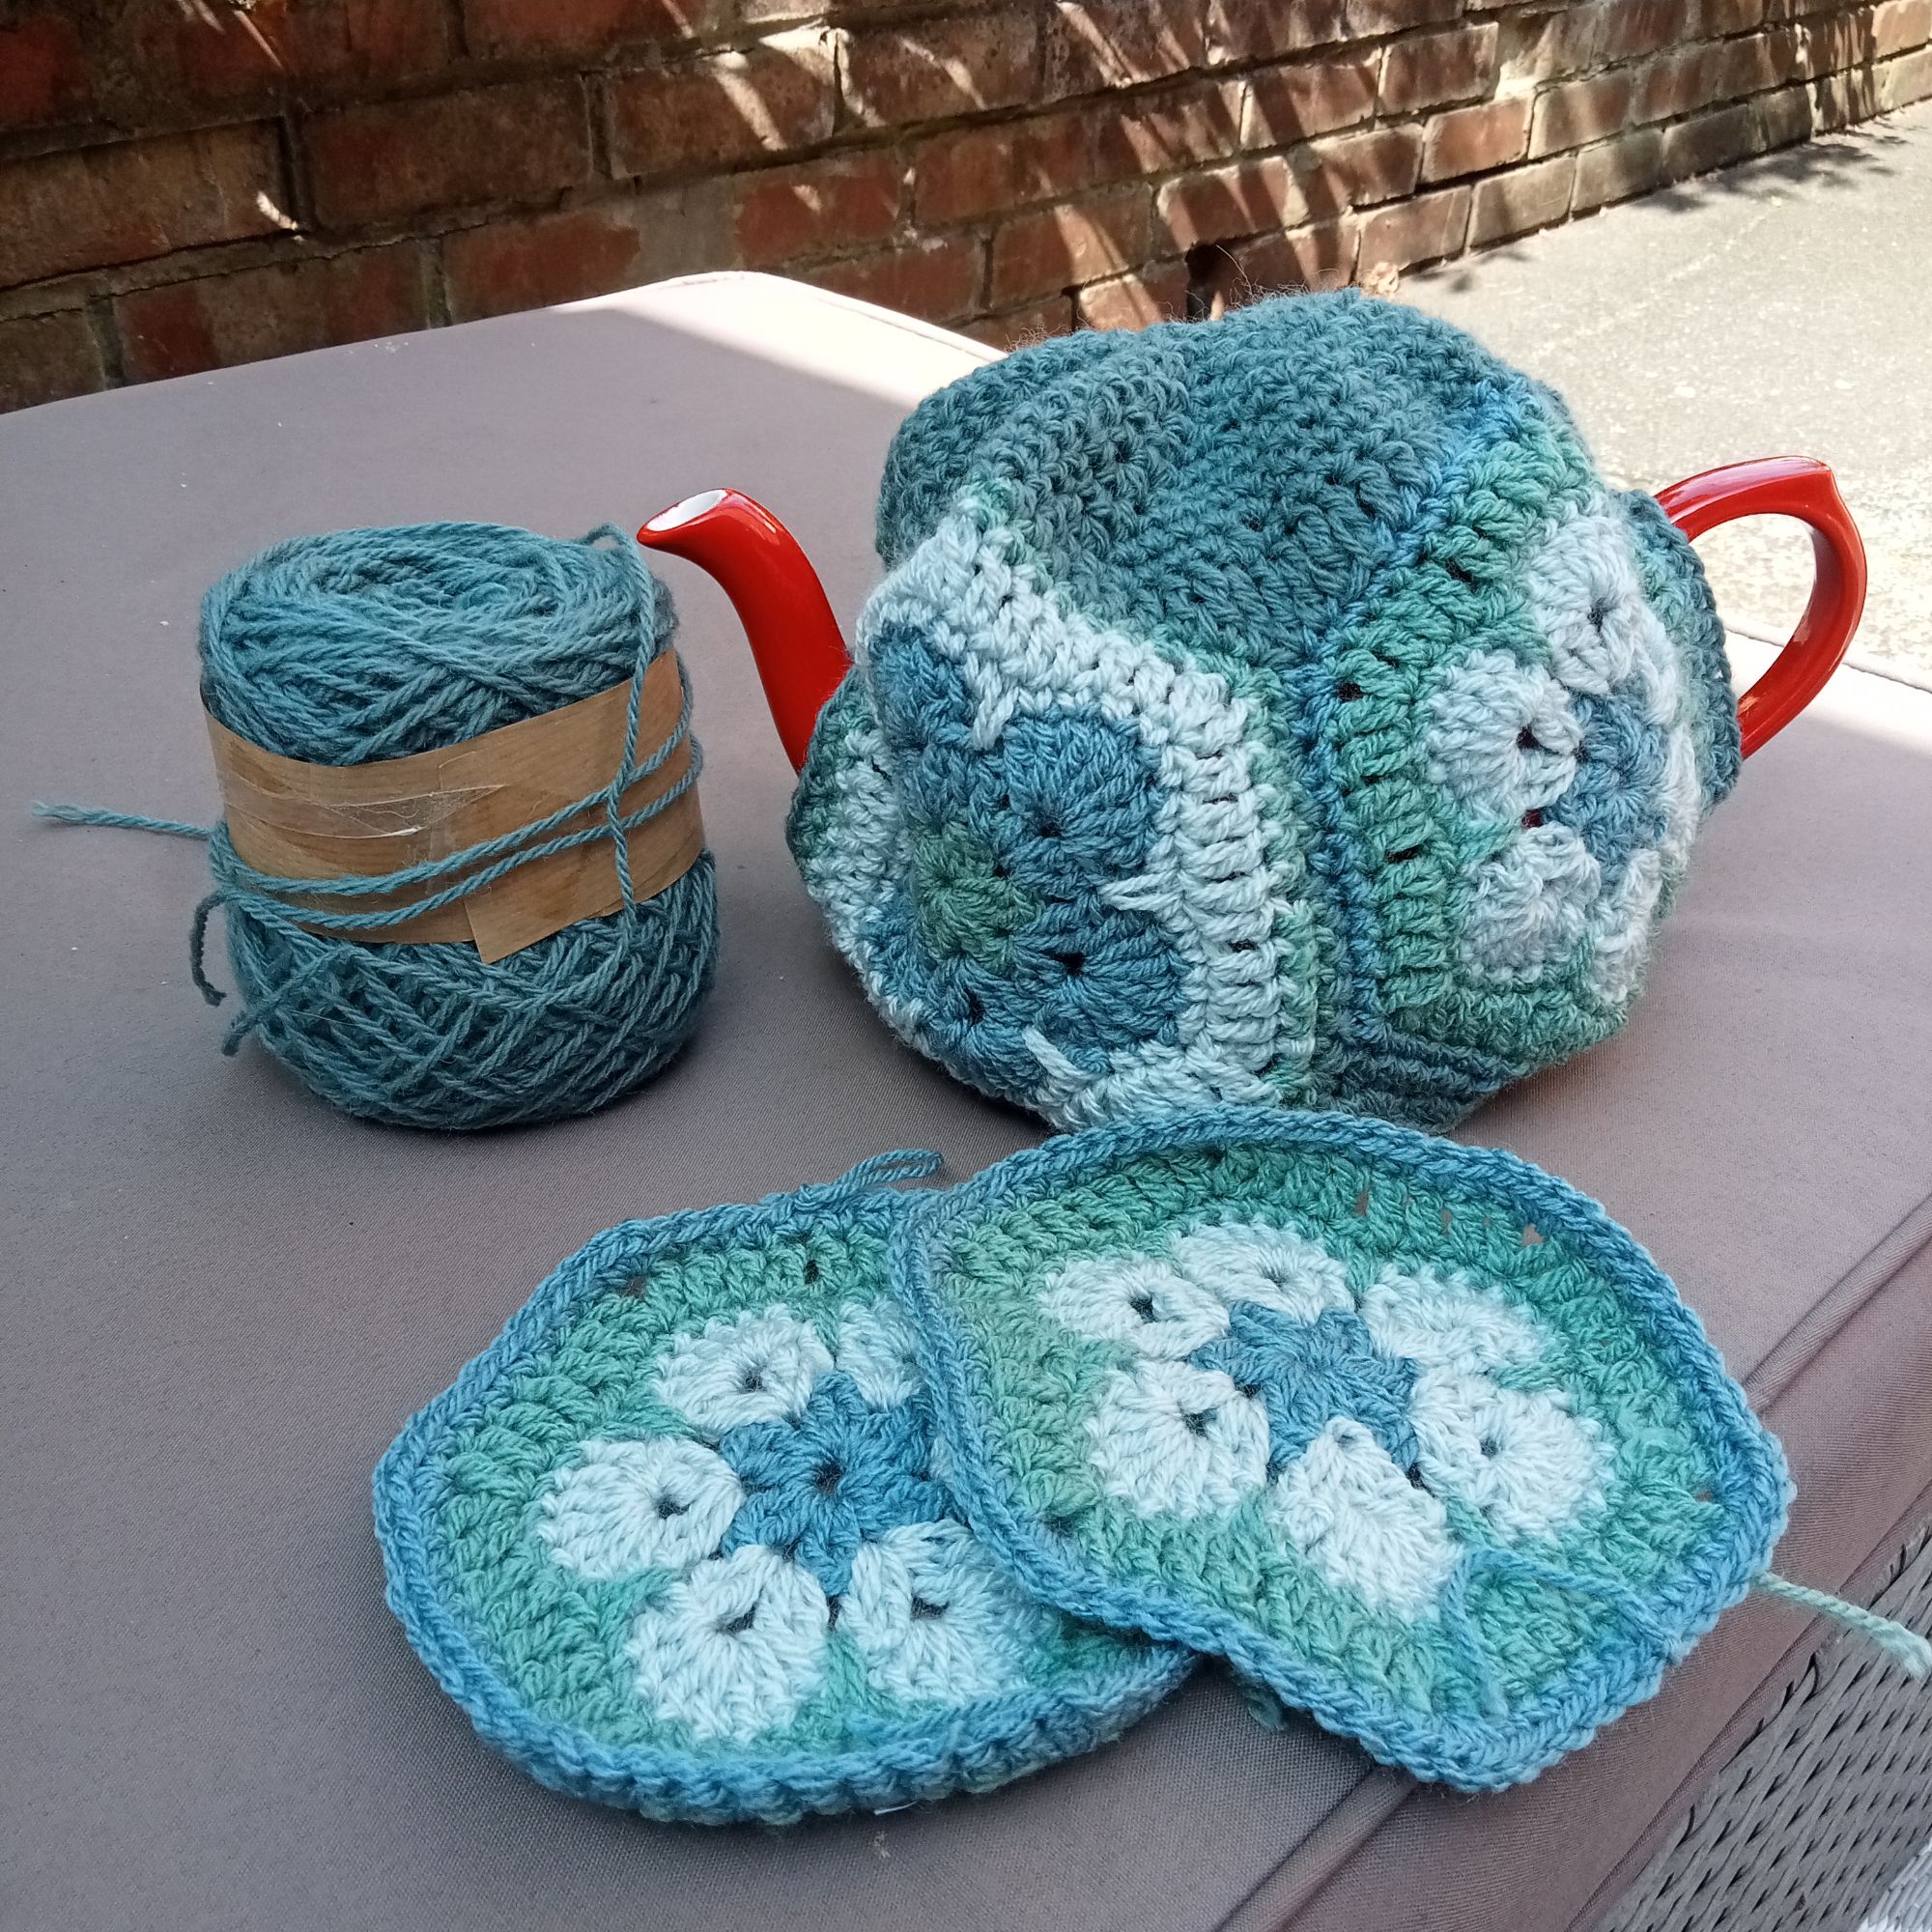
As for those random hexagon blocks, they made a lovely tea cosy!
So, don’t be ashamed to get out your WIP’s, you might be surprised with the finished resul -
Showing Off
Where I live in Lancashire, we have an annual agricultural show, The Great Eccleston
Show, and it is a pretty big deal locally. Now I have lived in Elswick for 25 years and have
only been a handful of times. This year, I received an e-mail from the show secretary with a
link to their Homecrafts section. I shared it with my crafty friends and encouraged them to
enter something.
When they asked what I was entering, it got me thinking. I’ve never entered my work in any
kind of competition because I’ve never thought it was good enough. So, I took a look at the classes that I might enter.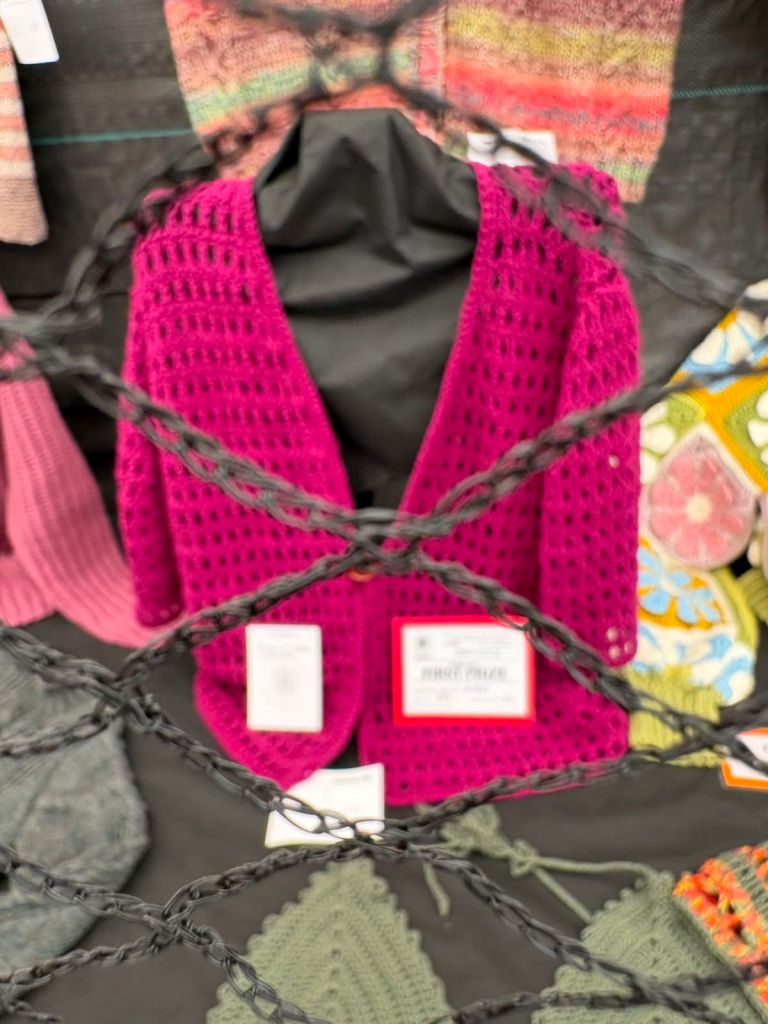
On spotting that if you spent £8 on entry fees you could get a free ticket, I thought why not! I entered every crochet class as well as other crafts that I had items for. But alas, at only 50p entry fee, I couldn’t get my £8!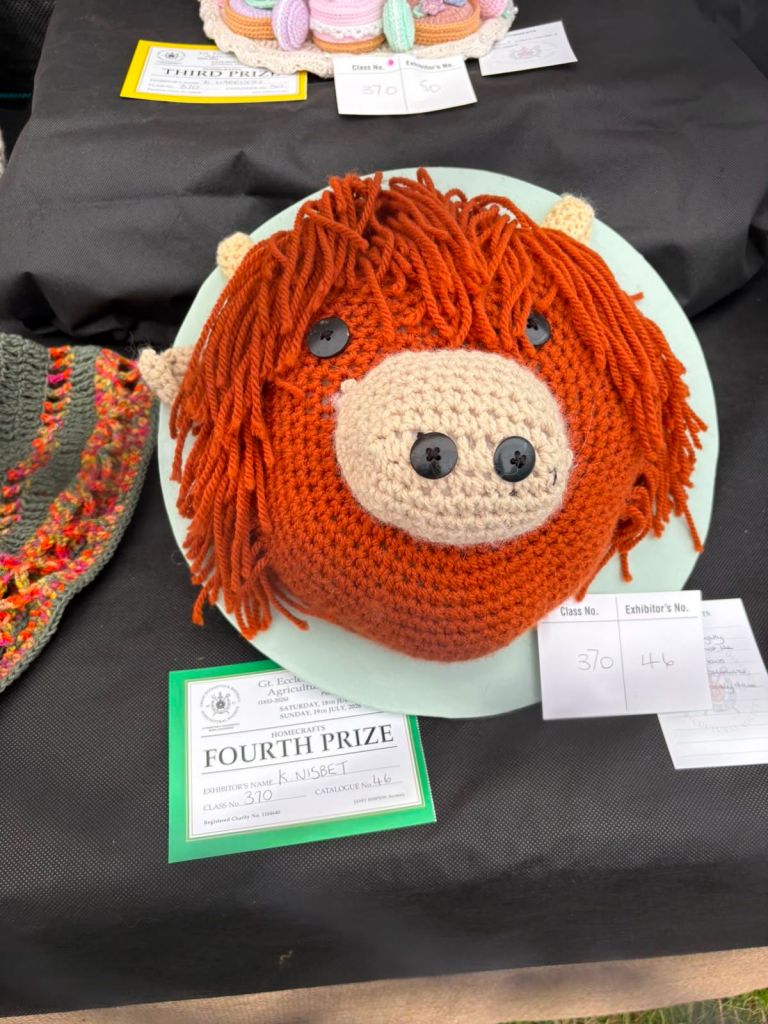
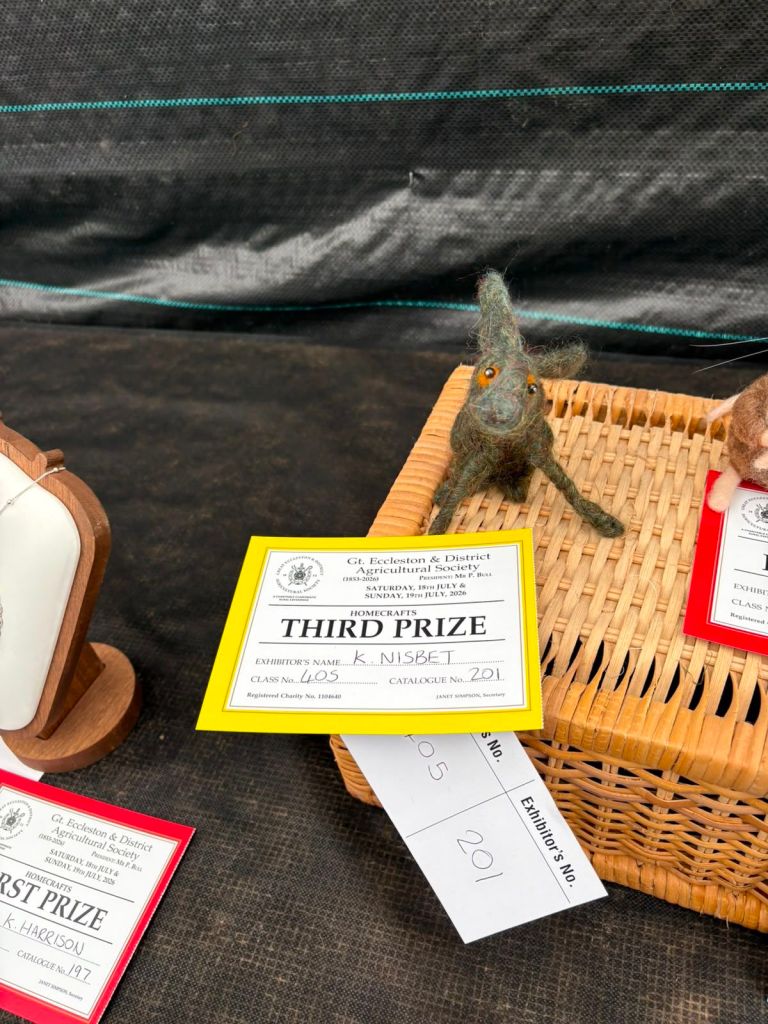
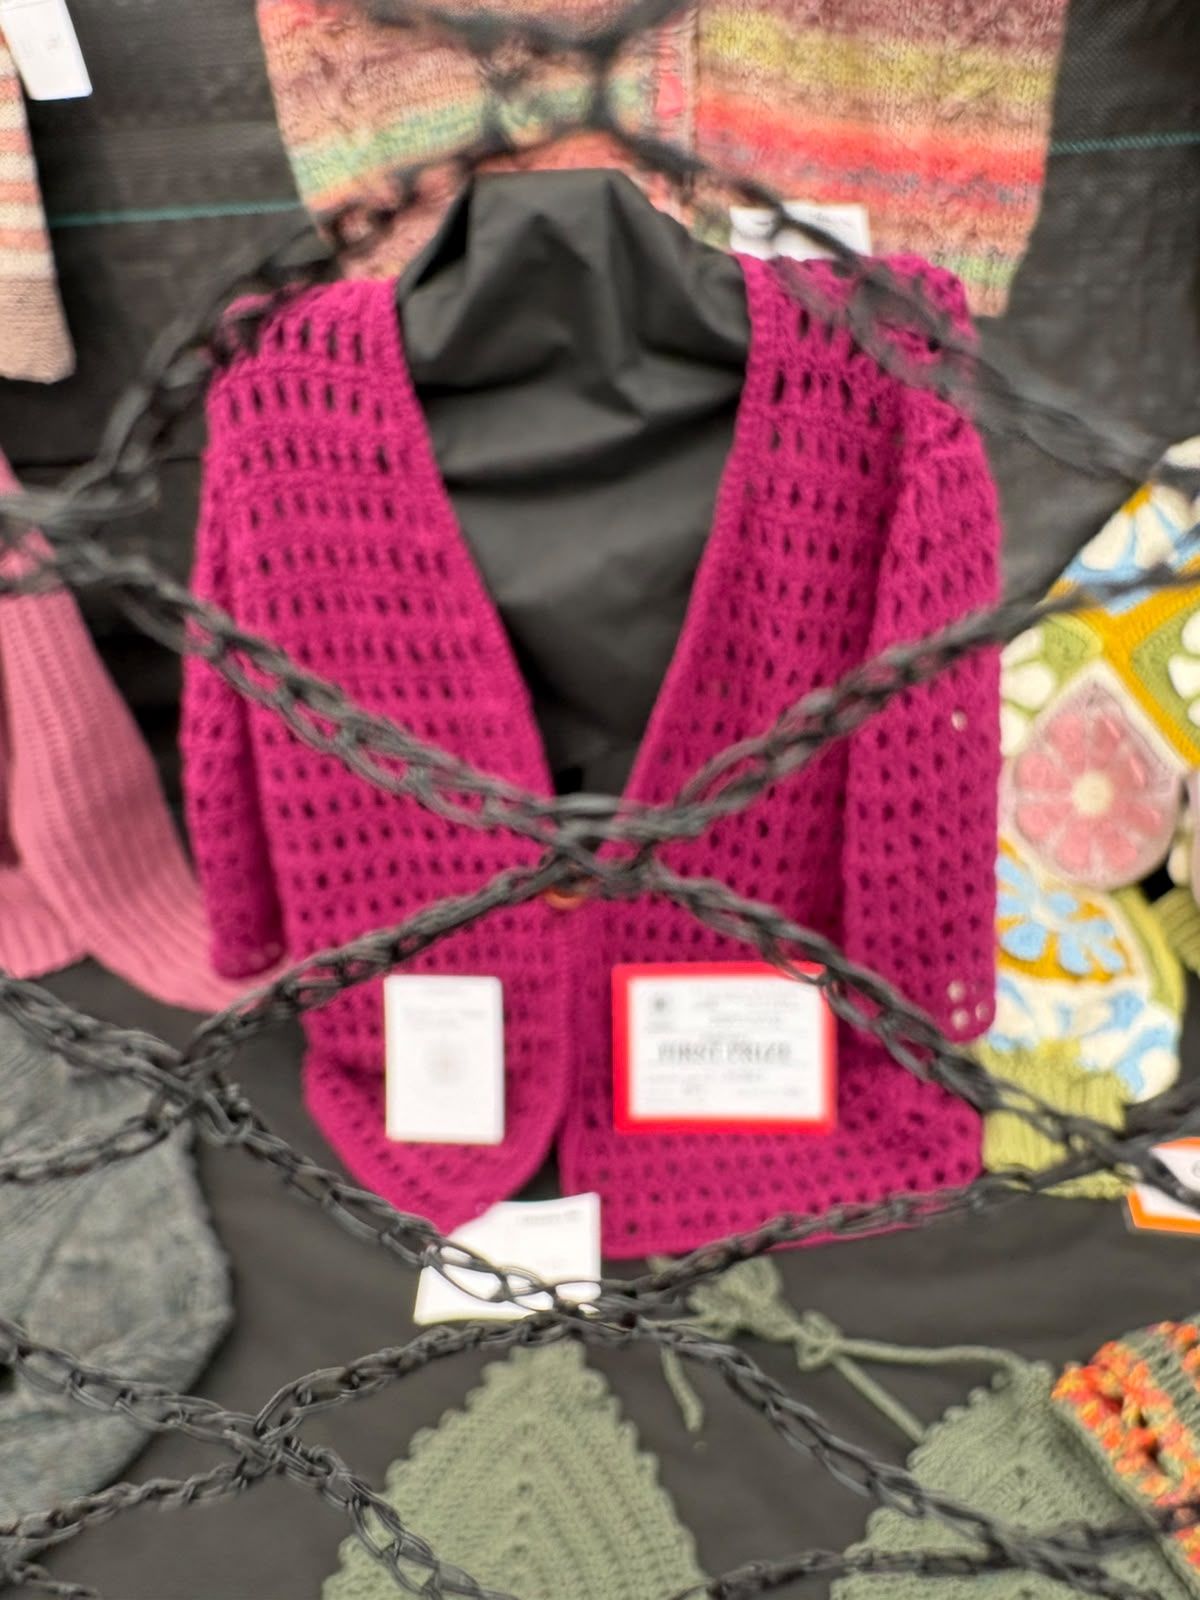
The day before show day, off I toddled to the show ground with my bag of entries. In the Homecrafts tent, it was mega busy with stewards bustling about staging entries. One look at the quality of entries and I thought ‘no way I’m going to win anything’.Imagine my shock when the next day I get WhatsApp messaged from a friend saying you did well and sending me photos of 3 prize winning entries! I was even more surprised on picking up my items to find I had won a lot more.
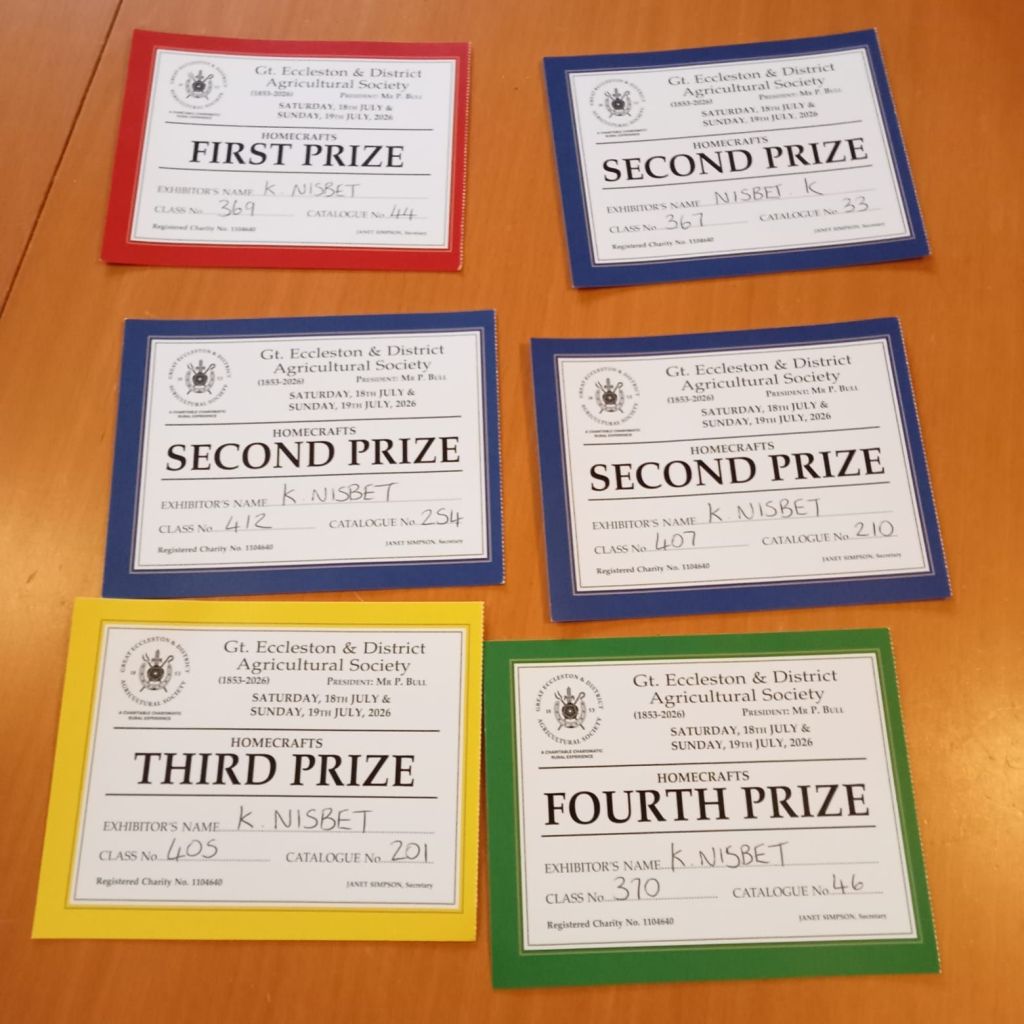
Just goes to ‘show’, you have to be in to win -
My storage tips for your craft stash.
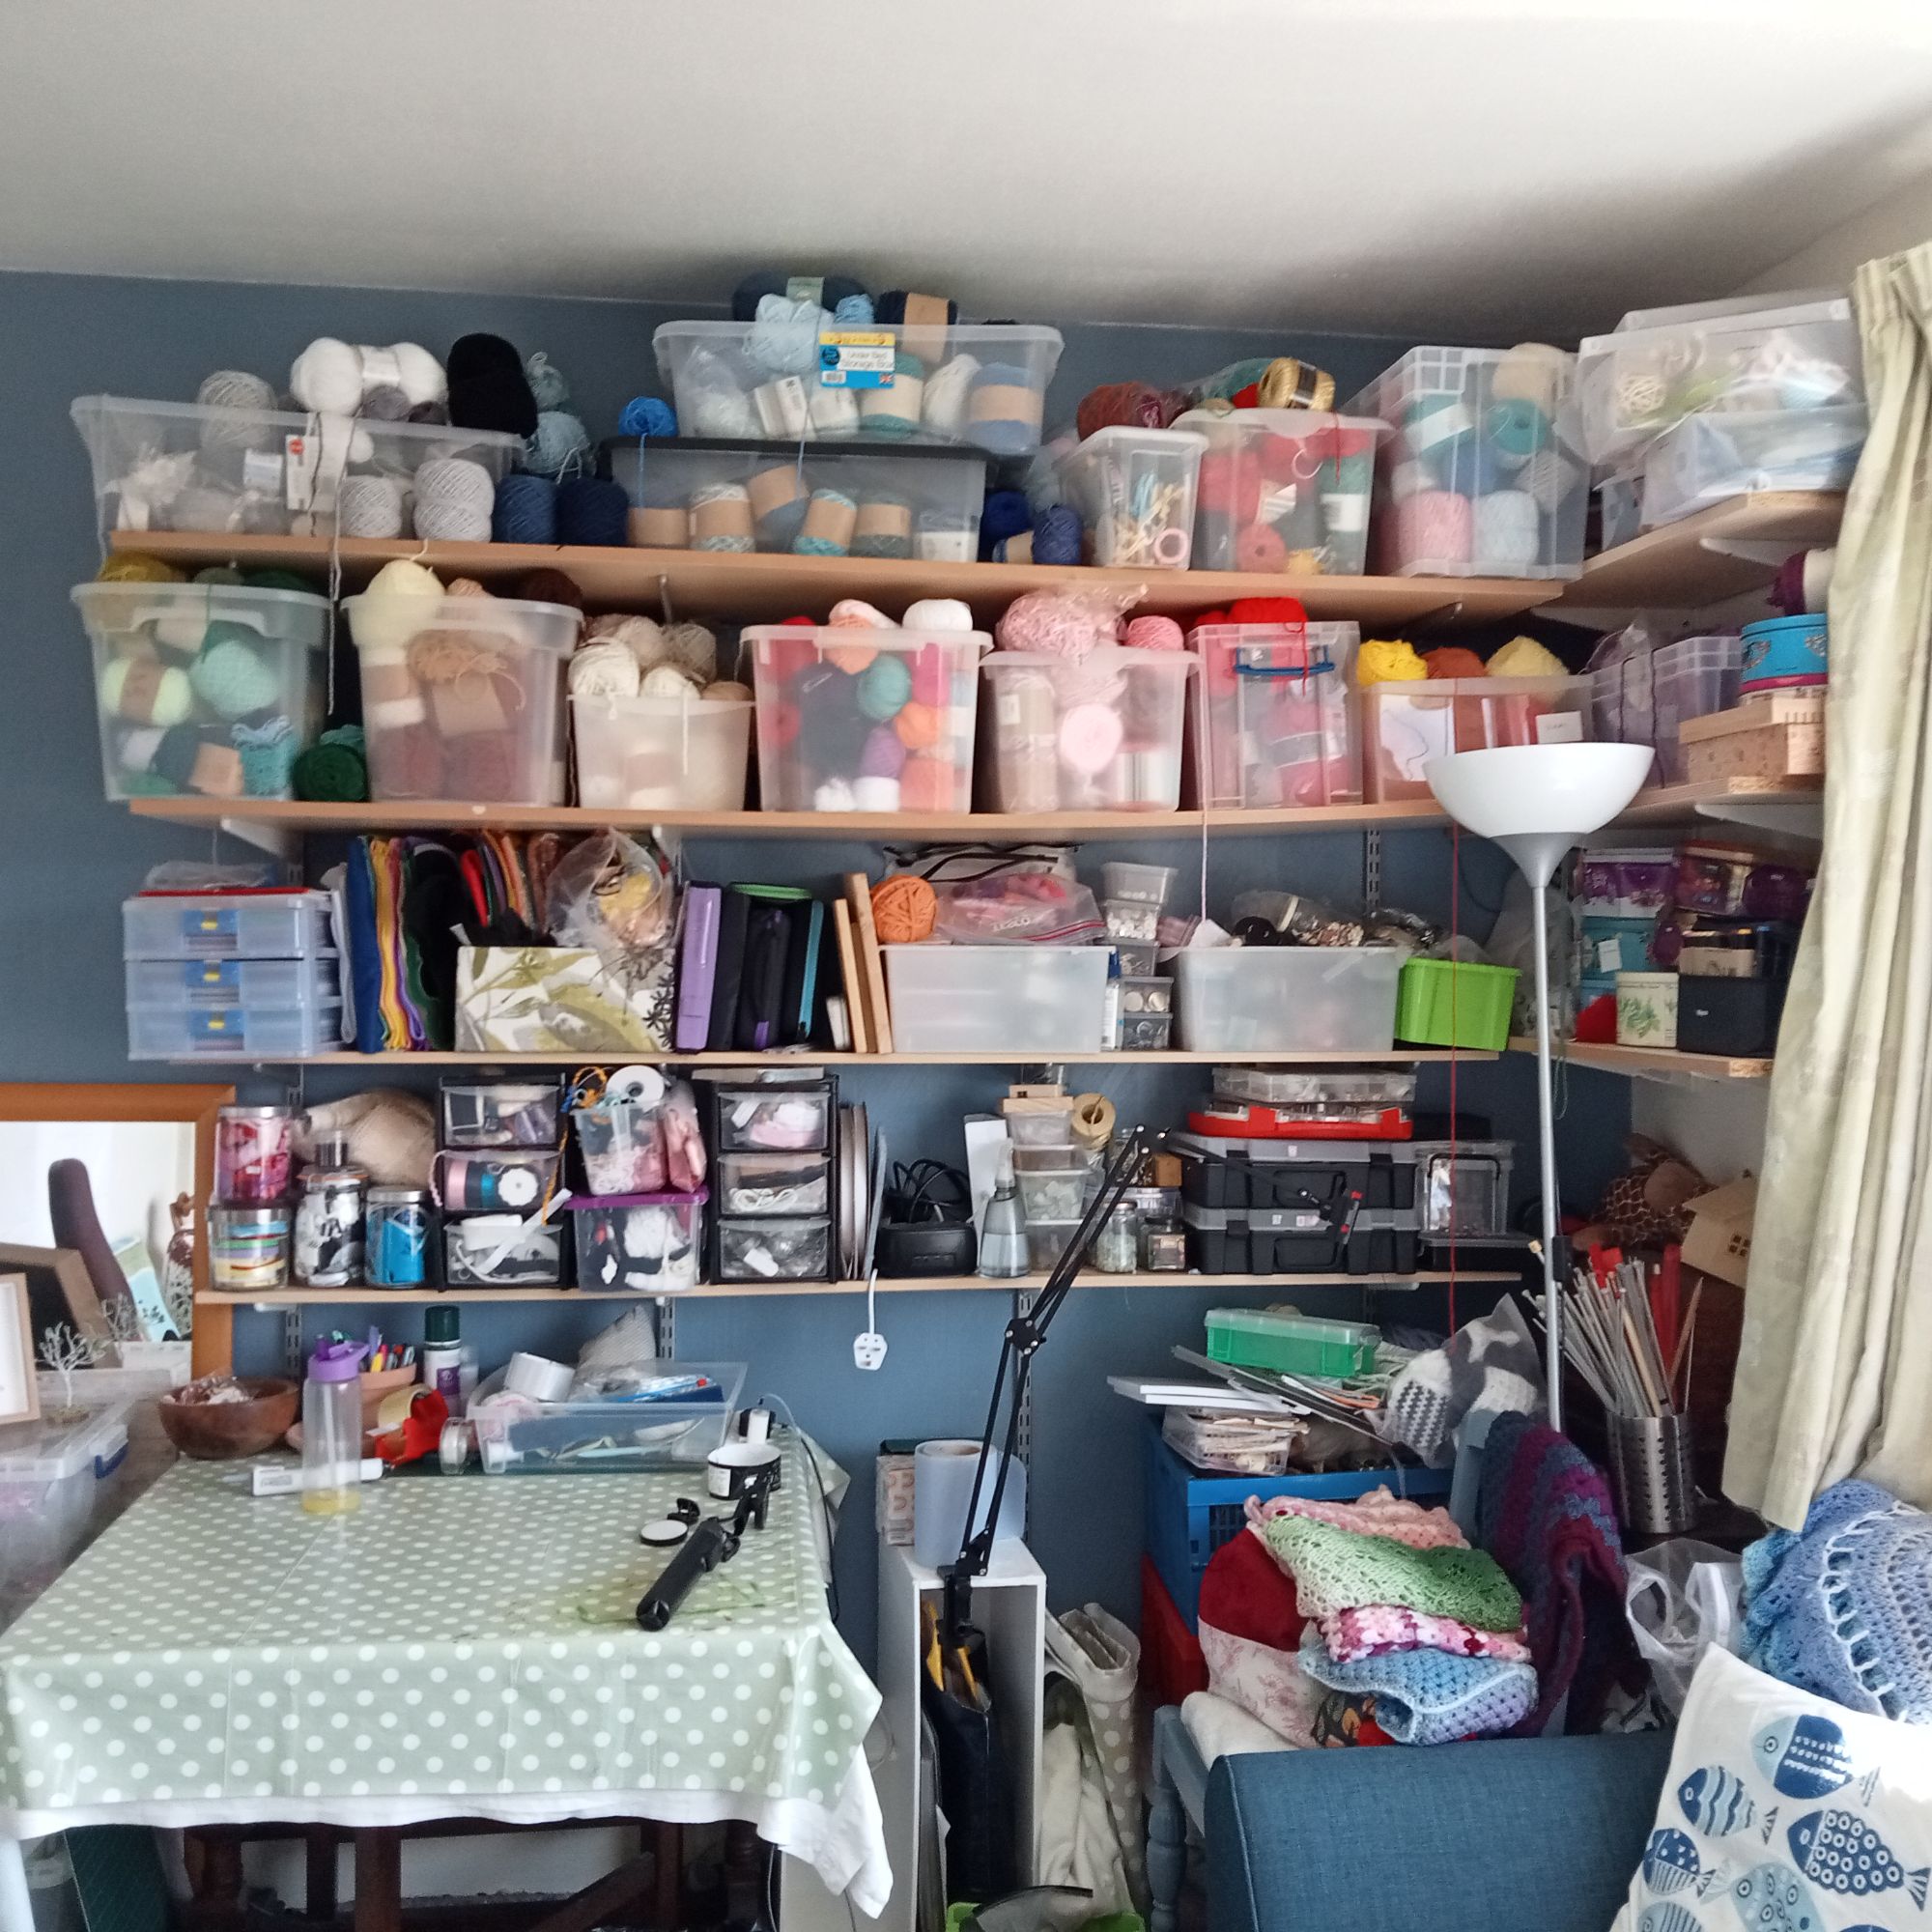
One thing no crafter has ever said is “I have enough storage”!
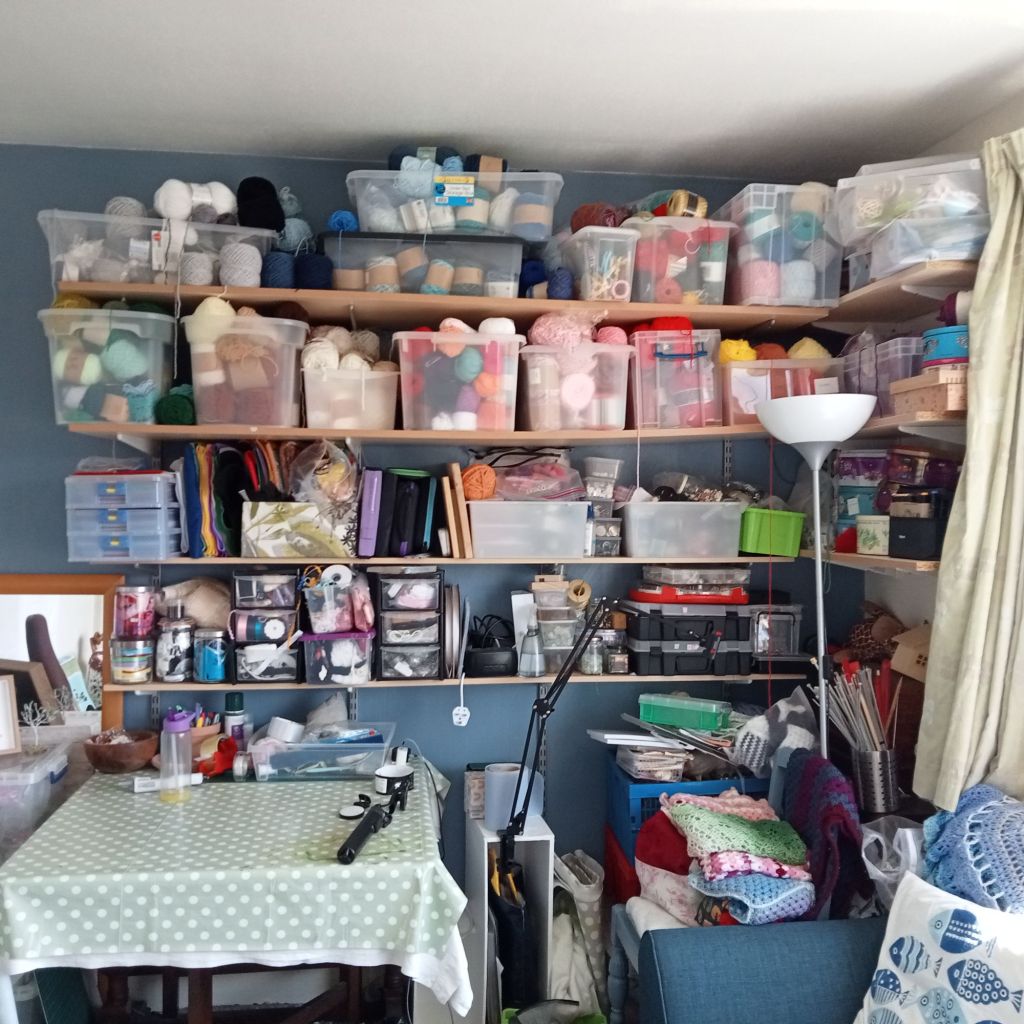
You never have enough storage becasue if you have space, you buy more crafty goodies to fill it! But all is not lost, here are my top tips for keeping everything under control; and not spending a fortune doing it.
Now as Crochet is my thing, mostly, I’m going to tell you about my crochet system (my husband is laughing and saying, “there is a system?”. First of all, I’m lucky enough to have a craft room, quite a large one too and a big store cupboard. My craft room has a good desk space, a table and lots of shelves, and cupboards. And they are all full!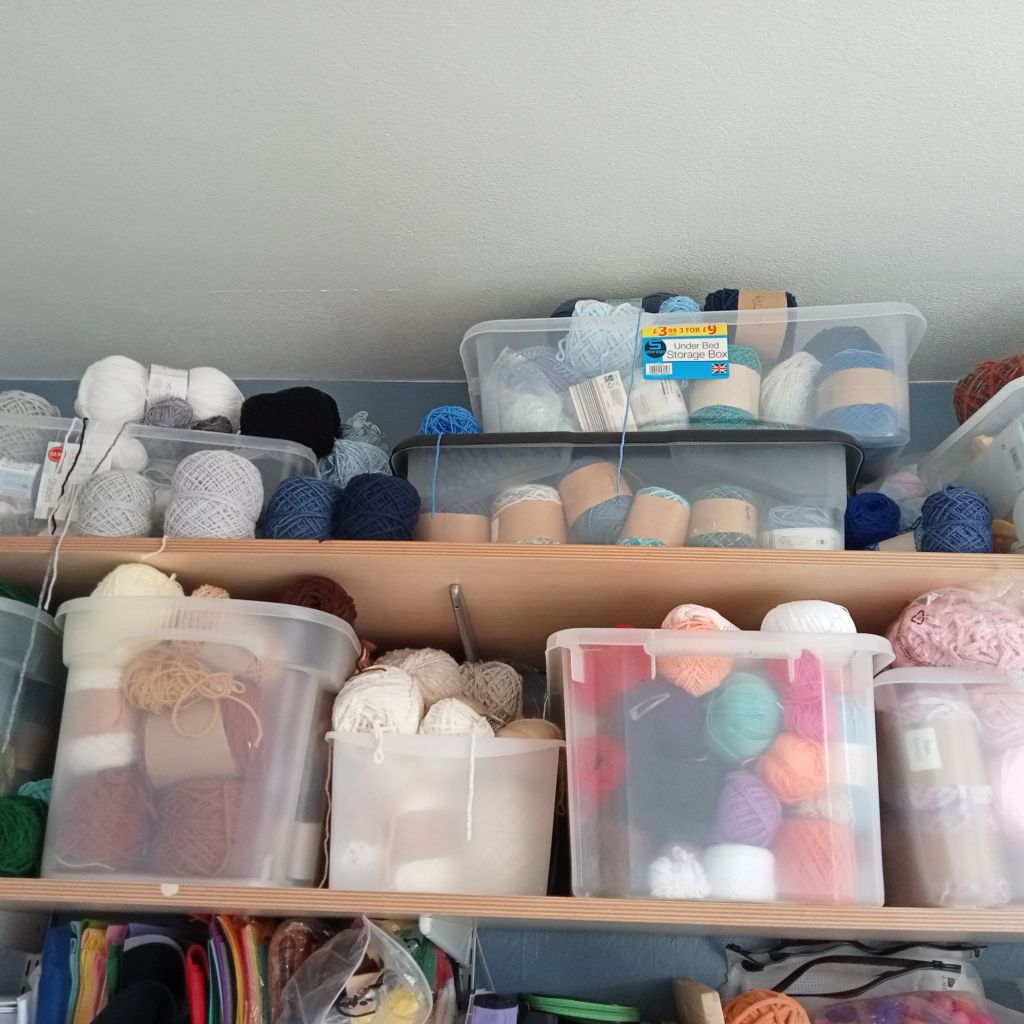
My yarn stash is stored in clear plastic boxes on the top shelves and my haberdashery – button, beads, ribbons and all my tools are on another shelf. I have a double wardrobe cupboard for fabric and stuff for all the various workshops I do are also stored in plastic crates, ready to pull out when i need them.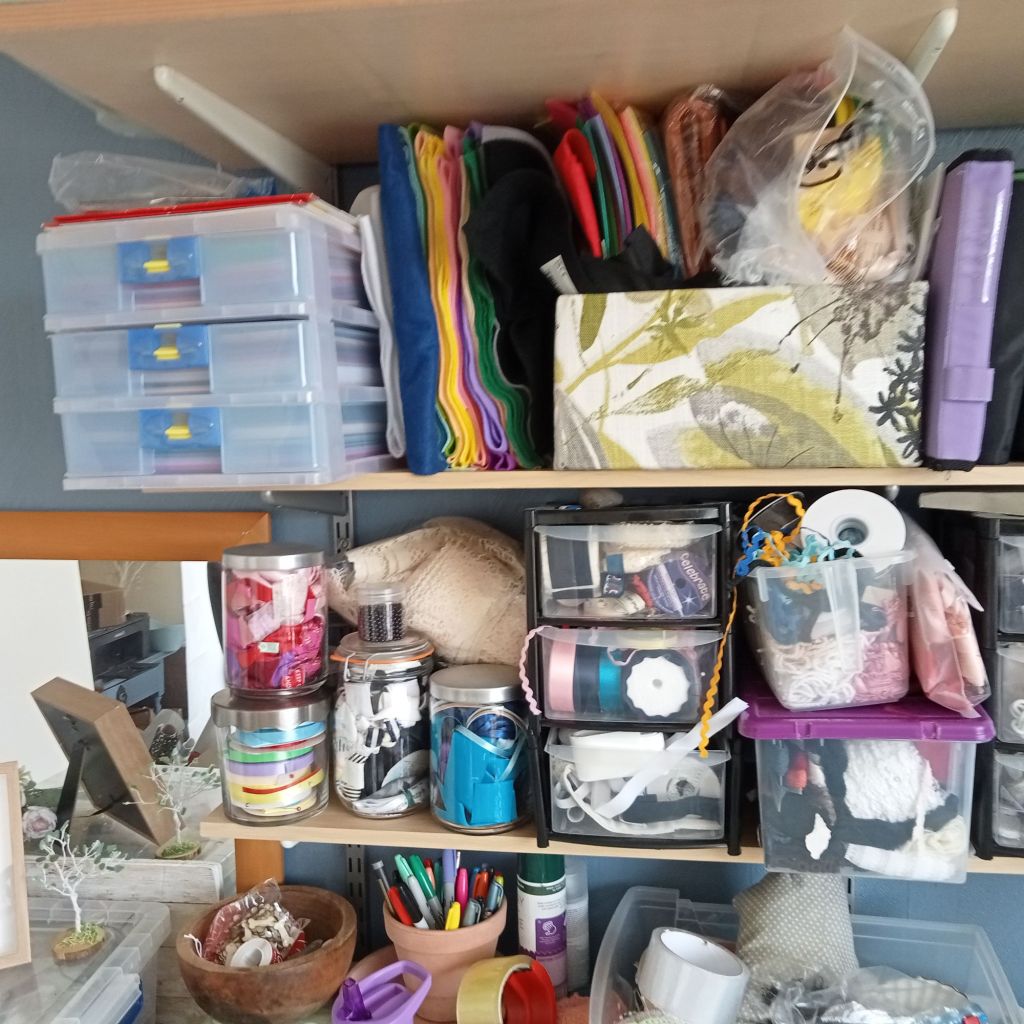
If you dont have a dedicated craft space, then try to keep a handy stash of essentials wherever you work and put everything else away. For crocheter’s, a small Ziplock bag with scissors, tape measure, stitch markers, darning needle, ordinary needle and thread will be enough. Keep one beside the chair where you sit, next to your dining room table and wherever else you work.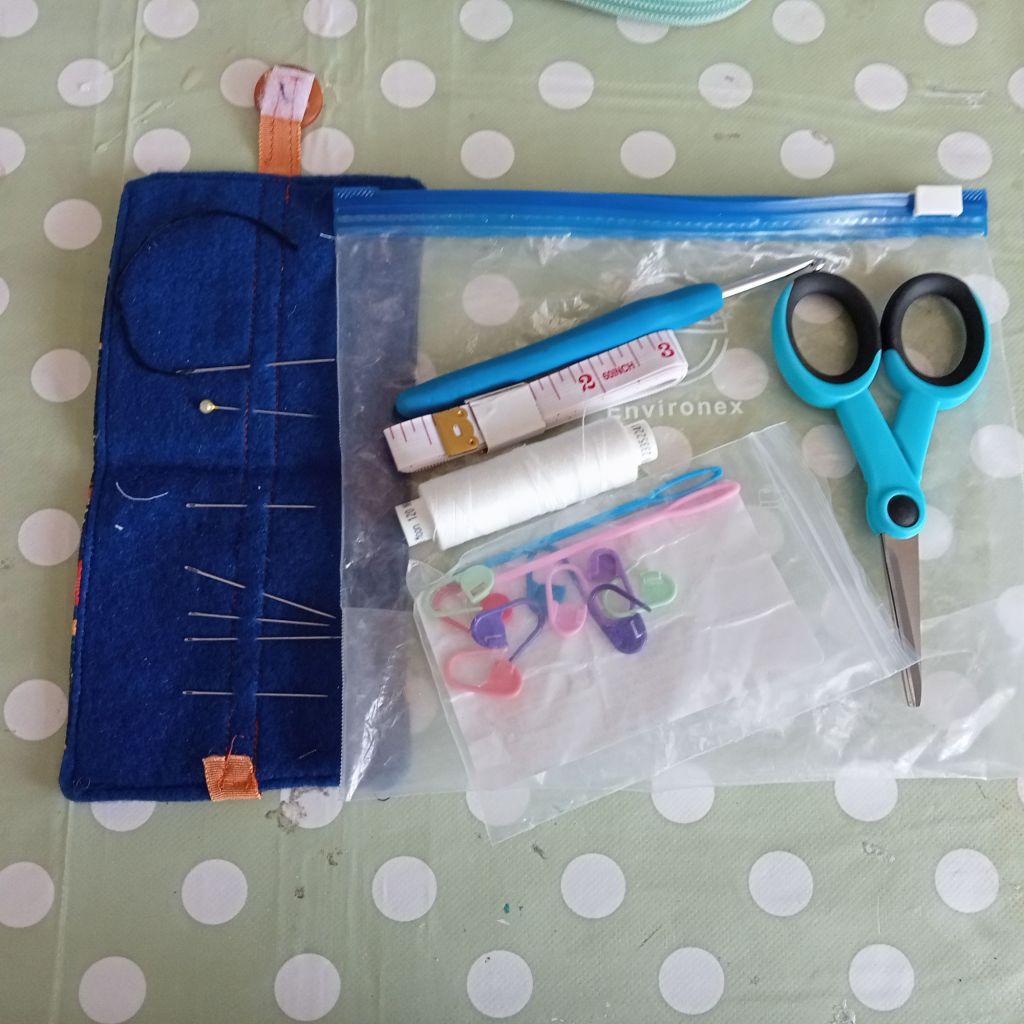
Project bags are a thing for me. I have several on the go at any one time, each with their own bags of the essentials above and one of my three sets of hooks.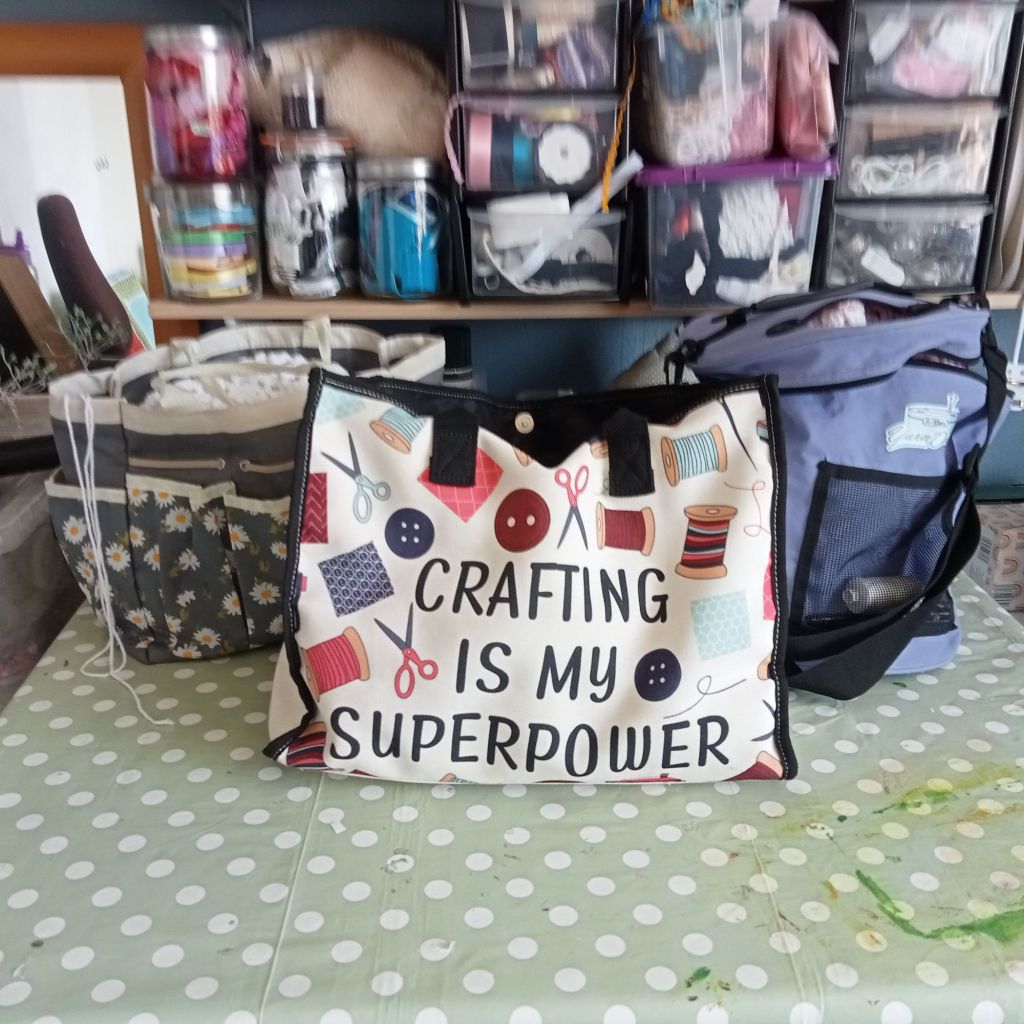
Hook cases with storage for a full set of hooks, as well as your other essentials make great presents, and you’ll definitely need more than one, so put it on your Christmas list.

Now, how to make the most of that storage. First, before you go out and buy more boxes or drawers, have a look round your home to see what you’ve already got that you can utilize. While you are doing this, keep a lookout for any supplies stashed in odd places and gather them together. This will save the money you might spend buying things you already have.
For yarn storage I recommend clear plastic boxes so you can see what you’ve got. Consider boxes with lids that can be stacked. If you have limited space, it might be worth investing in a ball winder. It will produce tight yarn cakes that take up a lot less space than the puffy commercial balls.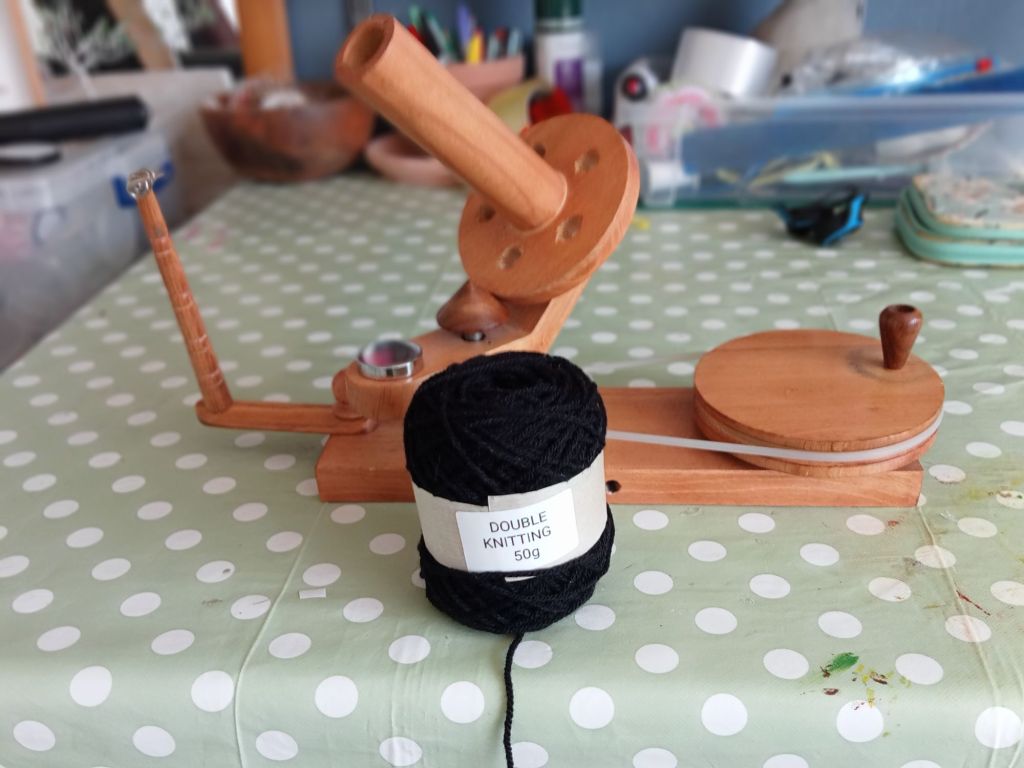
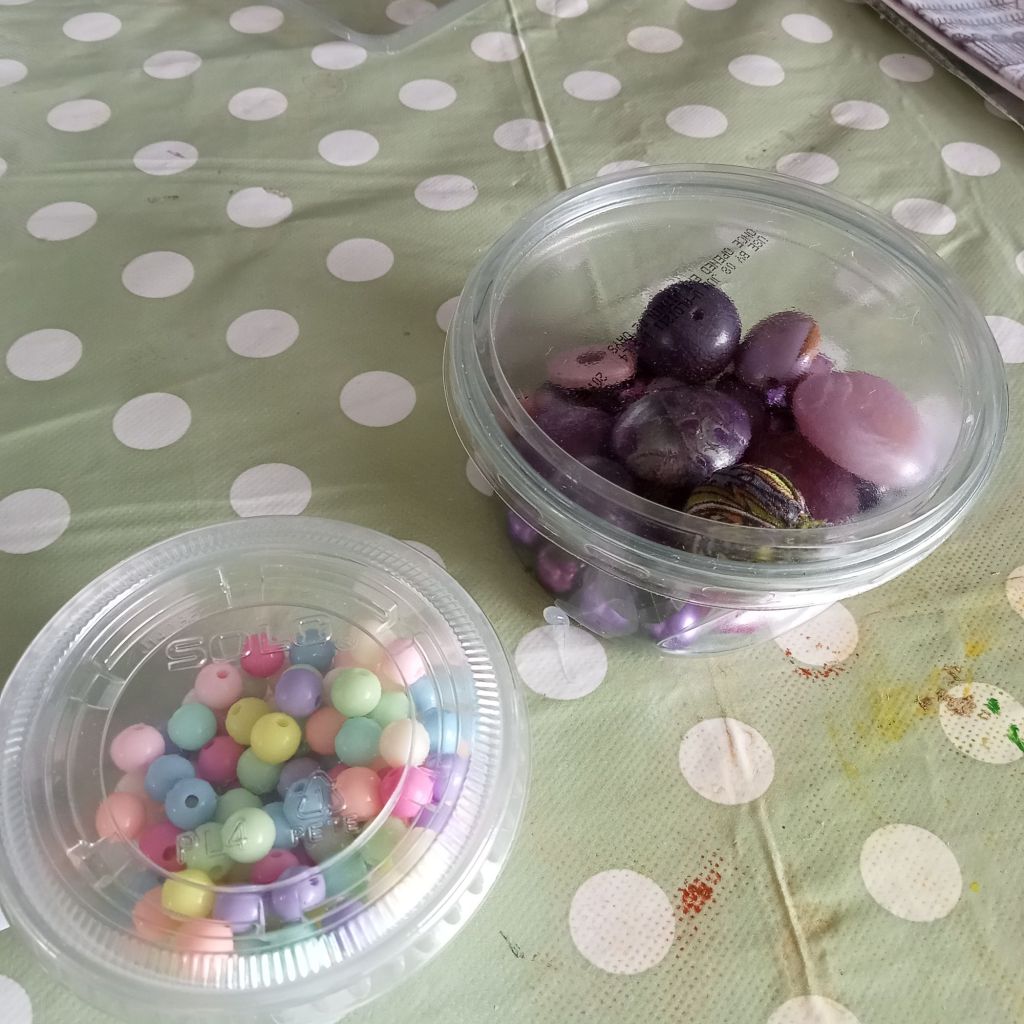
For my haberdashery, I have small stacking drawers and large jars for ribbons. All my buttons are stored in jars by colour. Beads are in plastic containers, like dips are sold in, with a lid. Keep a lookout for bargains in craft stores for specialist storage for yarn bobbins, paints or beads.
Finally, regarding work in progress or WIPS. I always have a stack of these because i have the attention span of a goldfish. When you put a project away to finish later, make sure that it is stored in a clear bag with the pattern and a note of hook size you were using, the row number you are on and a ball band from the yarn you were using. I like using the big Ziplock bags clothing comes in or the lovely organza bags you get your yarn delivered in from the Wool Warehouse.
I hope you find all this helpful in organizing your stash. Finally, my craft room is always a mess, so my system is not perfect. But then creativity is very messy! -
13 years and counting…
I got quite a surprise when this popped up on Facebook today. Its 13 years since I started my page to show of my crafty creations and showcase my designs. So, after this reminder, I looked back over the years back to where it all started in 2013.
My first post from 2013 was this one
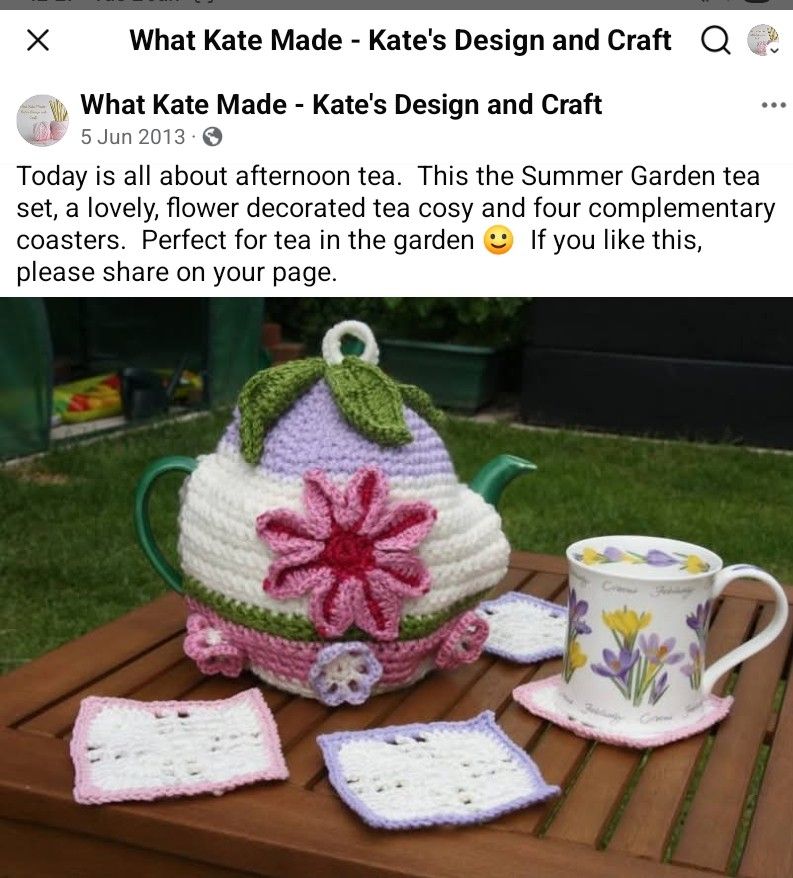
At the time tea cosies were my thing. I created them from my own designs just for my pleasure, usually giving them as gifts. I was really into making things for the home and as I got good responses started to sell them online, to limited success. Craft fairs followed but again limited success.
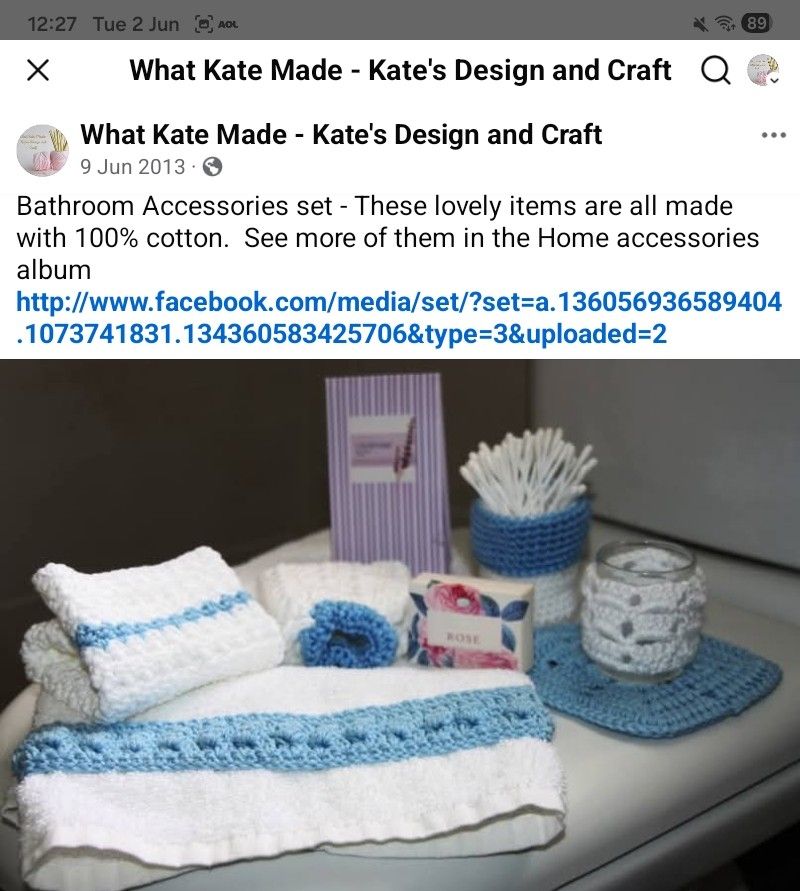
That’s when I realised that showing people how to make something was a lot more popular- and profitable than selling them. I started doing workshops at home in 2019 with great success .
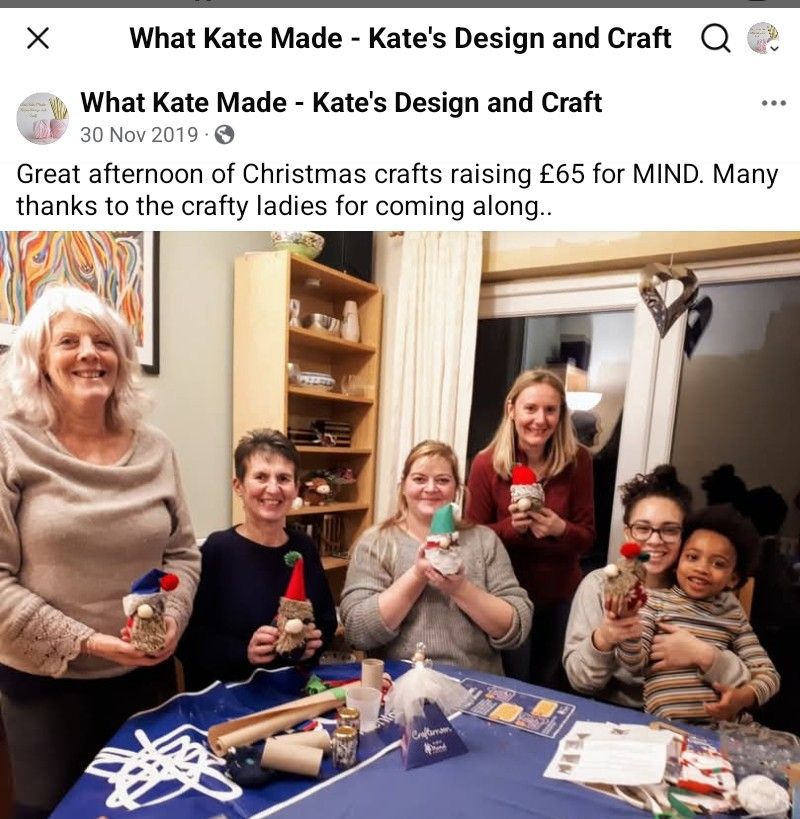
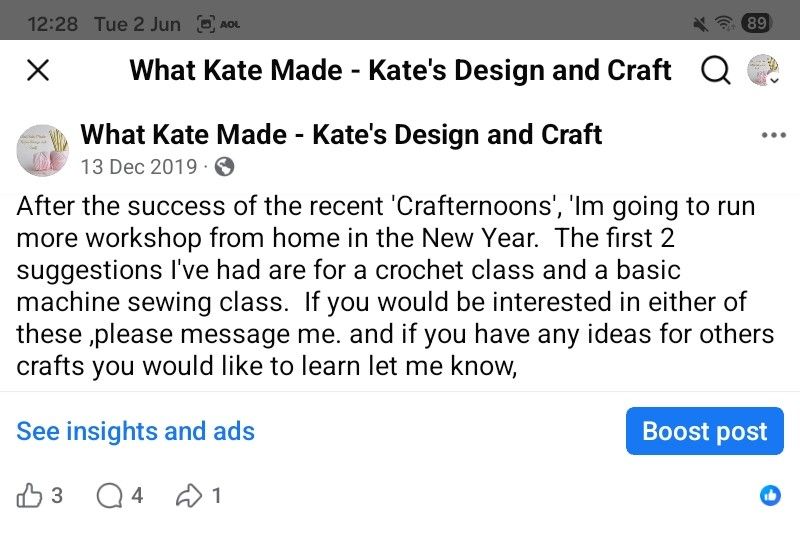
Then, Covid struck. No sooner had I started my workshops, I had to stop as all Face to Face contact was banned. What does a crafter do in Lockdown? Well, we were probably better prepared than most to fill our time at home. I joined a group making scrub bags for hospital workers and the started making masks for people who were vulnerable
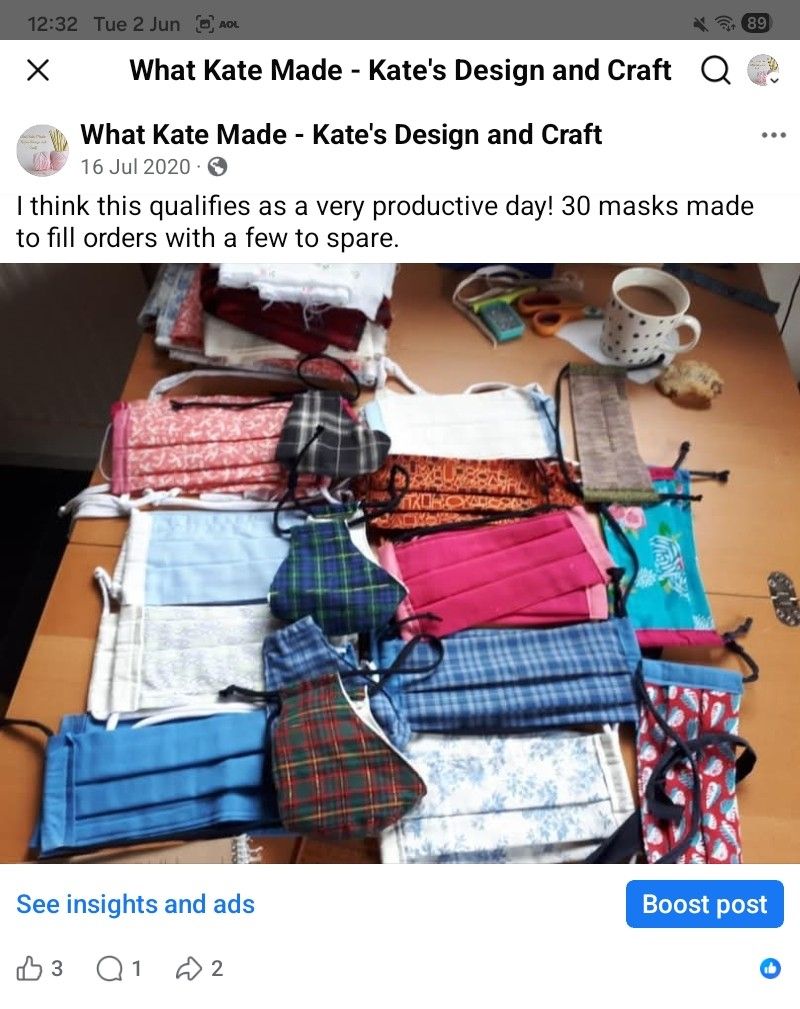
Along with a couple of fellow crafters, we moved online and started Fylde Coast Crafters, a hugely successful online forum. It replaced craft fairs when gathering together was banned, so we could still buy, sell, advise and just talk about crafting. Still going strong too.

Around this time, I also started working with the Virtual Village Hall, a lovely forum on Facebook created by the Royal Voluntary Service to provide activities online during Covid to replace classes at regular Village halls. I’m still working with them and is still immensely satisfying.
I’ve packed a lot into those 13 years and here’s to the next 13
-
Crochet for dogs
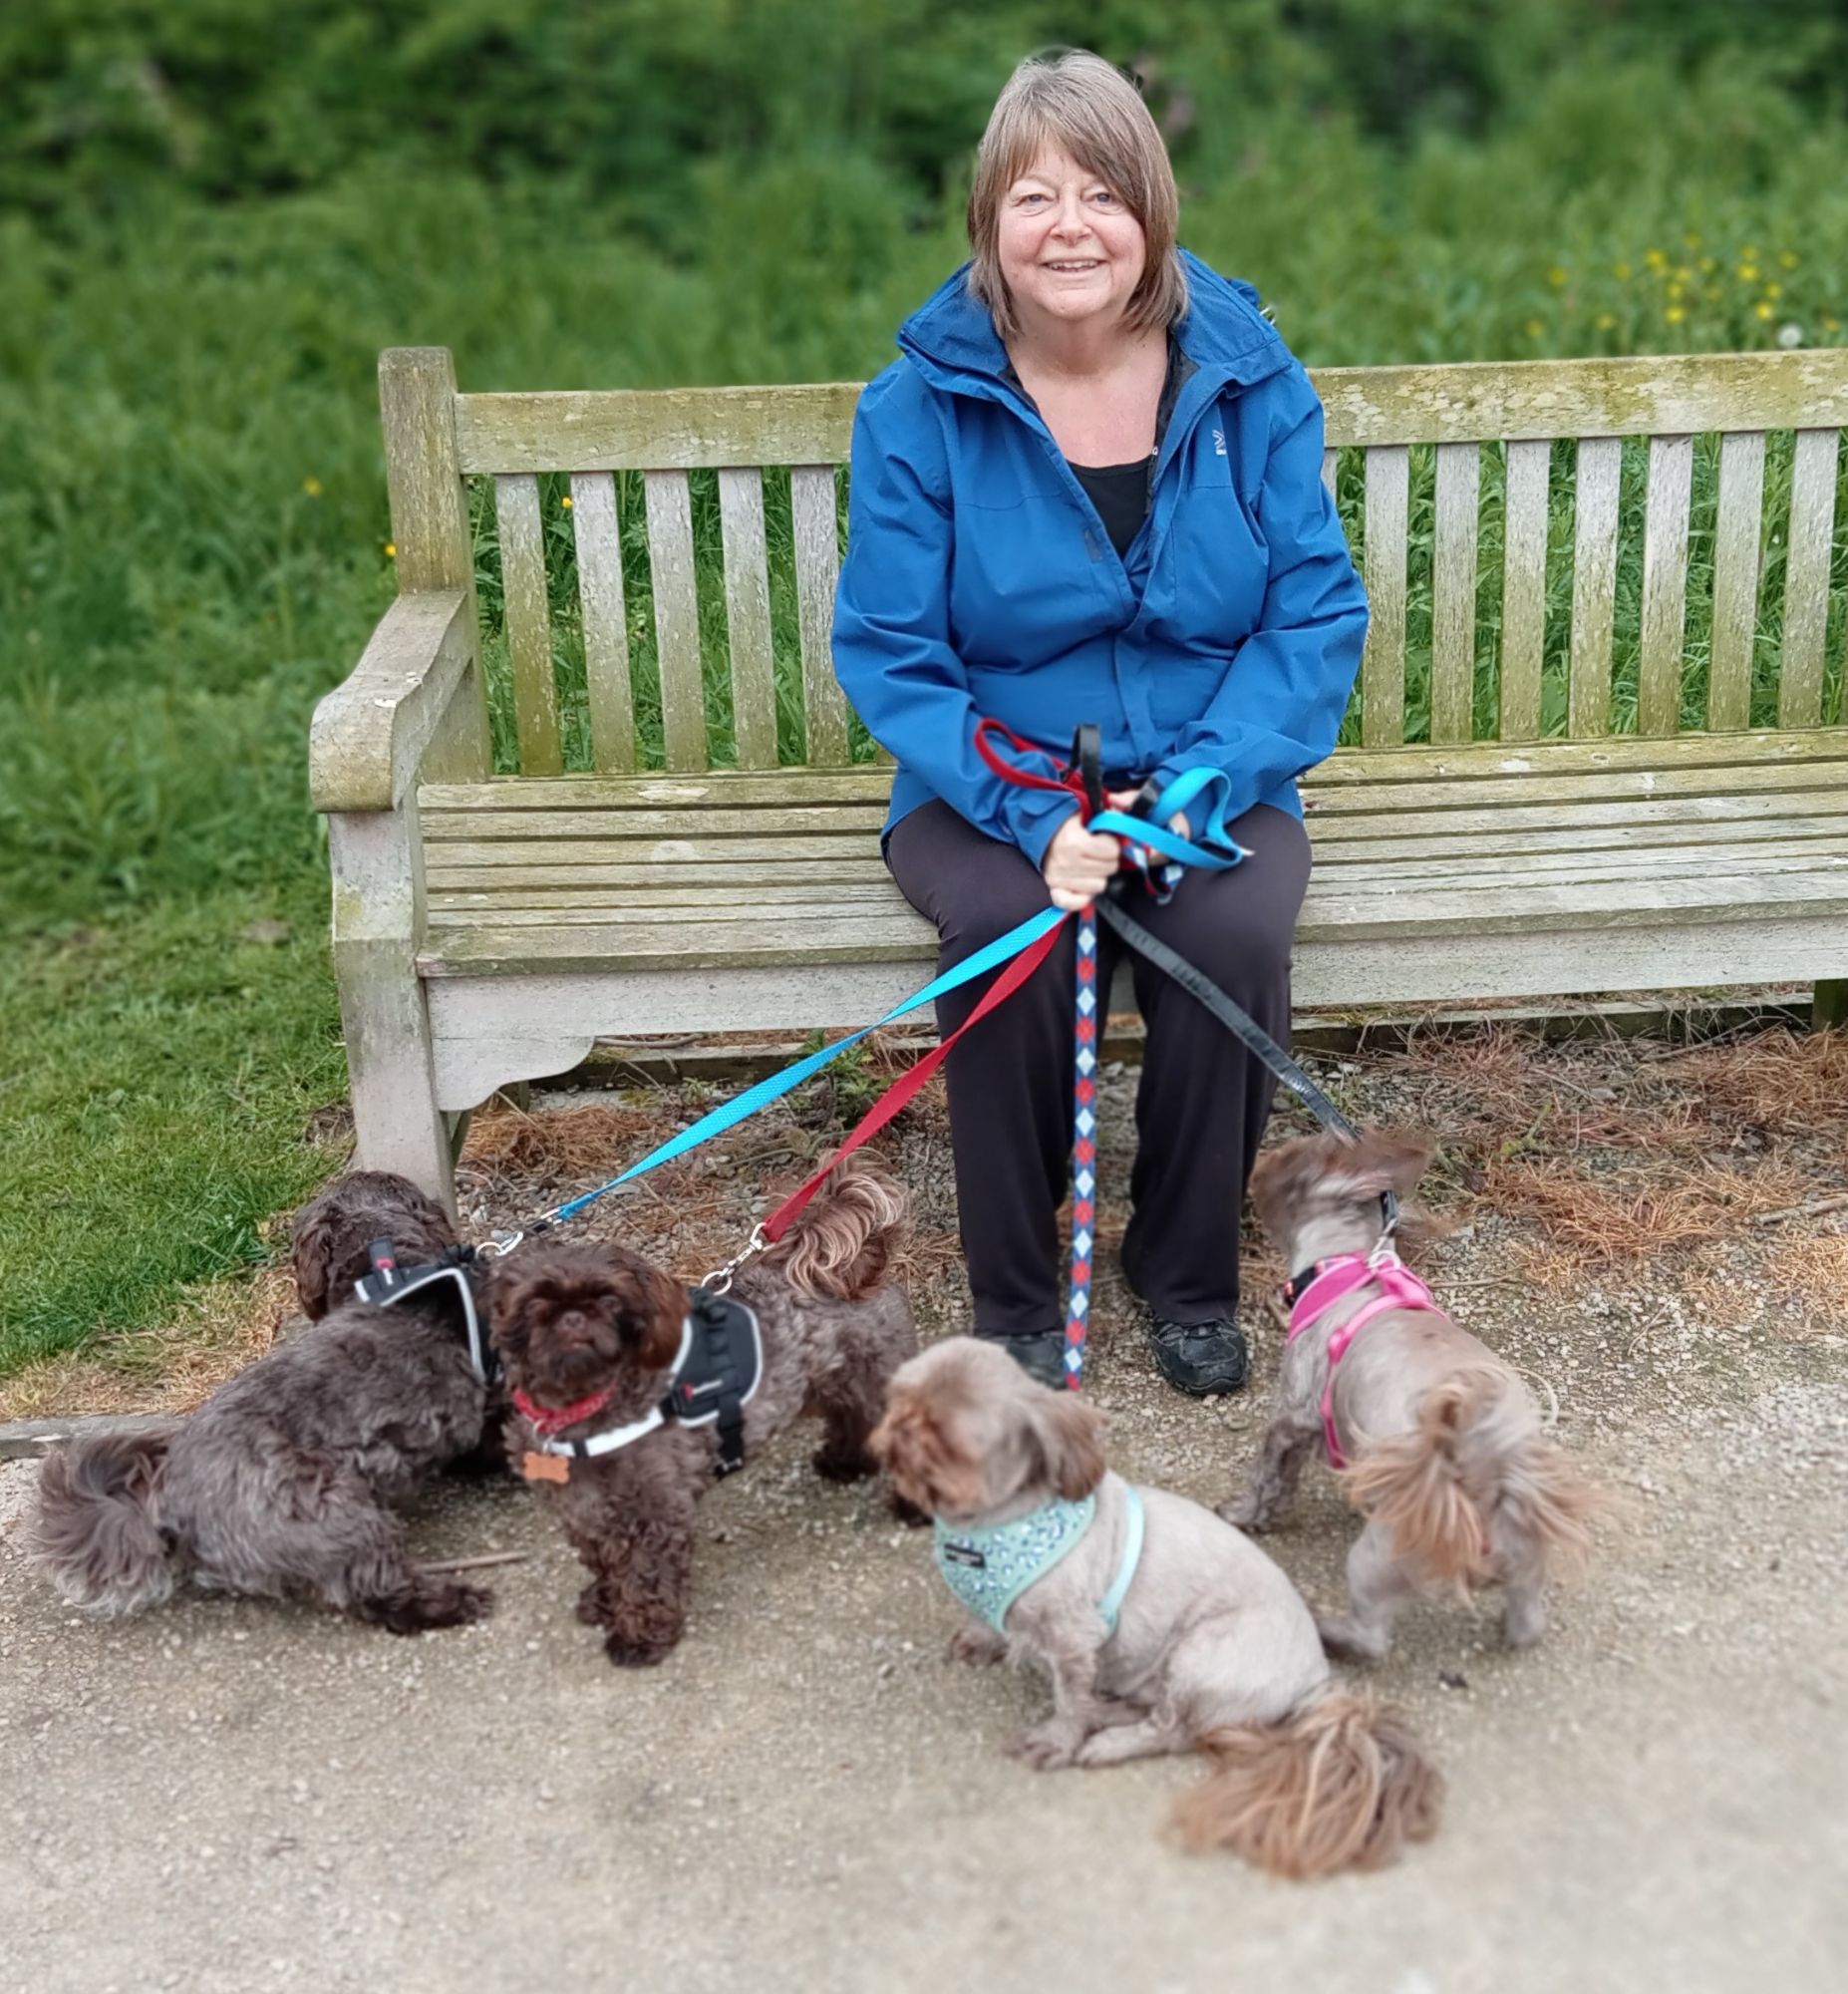
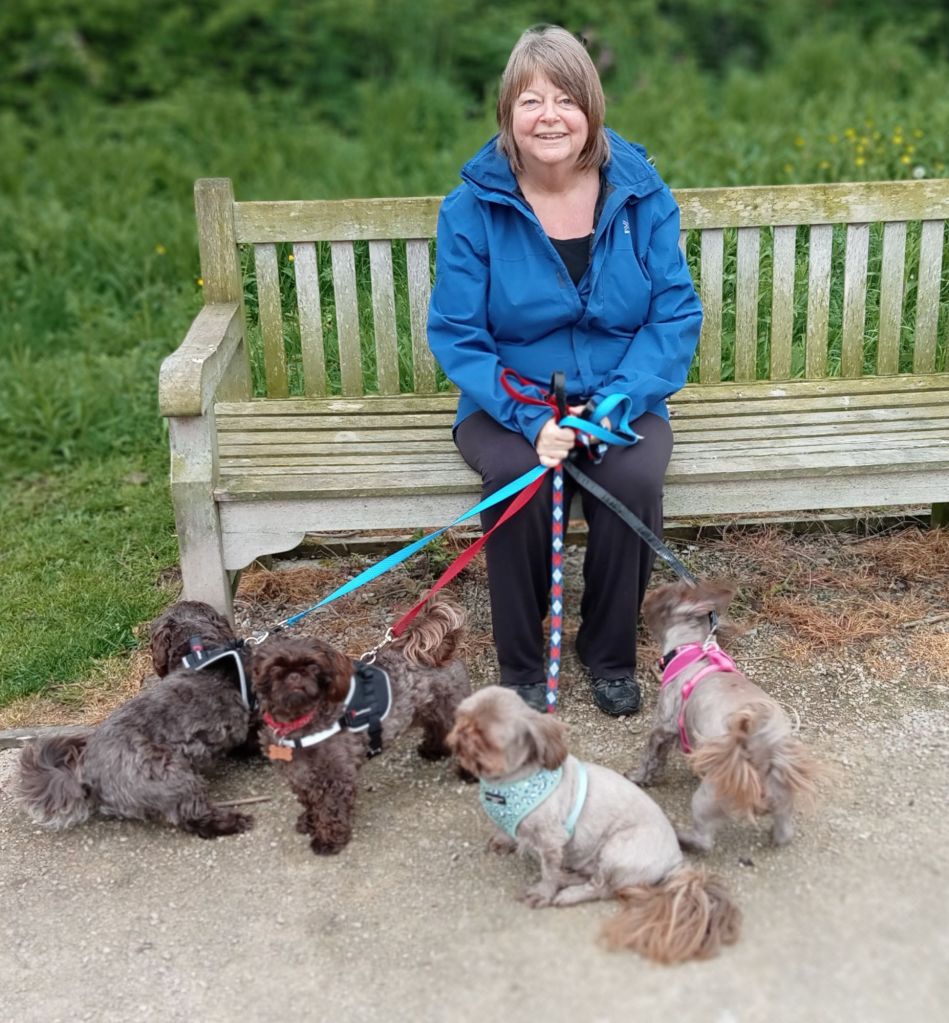
I’ve got four dogs in the house at the moment. Yes, four! All Shih Tzu’s and they have been inspiring me to explore crochet designs for them.
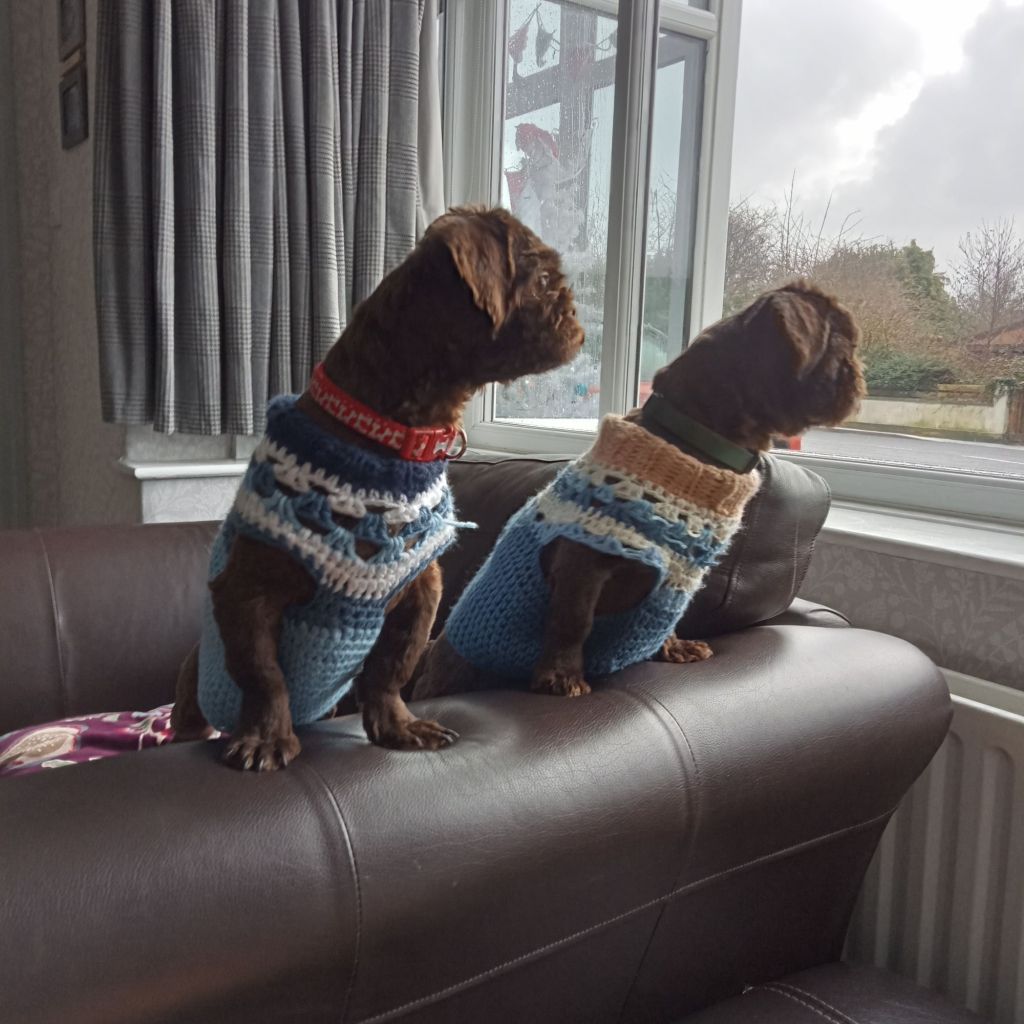
You might ask why we have four dogs. Well, we have started fostering for a Rescue. Our first two fosters were a total failure as we couldn’t part with them, so Fergus and Finley joined our family in February ( they are the chocolate brown ones in the photo). We have now fostered Micha and Micha( the lighter brown ones) siblings who need to find a new home. And they all get on remarkably well.
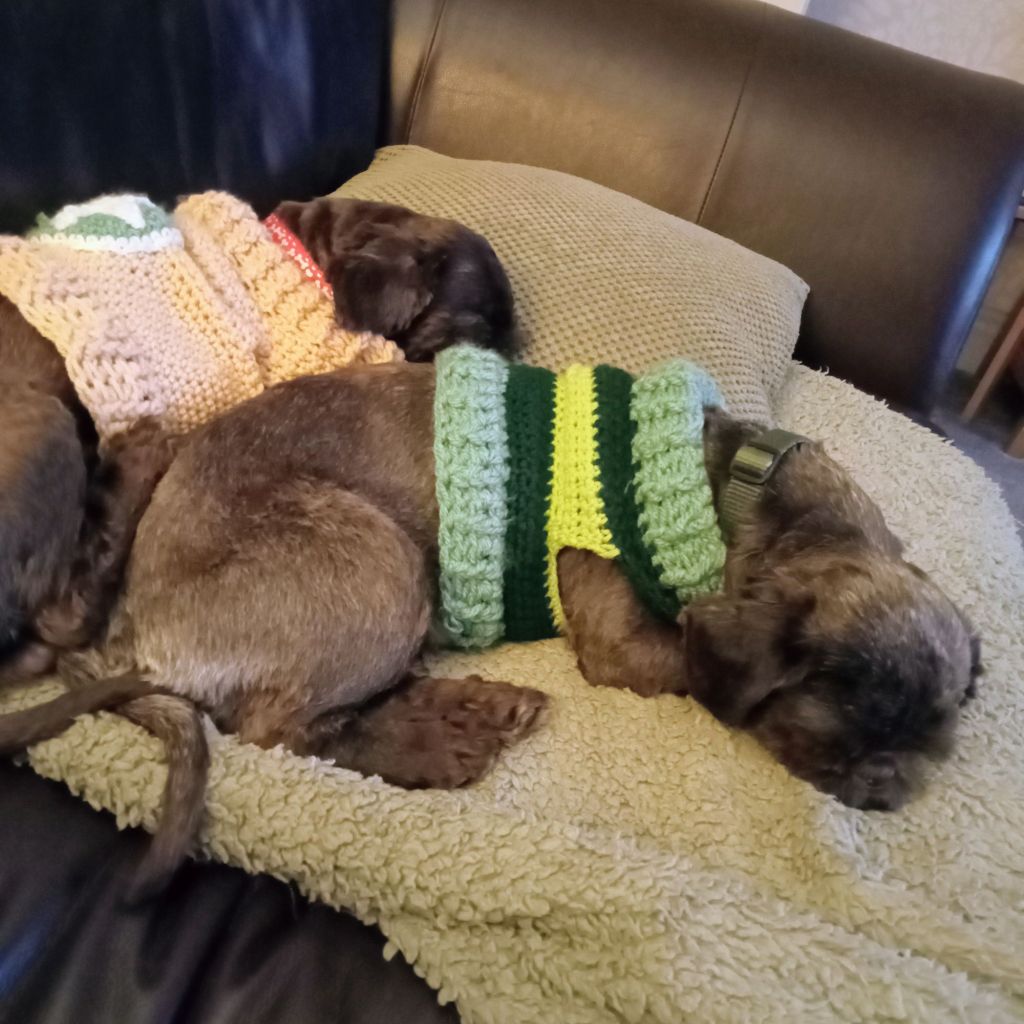
My doggy crochet started with a practical purpose. Fergus and Finley were very neglected before their rescue and had to be shorn like sheep before they came to us in January, so jumpers were a must. I made them several each, honing my patterns to perfection.
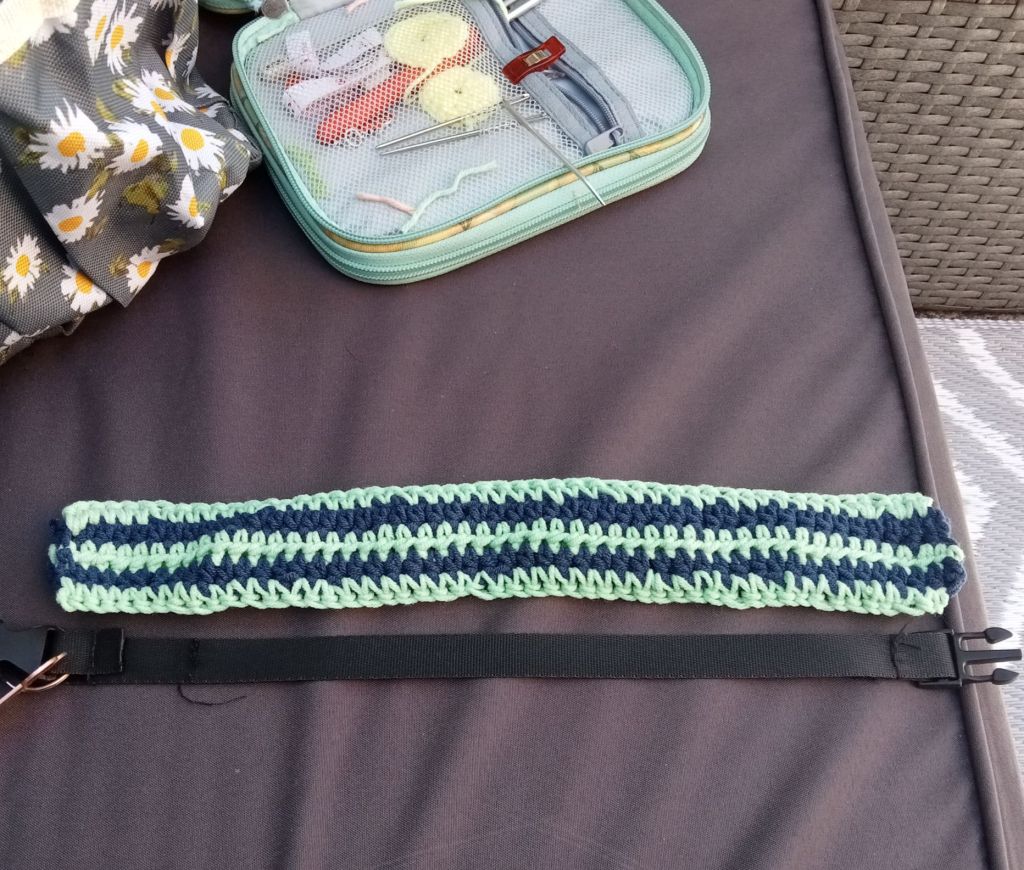
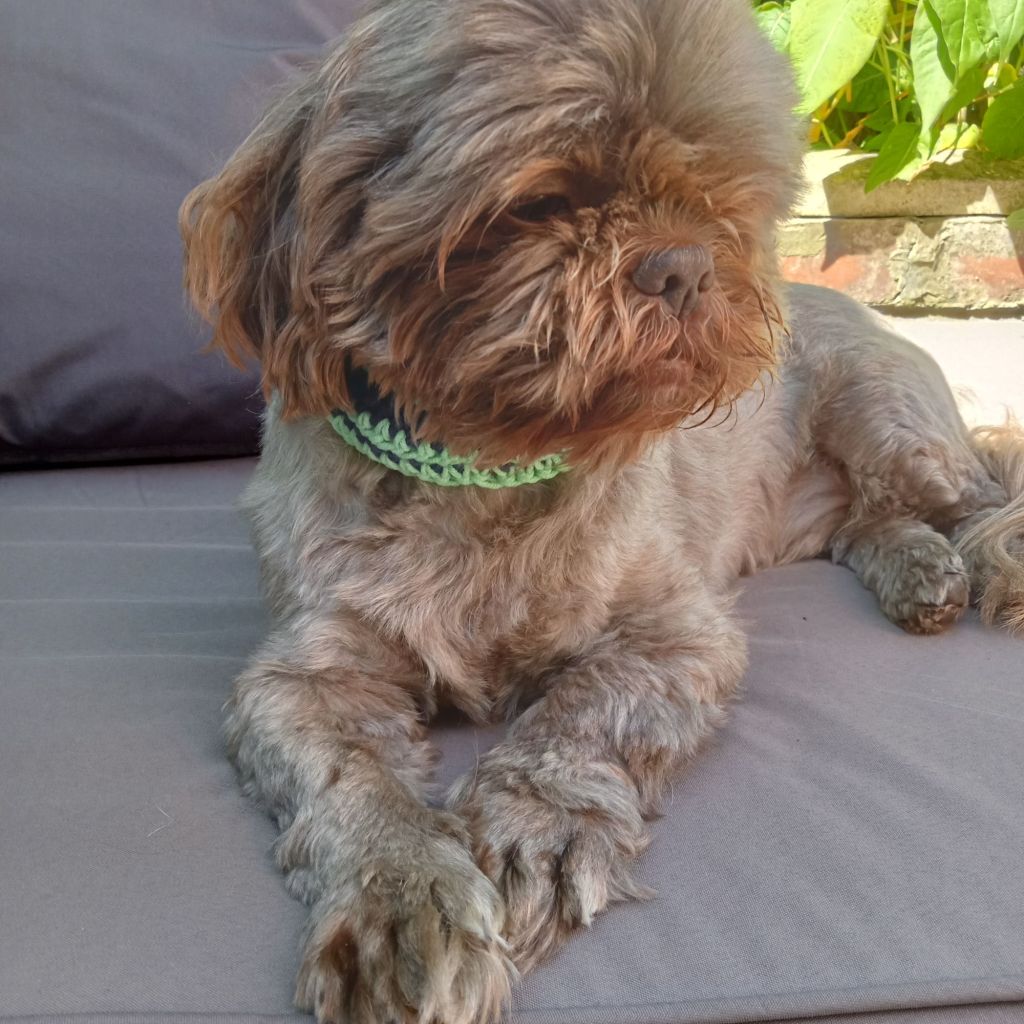
The next thing I looked at were collars and leads. Crochet with yarn is probably a bit too stretchy for collars but crochet with macrame cord makes an excellent lead! Slip on collar covers, made in bright coloured cotton, dress up a plain collar and add a dash of colour.
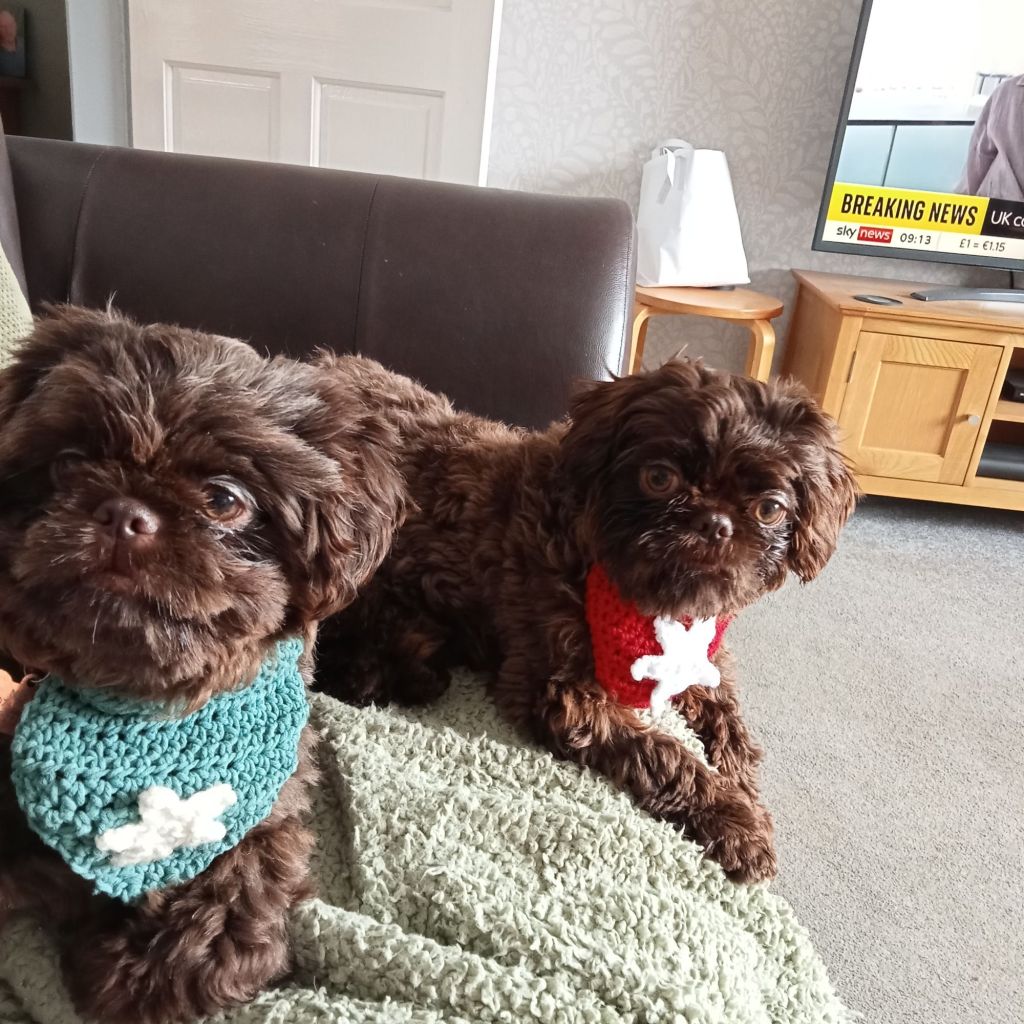
Doggy bandanas are also made to Slip over a collar. These are decorated with a star, as the rescue is called Shih Tzu Action Rescue or STAR.
Finally, what’s the difference between a lamb and a Shih Tzu? Not much when it comes to size. A local animal sanctuary were looking for something to keep new lambs warm and I donated some dog jumpers. They were a perfect fit!
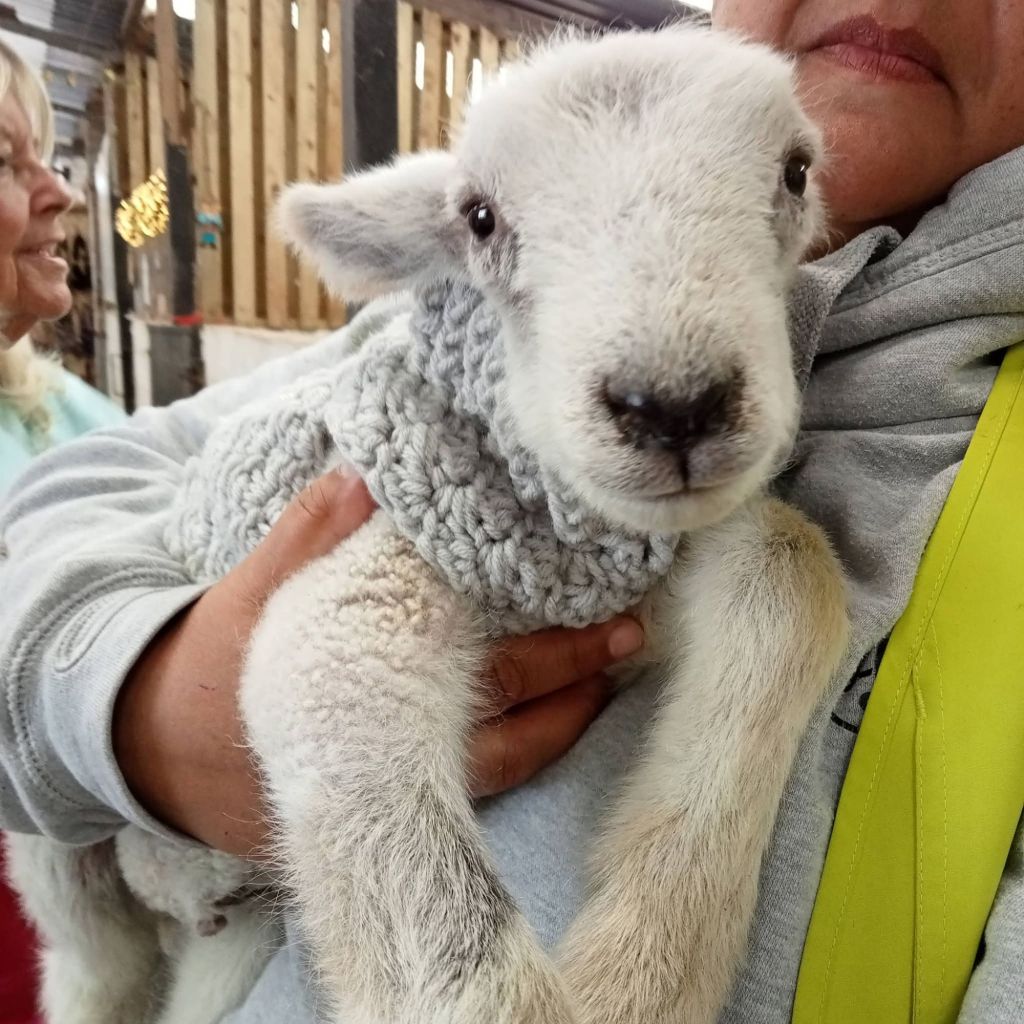
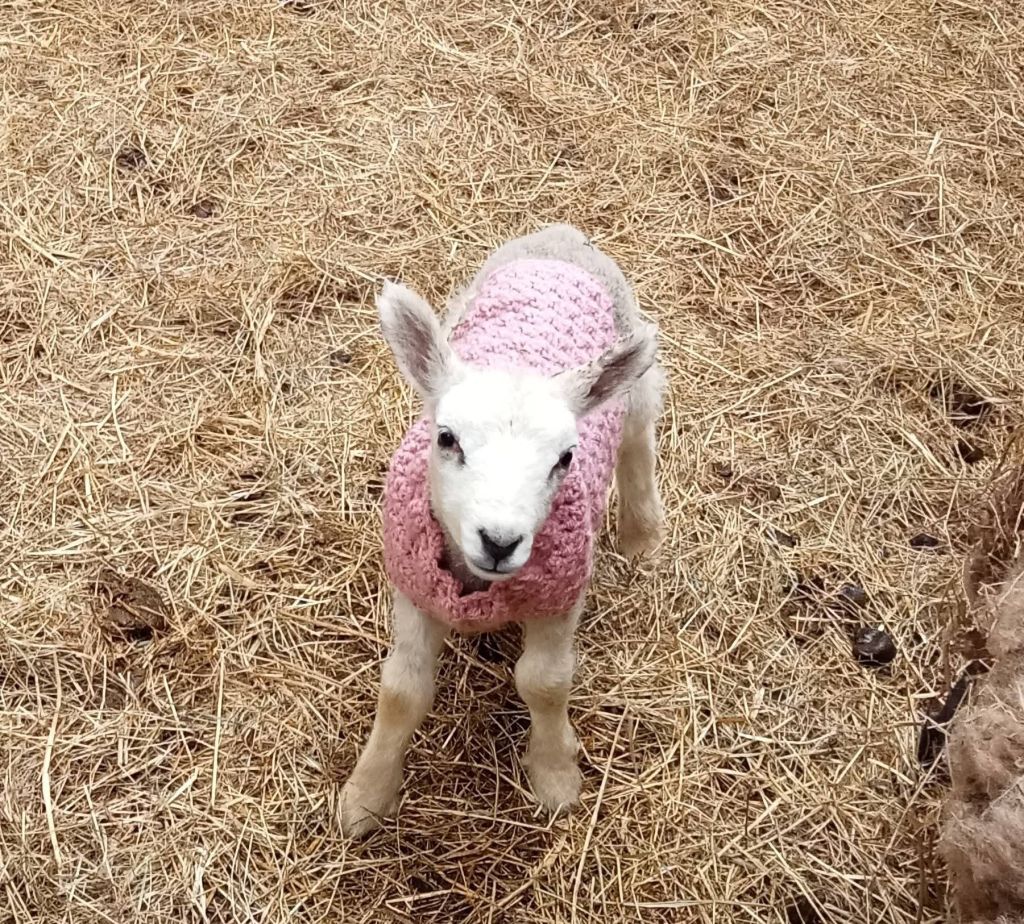
Walter and Betty look great in their cozy jumpers.
My dogs provided inspiration for a whole new set of designs to share with you. What next?
-
The demise of the postbox topper
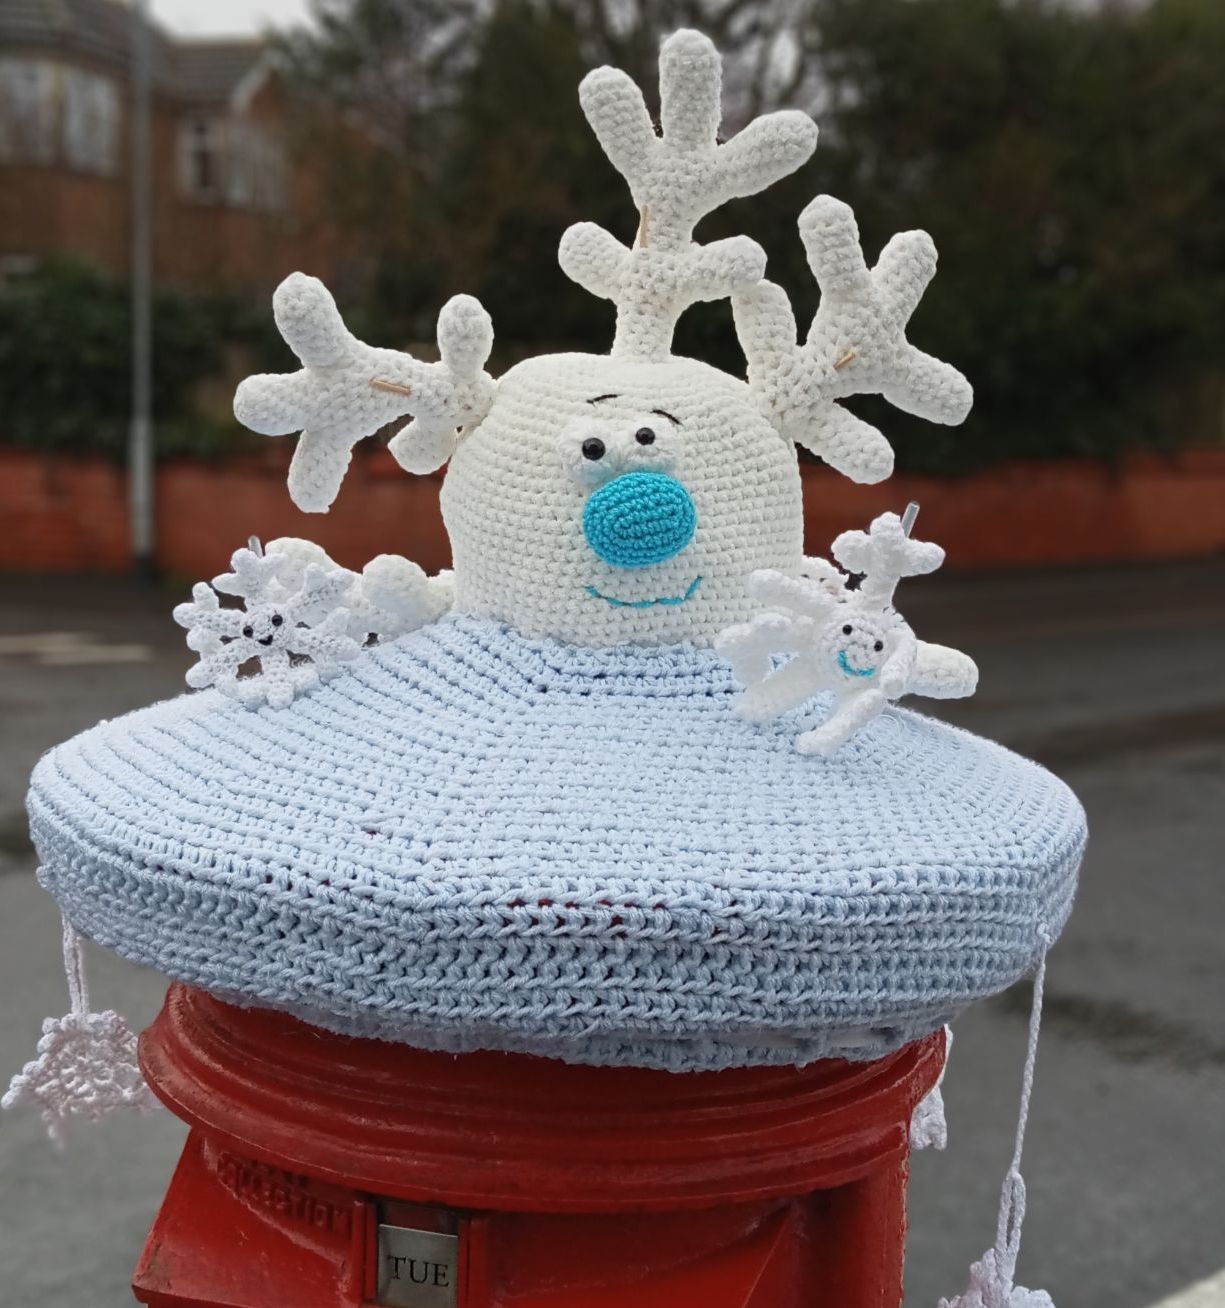
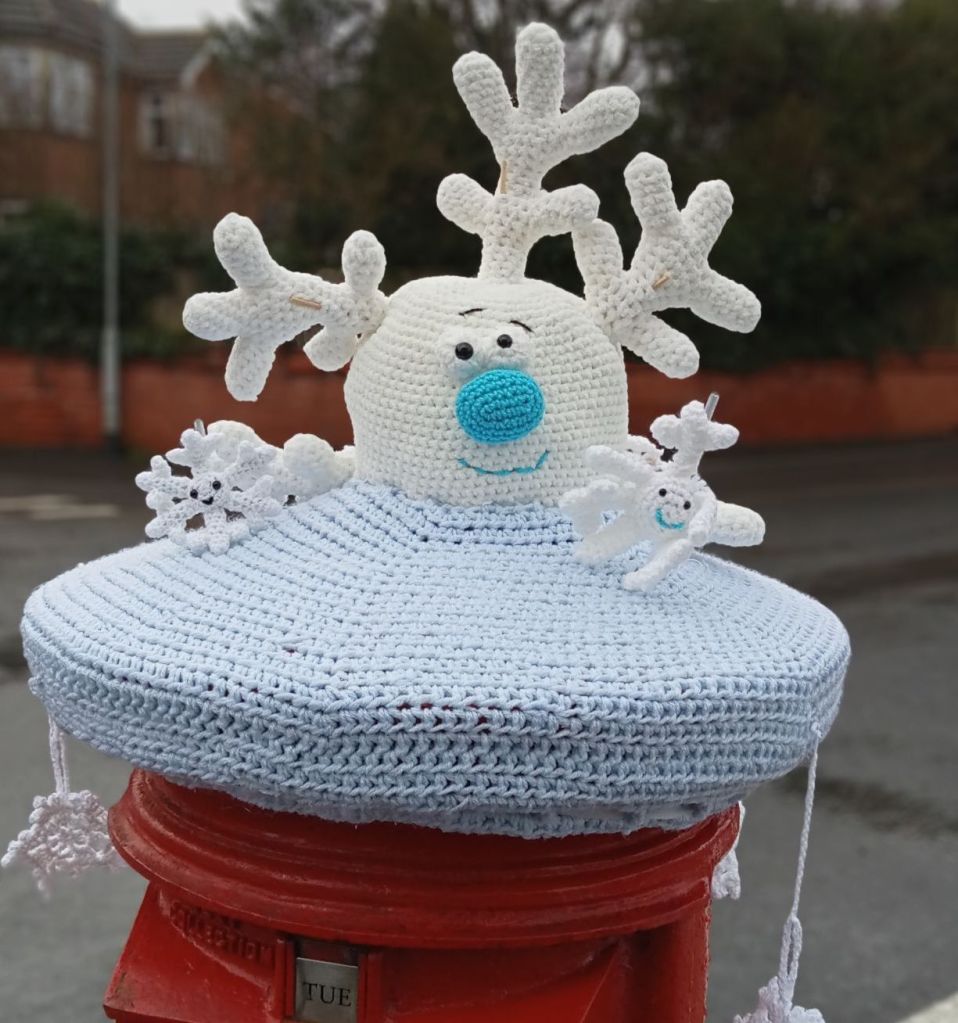
Our Winter Topper for 2026. All across the nation, crochet and knitting groups are bowing their heads in sorrow. Why you might ask?. The answer is that the stage where they display their creative genius – the humble postbox – is getting a makeover and being brought up to the twenty-first century as an all purpose box that will take parcels but requires a solar panel on top. So, no more topper!
We first began to see these toppers in 2012 over the festive season, although this soon spread to other key times of the year such as Easter. They were used to celebrate various frontline workers during the pandemic, to celebrate queen Elizabeth’s Diamond and platinum jubilees and lots of other seasonal and notable events. Our first topper in Elswick was for the Platinum Jubilee in 2022.
Royal mail have always been quite welcoming of the topper, recognizing that the good press they generate is welcome to them in the days of declining customer satisfaction
Bu then this began to happen.
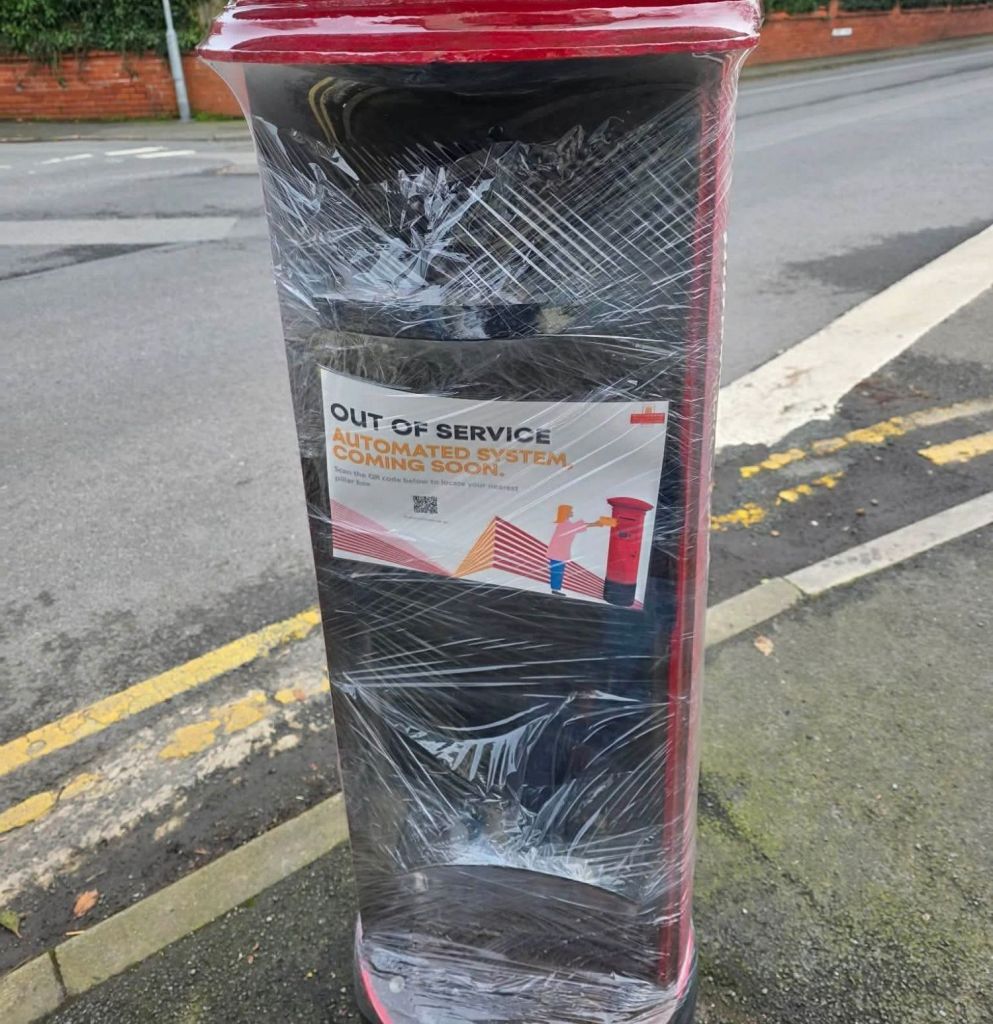
Postboxes began to be taken apart and wrapped up for ‘regrading’, quite sinister and very inconvenient if your only other postbox was miles away. And in true British fashion you have to wait weeks for the second gang to come along and restore it.
This minor inconvenience for customers is a disaster for the yarn bomber or wooly vandals, as we have been called. The inclusion of the solar panel in the top means it cant be covered.

But fear not, wooly vandals are a crafty lot (pardon the pun) and have soon devised ways to keep their postboxes swathed in yarn or found alternative sites.
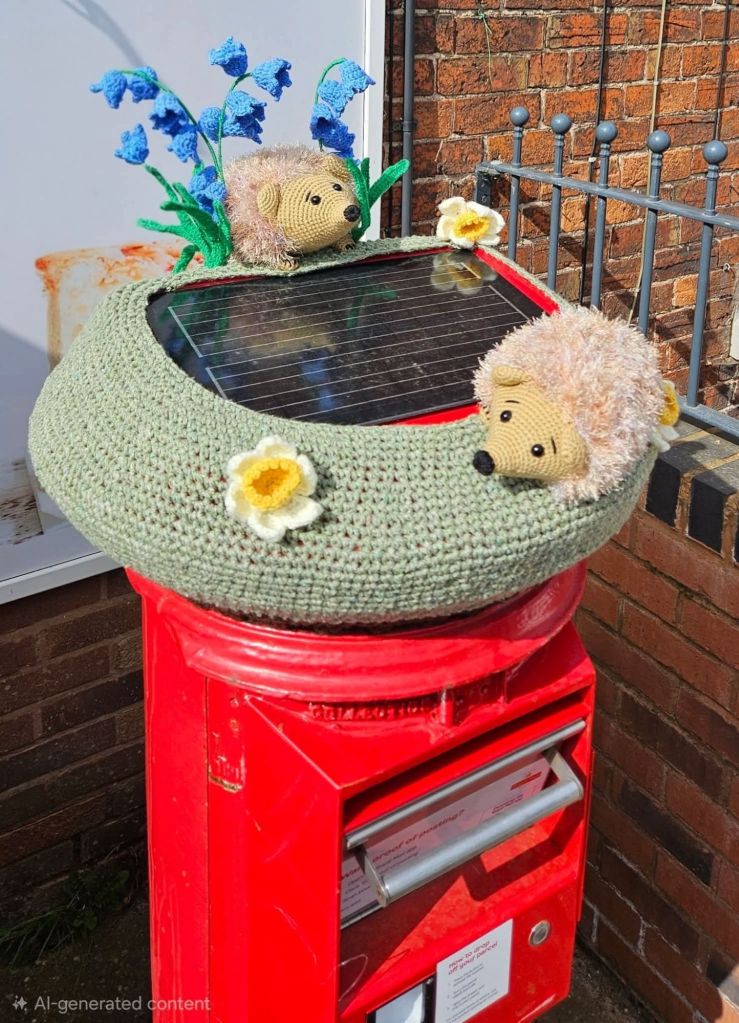
Here in Elswick, we woke one Sunday morning to find that the postbox ninjas had been in the dead of night and wrapped up our box and it is still wrapped four weeks later. We’ve missed the prime Easter season too! Never fear, we got our thinking caps on and came up ith bollard toppers, Easter bunting and a nice line in decorated wreaths.
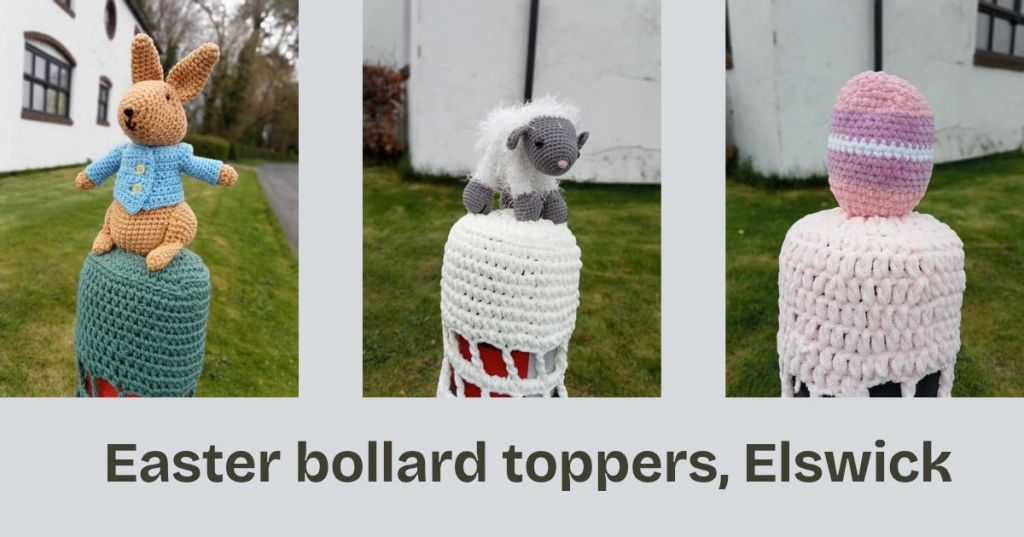
The postbox topper will live on although in a much reduced version but watch out any gate pillars, bollards, even benches and road signs. A wooly vandal cannot be stopped!
-
The Thrifty Crafter
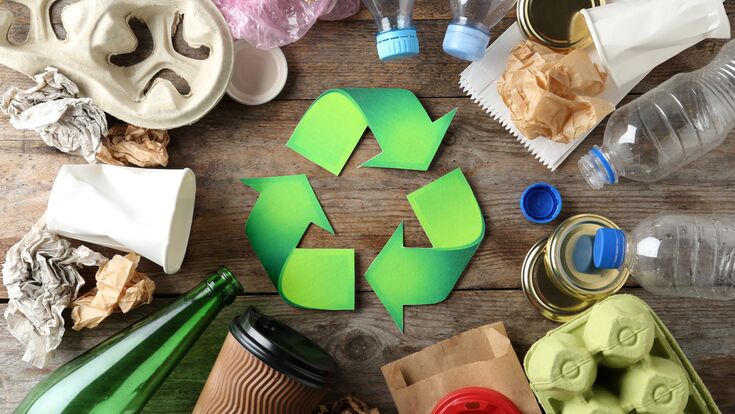
You don’t have to spend a fortune on crafting materials when there is an abundance of materials just lying round the house.
I’ve always tried to reuse and recycle and I’m notoriously mean when it comes to spending money! Packaging, paper, fabric, buttons, beads, even cushion stuffing – there is so much that you can save from landfill.
Paper packaging is a goldmine of crafting material. The packaging from a certain huge online retailer is a great source of card for all sorts of crafting from cardboard for winding on and storing ribbons (reused of course) to using boxes for decoupage projects to make your own gift boxes. Newspaper and cardboard tubes have long been used in crafting projects. I combine both to make this wreath base.
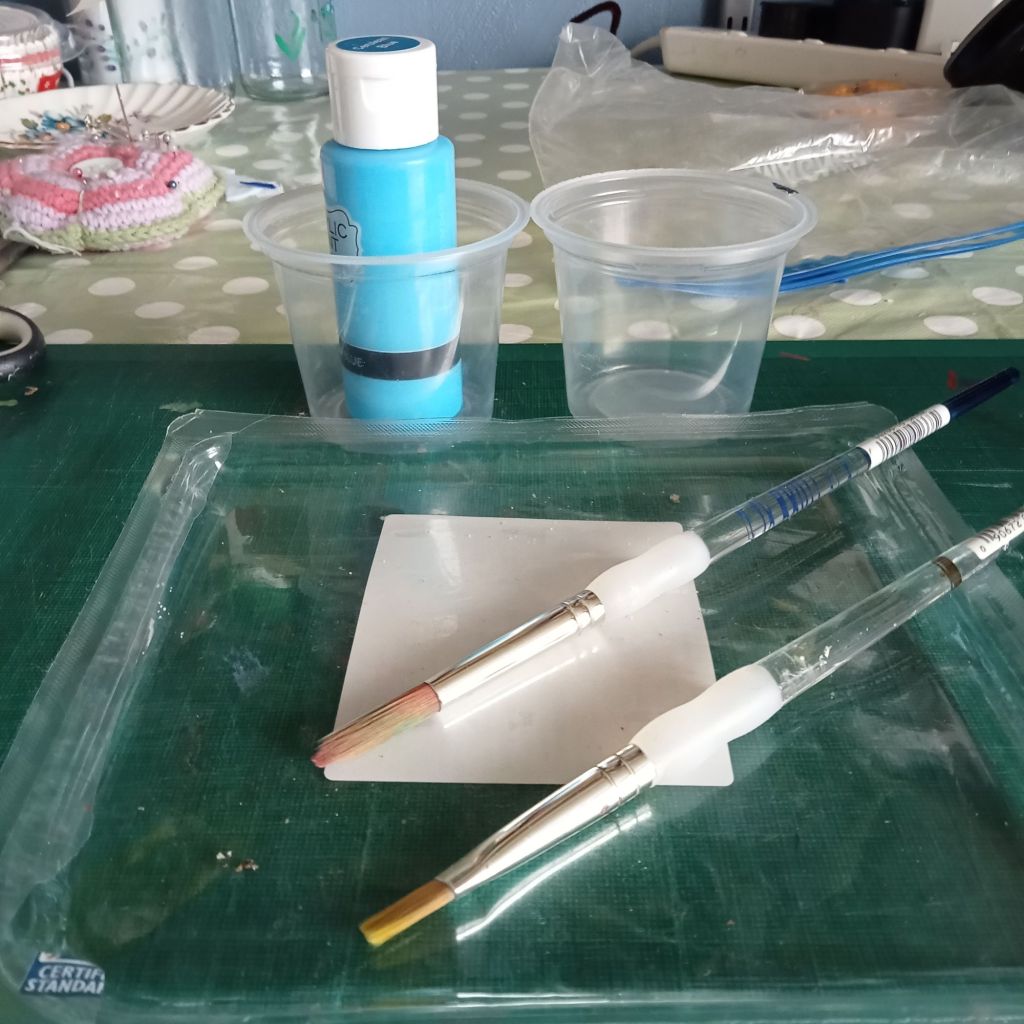
Plastic packaging is used for everything these days. I use the flat plastic trays from deli meats are great for using as paint palettes, any project needing clear flat plastic, making widows in cards and even for etching and printmaking. The plastic cartons that butcher meats come in, that are ridged are great for use in the garden as seed trays, as are yoghurt pots. Just add drainage holes. Yoghurt pots are also great for paint , glue, water anything you need to put in a container.
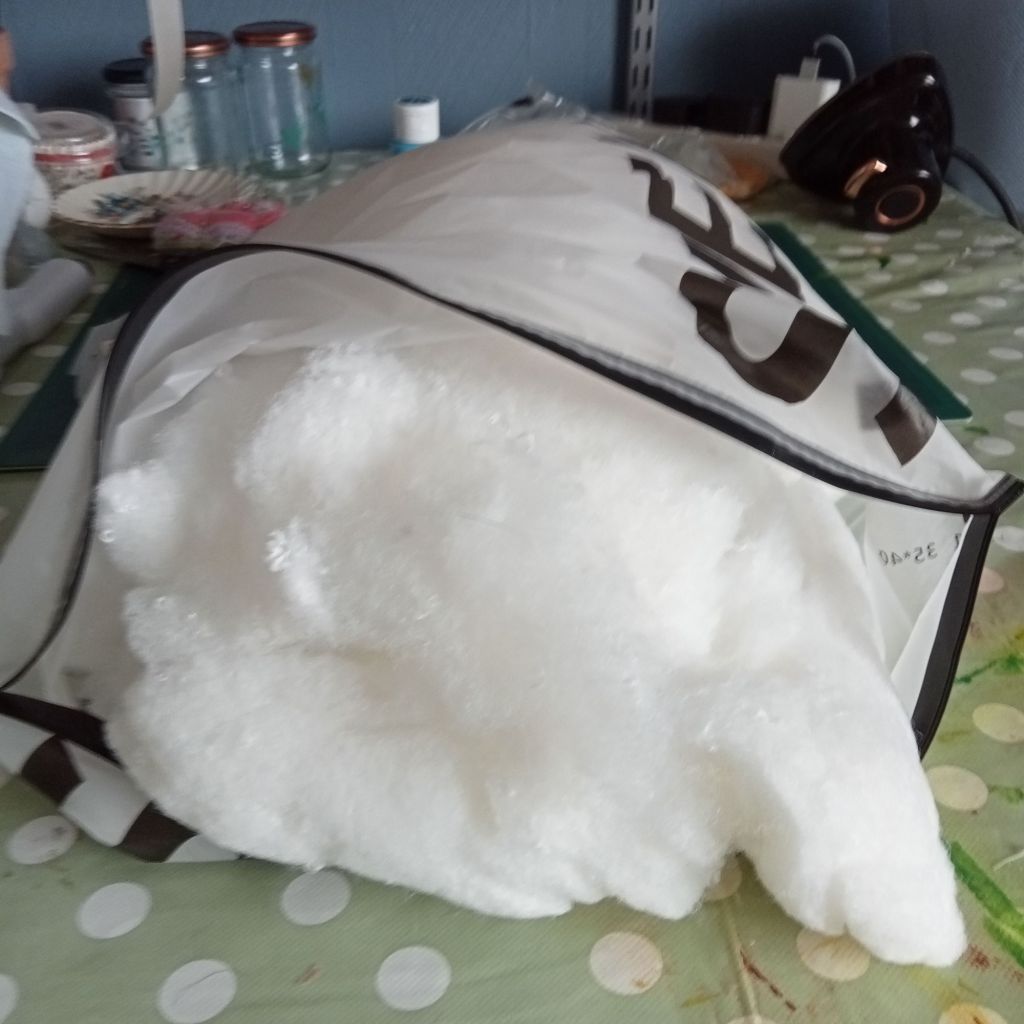
If you make toys, don’t buy expensive stuffing. The stuffing from old pillows and cushions if perfect for this. just wash the item and cut it open. if it has got little compacted, often the reason you replace it, then pull it apart and fluff it up a little.
Old clothing is not only a great source of fabric, but also buttons, ribbons, zips, all sorts of haberdashery items. As well as taking apart any clothing you no longer wear, try charity shops for fabric. An occasion dress can be a great source of silks and sparkles, cotton summer clothes great for prints and plaids from men’s shirts.
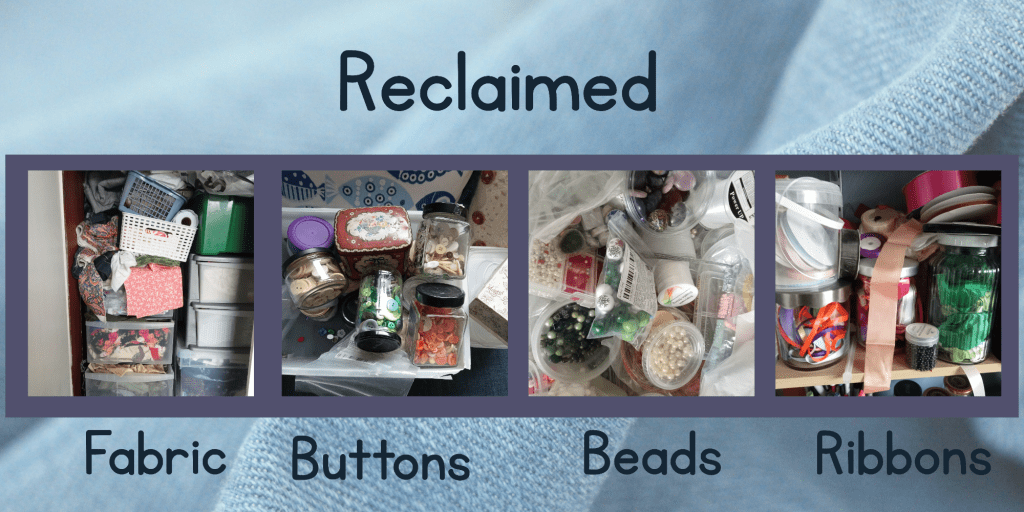
I buy costume jewellery from charity shops and car boots and reuse the beads. It’s much cheaper than buying new. You can also reuse the glass and chains for jewellery making.
All of these little tips will not only save you money, but will help save the planet.
Confessions of a crafty butterfly