Who doesn’t love a good pot of tea,and who doesn’t love a teapot cosy? Whether a tea lover is English or not, one of the most common accessories found tucked away in their cupboards is a cosy. The covers act as warming sweaters or hats to retain heat inside the pot and do wonders for stretching a brew over a good social visit (some report several hours).

Ive got several, each different to fit my different teapots. I confess I’m not a fan of chucking a tea bag in a mug, I like a nice, brewed cuppa and have teapots for loose tea with an infuser, a one bag tiny teapot for just me and a couple of larger ones for guests.
Cosies can be made in unlimited styles, and some households, like mine, have several on hand:
▪ One for everyday use
▪ One for serving guests or for a fancy “afternoon tea”
▪ A few others to switch out as the mood strikes
A homemade cosy is miles ahead of most shop-bought varieties in terms of charm and quality. If you don’t have the time or ability to make one yourself, it’s well worth it to check out handmade shops such as Etsy for unlimited options (they’re also a great place to get inspiration from too).
Basic Features To Note:
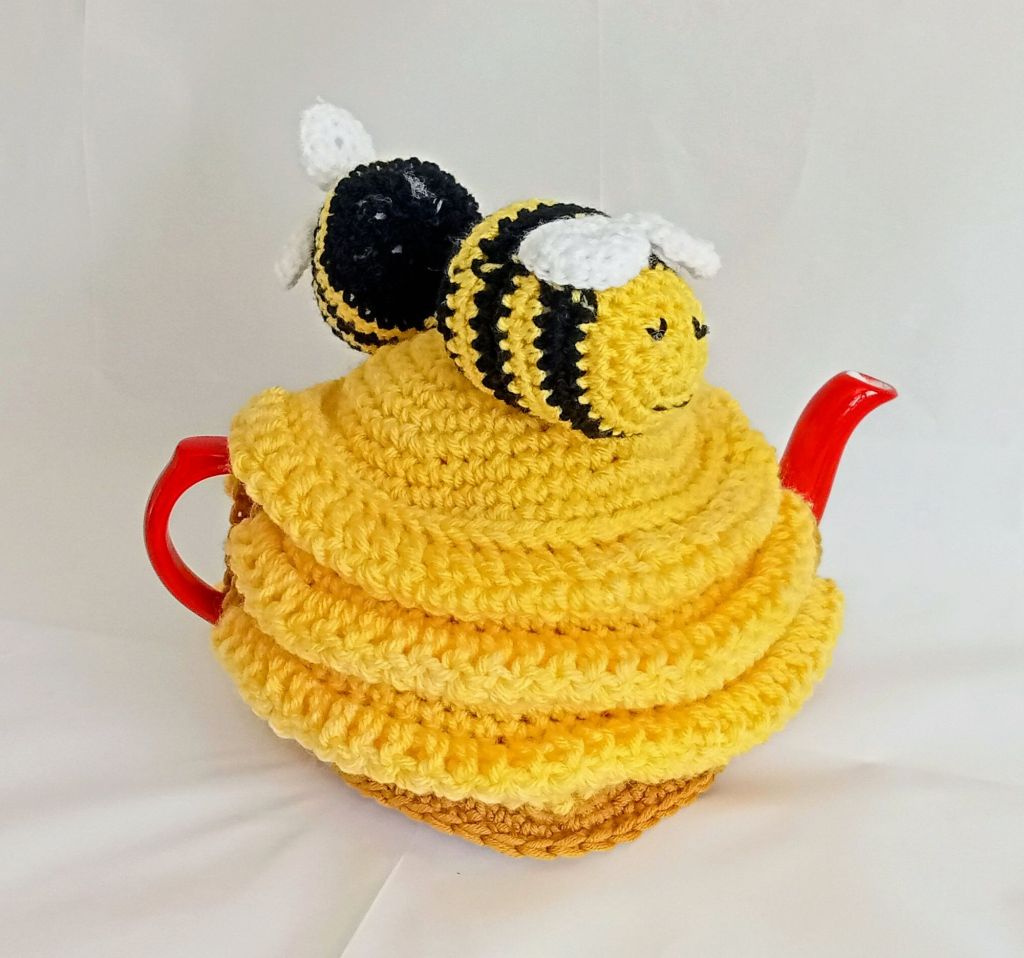
▪ A loop or handle of some sort at the top: this is to pluck the cozy off easily.It can be a pom-pom (bobble), a tassel, loop, crochet flowers and/or leaves, icords, braids & other decorative yarn work.Loops can also be used for hanging the cozy after use.
▪ A slit for the spout to poke through and another for the handle. This type is known as a muff, bachelor’s or serving cozy, snuggie or wraparound. These enable you to pour a cuppa without having to remove the covering.
▪ Other models cover everything, spout and handle included (also known as over the top cozy). These are in the typical “dome” or “cloche” style that fits over top and doesn’t wrap the vessel underneath.
▪ There’s also a “drawstring purse” style that encases the pot and provides padding at the bottom to protect wooden surfaces from being scorched by the heat. Often they’ll have a drawstring opening at the top where the lid sits,some provide openings for the spout and handle to poke through.
Which Is Better: A Snug or Loose Fit?
It all depends on the user’s preference:
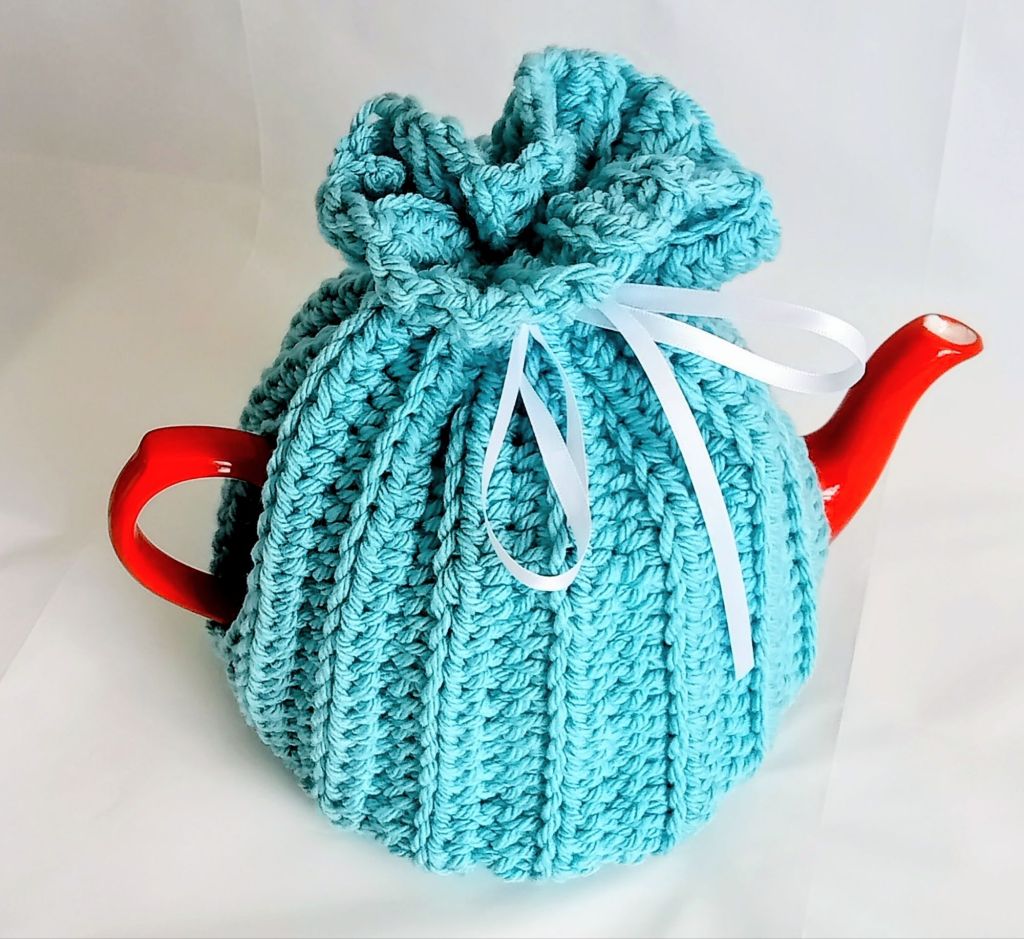
▪ A snug body hugs the pot close & tends to look a little tidier on the table.
▪ A loose dome style cover is larger but easier to put on & take off. This can bebeneficial for those who are elderly or who have problems with pain and
stiffness in their hands. `A looser fit also leaves pockets of air around the vessel that get warmed too, this wall of hot air helps retain heat even longer.
What Fabrics & Materials Are Best?
Yarn: Obviously my favourite. Wool & acrylic blends will hold heat effectively and have
a nice stretch while cotton yarns tend to not have as much give to them.
Fabrics: a good quilting cotton, linen, upholstery fabric or wool will do the job nicely.
Keep in Mind: You want something that will wash well (either by machine or hand) andholds its shape–keep this in mind too when choosing a lining or a padding material.
What Are The Best Insulating Fabrics For Padding or Lining?
As mine are crocheted, adding a lining depends on the pattern. If its a close stitch anda thicker yarn, I don’t bother lining it. For more open patterns like granny squares i will add a neutral liner.
Good linings include:
▪ Batting made from cotton or polyester is a good choice
▪ Wool felt
▪ Thinsulate
▪ Fleece
▪ Some report good success with using a couple layers of old towels as aninsulating liner.
Some Design Tips & Tweaks
No matter the pattern you decide to go with, there are plenty of options to personalize it with your own custom elements:
▪ Consider adding a small outer pocket to hold tea packets or even a couple of small spoons.
▪ Charms, buttons & beads can be stitched on as decorative embellishments or dangled from ties.
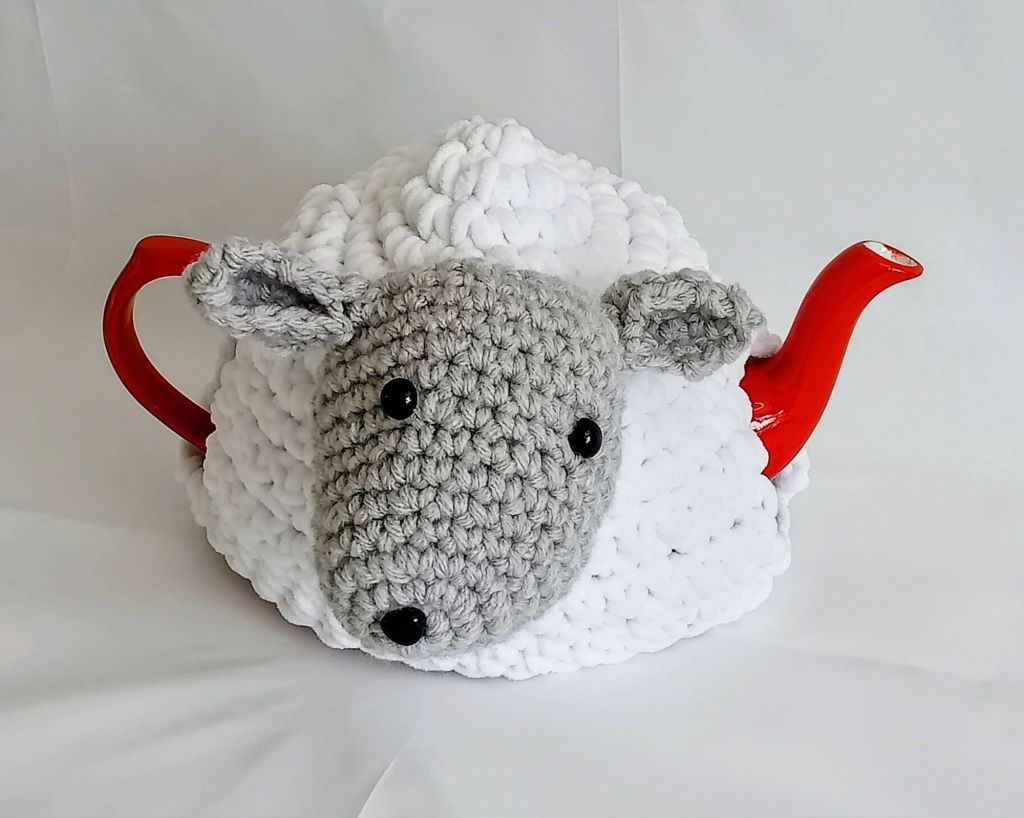
▪ Crochet flowers, animals or birds
▪ Pom Poms
▪ Tassels
▪ Inner pockets to hold scented sachets of dried herbs and flowers against the hot vessel (this releases their fragrance into the room)
▪ Embroidered patches & designs
Does the Cozy Go On During Or After Steeping?
It’s a good question that can generate some hardcore rules (sometimes contradicting) from afternoon tea adherents but the general rule of thumb:
▪ If you have a good teapot that retains sufficient heat during steeping, the cozy will go on immediately after removing the tea (bags or leaves). This avoids any
chance of overheating.
▪ If it cools down too quickly while steeping, the cozy goes on the same time the tea bag is added and then replaced again when tea has been removed.
Is A Cozy Really Necessary?
If, on a regular basis, you find yourself emptying the pot before the brew has a chance to get cold, there’s no need. For the rest of us who enjoy a big pot to ourselves or with a friend, stretching it out over an afternoon or social visitors, then, yes they do work and come in handy.
But they do look pretty and are great fun to make and to gift.
How to crochet a Tea Cosy
Here’s my basic crochet tea cosy pattern:
You will need:
4mm hook
Aran yarn about 100g
Stitch markers
Darning needle
Abbreviations
Ch = chain
Htr = half treble
Inc = Increase
Dec = decrease
I Start at the top with a flat circle:
2 ch or Magic Circle
work 6 dc into first of your 2 ch, (6) or into the MC
Place a stitch marker in the loop on your hook and move it up each round
Next round – ( inc ) x
Next round – (Inc, 1 dc) x 6. (18)
Next round – (Inc, 2 dc) x 6.. (24)
Next round – (Inc, 3 dc) x 6. (30)
Next round – (Inc, 4 dc) x 6. (36)
Next round – (Inc, 5 dc) x 6. . (42)
Next round – (Inc, 6 dc) x 6. . (48)
Next round – (Inc, 7 dc) x 6. (54)
You want your circle to be big enough to cover the top of your pot. Keep increasing as above until you have a big enough circle.
Next work 2 rounds of 1 htr in each stitch. Now, divide for the openings for handle and spout.
Divide the number of stitches by two, count around this number and place a stitch marker.
1 htr in each stitch to the marker and turn. You now work back and forth in htr until the
side is long enough to reach the bottom of the handle. Fasten off
Work the same with the remaining stitches, don’t fasten off
Still working in half treble, join to the other half and work 1 round.
Next round – (dec, 7 dc) x 6. Fasten off. Weave in ends.
You can now decorate your cosy

 What Kate Made Today