-
Try Something New
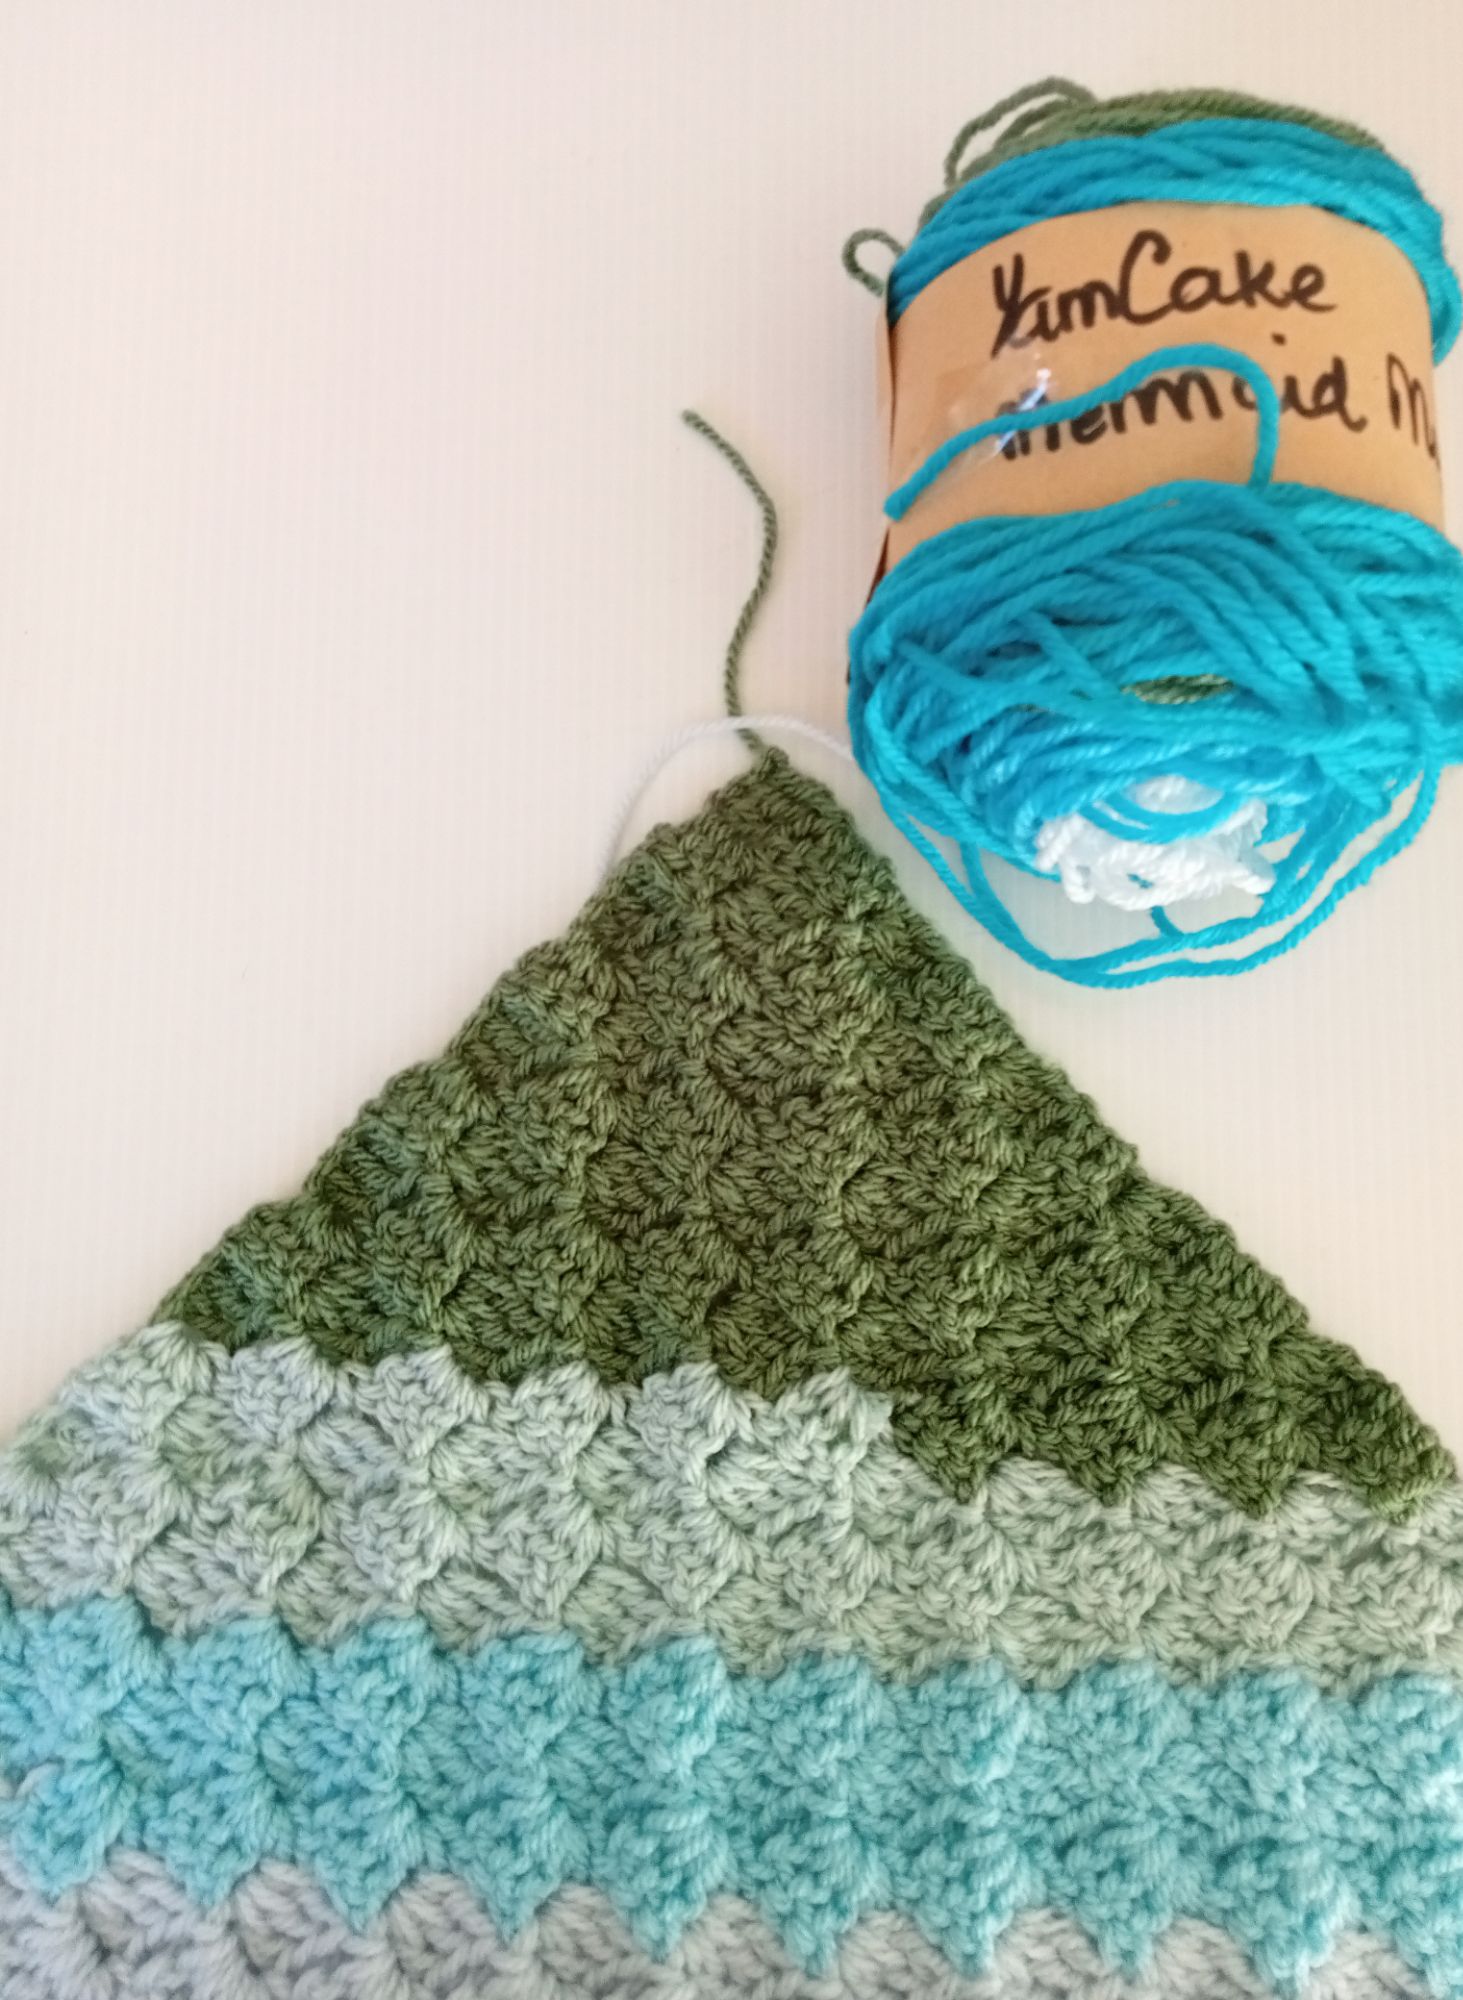
Trying something new
Ive been crocheting for a long time, more years than i care to remember but even an old dog like me can learn something new occasionally.
I’ve been having a go at corner-to-corner (C2C) crochet, and I love it. If you do not know what it is, it is a way of working to create shapes by working corner to corner, literally! I decided to give it a go because I wanted to create a blanket from the yarn cakes I have made from odd ends of yarn.
Variegated yarns do not always work well in crochet because of the different size of the stitches. As the lengths of colour in my yarn cakes are quite long, this is the ideal pattern to use as you get broad blocks of colour.
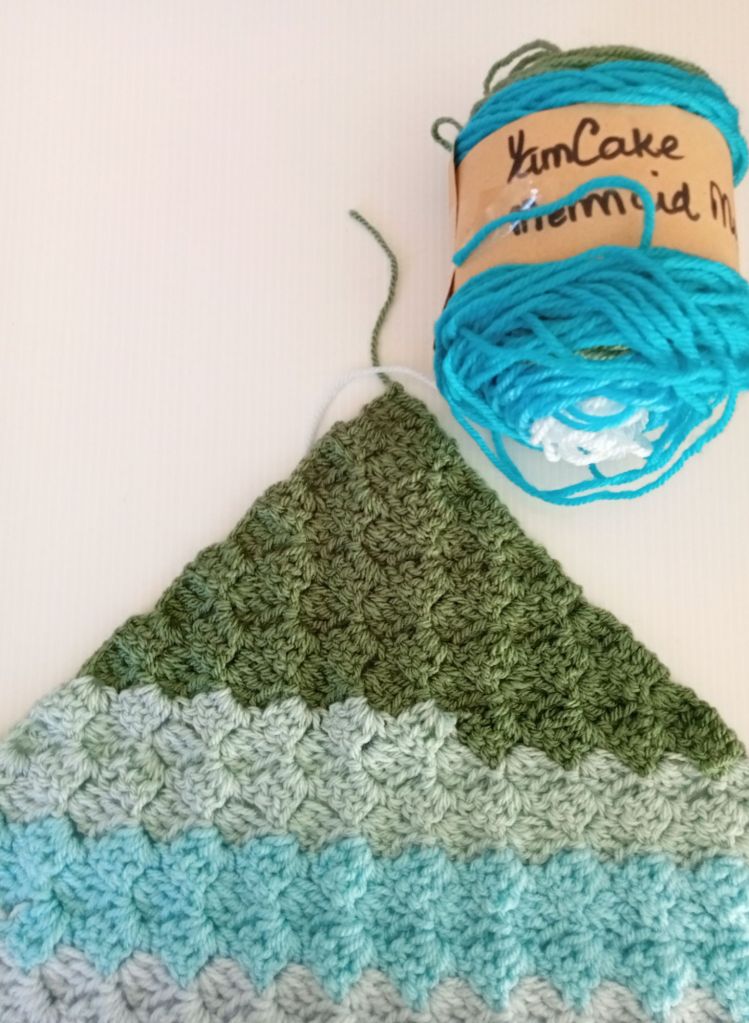
My own yarn cake and my C2C blanket So, having decided to give C2C a go, I opened Pinterest to look for a tutorial. Now, normally I can follow a written pattern quite easily but even with pictures, I could not get this! Next stop YouTube, so much easier following while someone else did it.
I am an experienced crocheter and can pick up most things quite easily. I have just started teaching a beginner’s class for people brand new to crochet and those who have tried in the past. The first thing I tell them is to use every resource available when you are learning, including your classmates as they all learn at different rates and can help each other out.
I always think a day is not wasted if you learn something new and you are never too old to learn.
-
WIPs and chains
Hookers do it with WIPs and chains! We’ve all laughed at phrases like that but a serious crocheter always has WIPs, works in progress. January is a great time to go through your project and decide what to keep.
As I’ve said before, January is my time to make things for me and this quite often means finishing things. I’m working on a baby blanket for my friend’s first grandchild. I started it on holiday in September and the baby is due soon!
Spurred on by the deadline, I got the project out to take a look and didn’t like what I saw. The pattern was heavy and way too big. So, it got pulled back and I’m remaking it.
I found this lovely free pattern and decided to make it. I got quite a bit worked up, then decided it’s way to fancy for a baby, too many holes for little fingers to get stuck in. So, once again frogged it
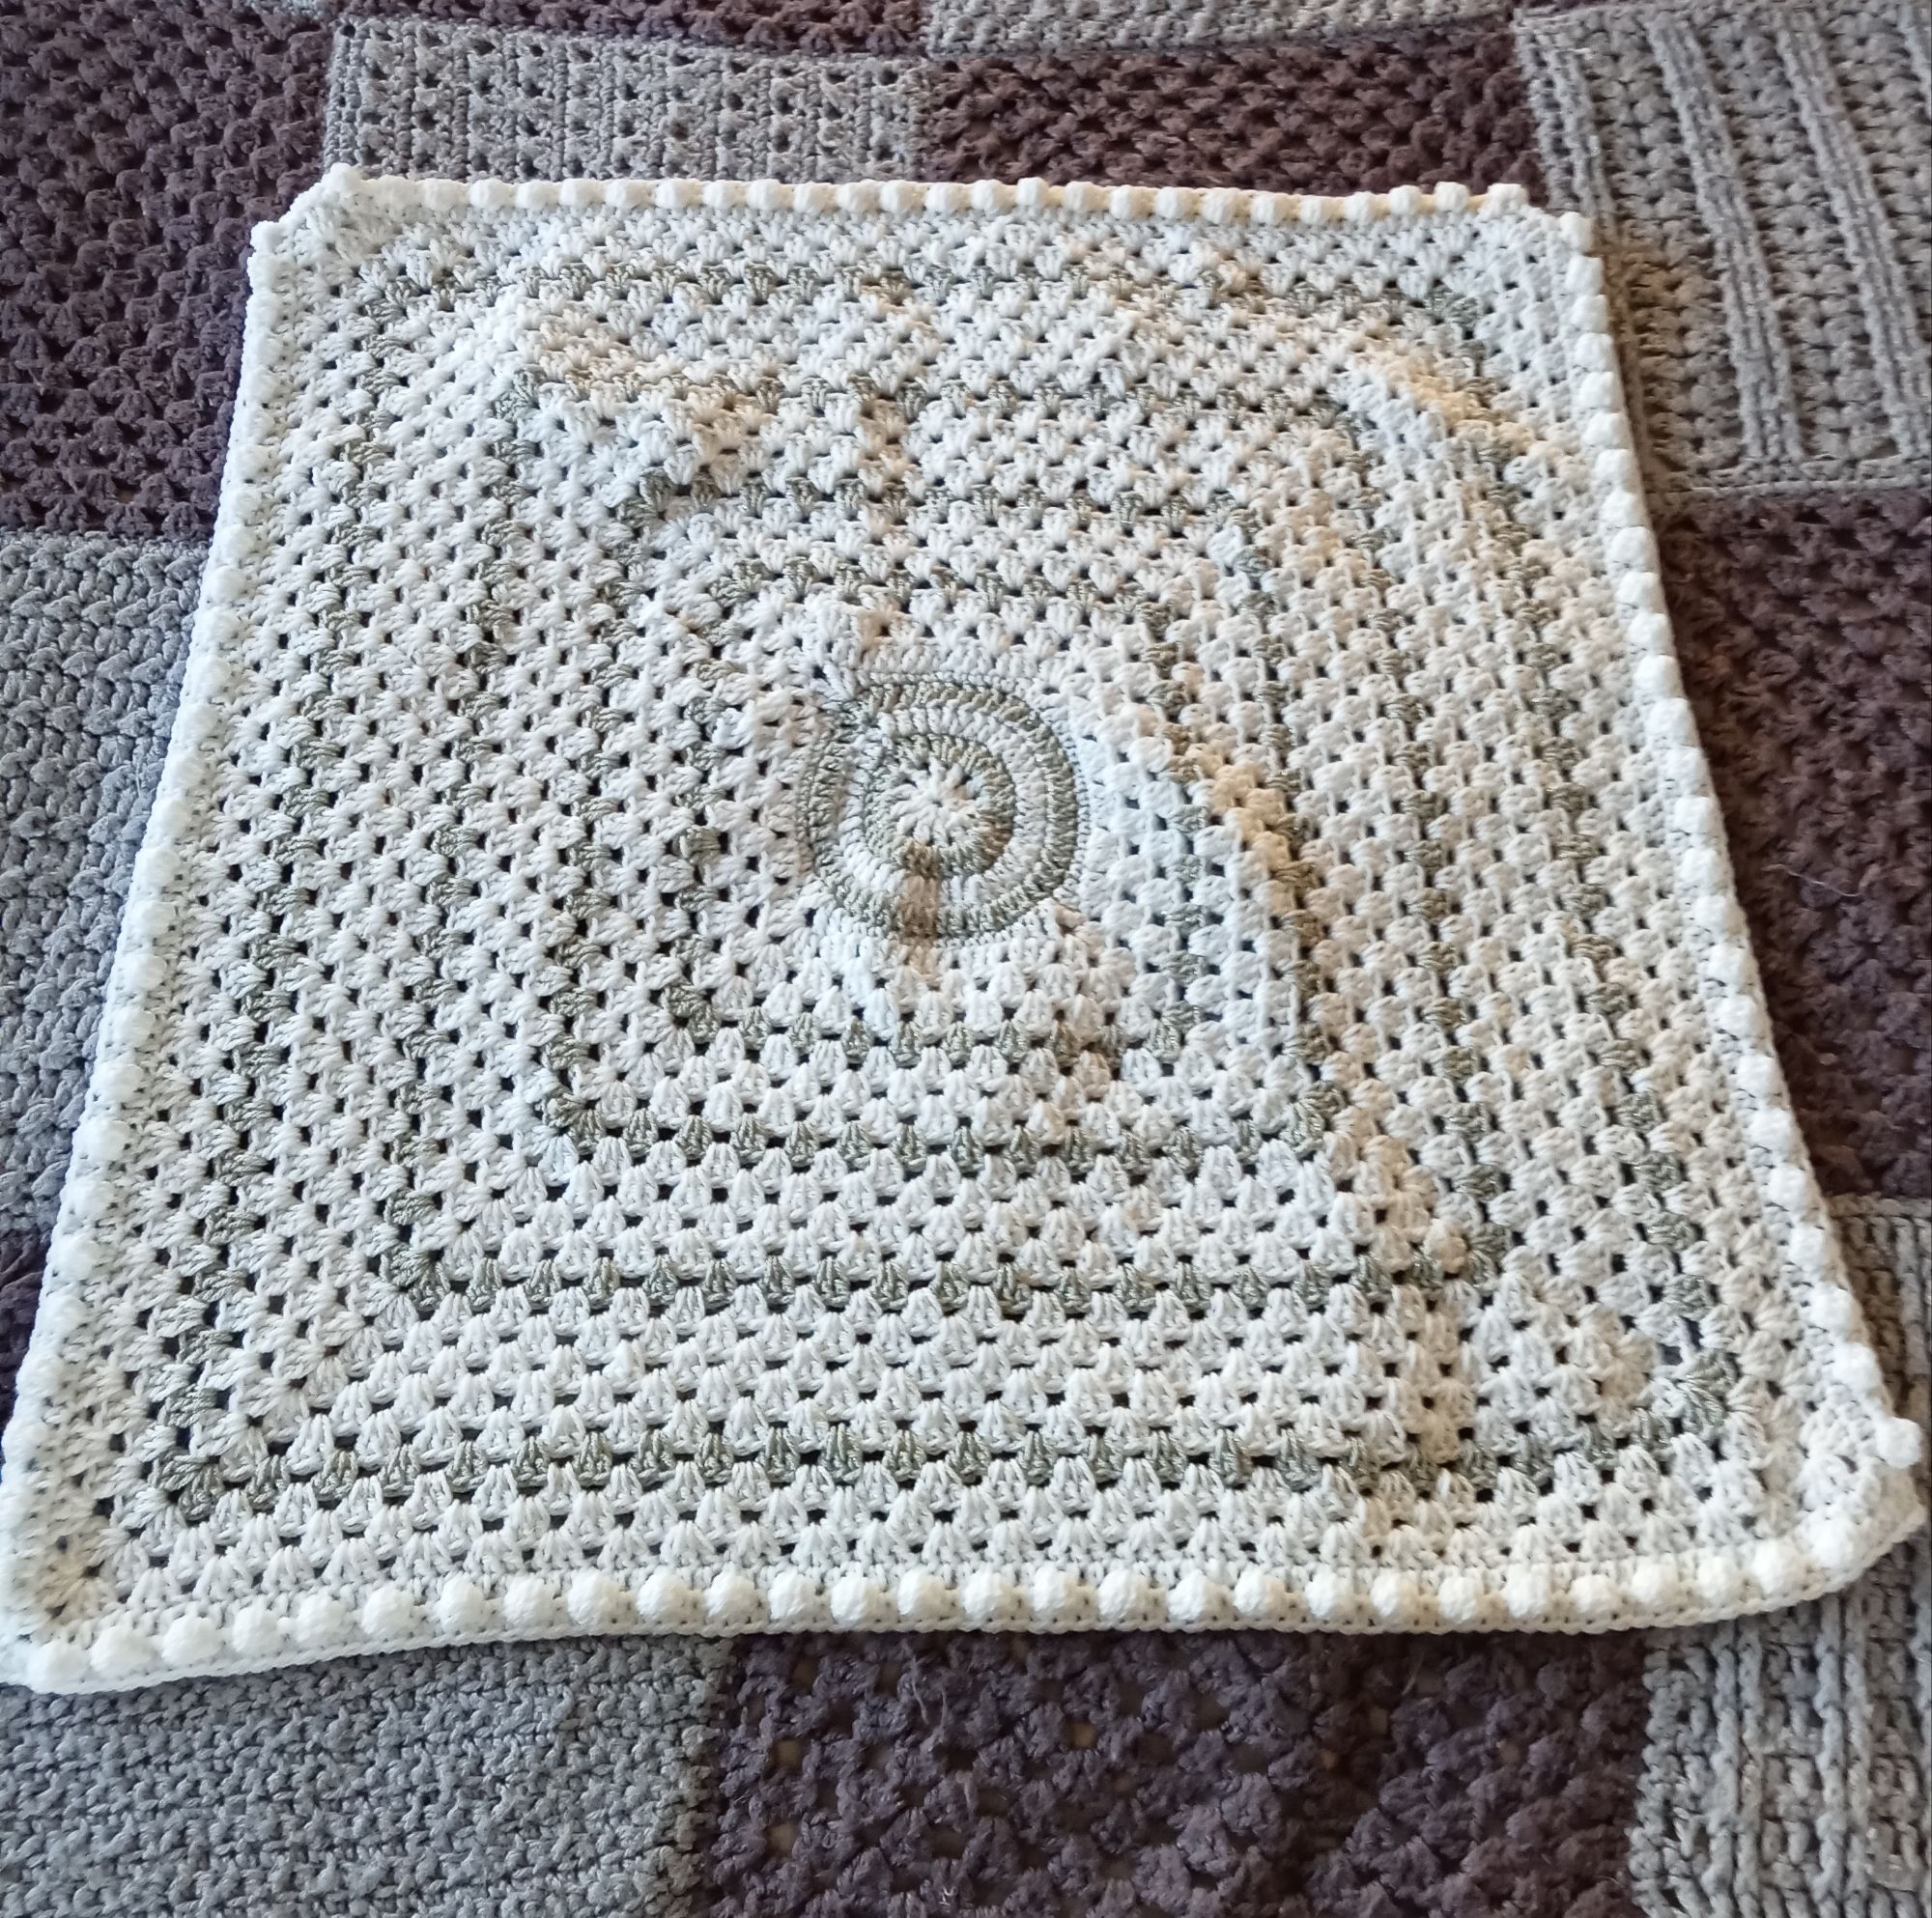
In the end, I opted for a simple granny square, with a circle at the centre. And I have yarn left for some little accessories.
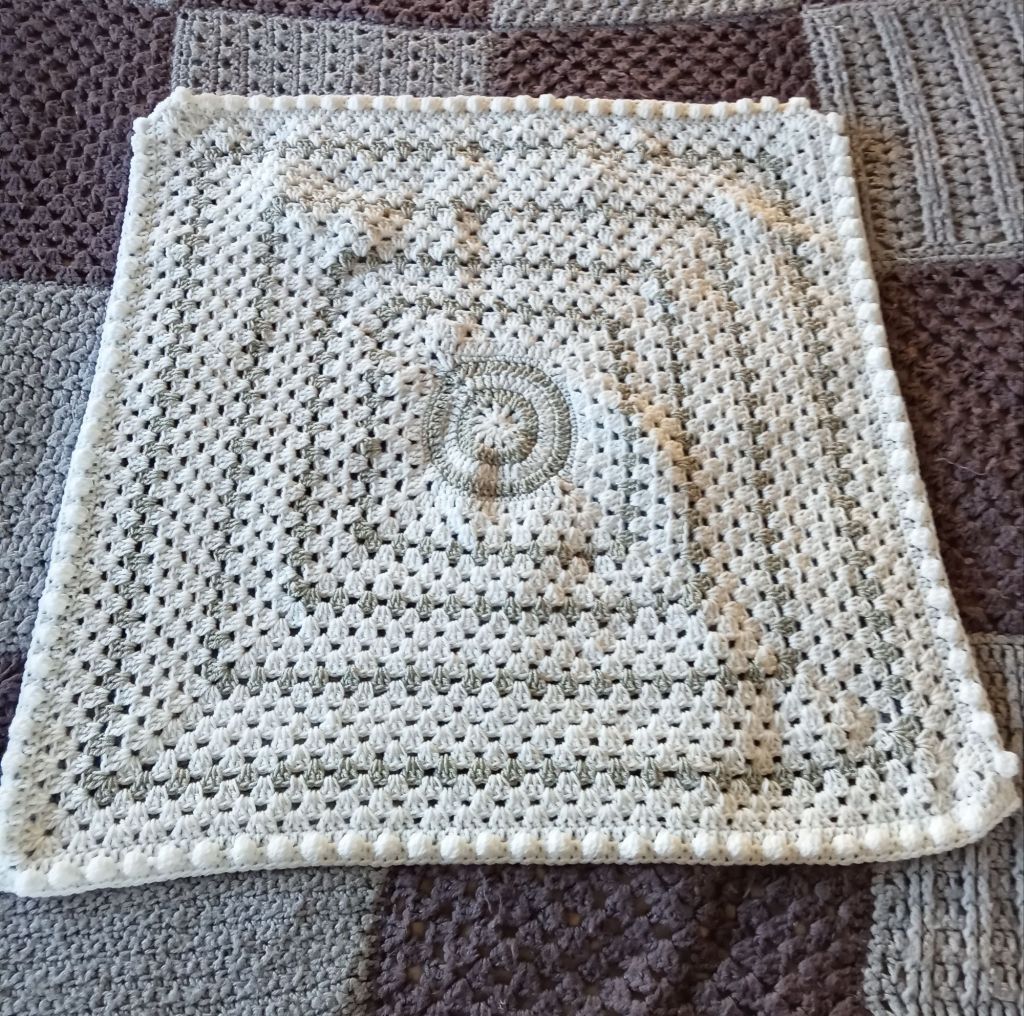
I’m sure mum-to-be will love this.
Don’t be afraid to pull something back if you don’t like it. It’s not a waste of time, just getting it right.
-
Time to take stock…
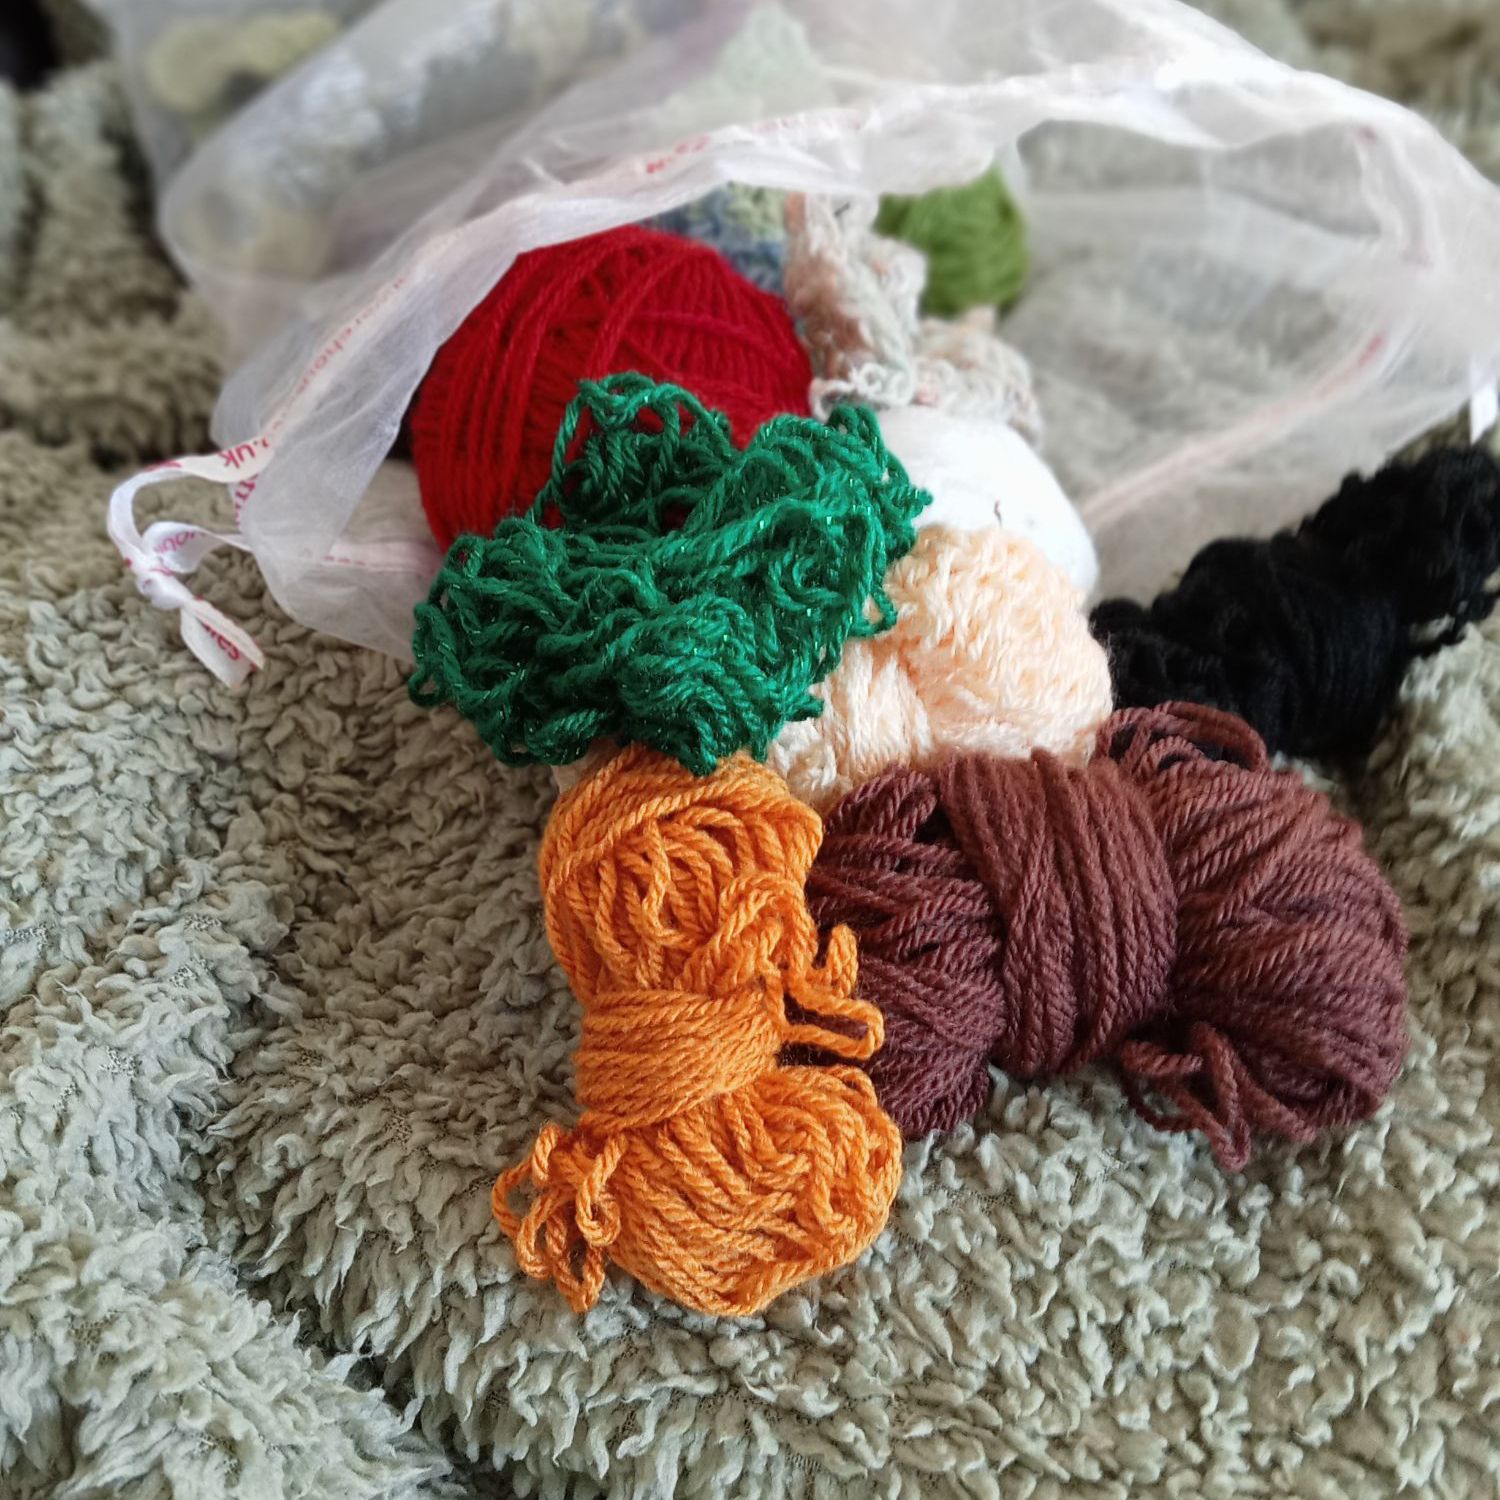
January for me is a time to take stock, both literally and figuratively. As this is my quiet time, I go through all my WIPs and decide what I’m going to finish and what I’m going to frog.
When my Nana taught me to crochet, more years ago than I like to think about, she got all her wool from pulling back hand knitted garments she sourced at jumble sales. That is virtually impossible now as handmade garments are rare to find and much cherished. But using up all your short ends of yarn and frogging things you don’t love are a great source of new yarn.

The rise in popularity of yarn cakes, self-striping colours in a flat ‘cake’, has also sparked a new trend of making your own cakes. Gather together all your bits of yarn, sort them by weight, then by colours. Use a knotless join, then wind them into a ball. You can get mechanical ball winders that produce a flat cake.
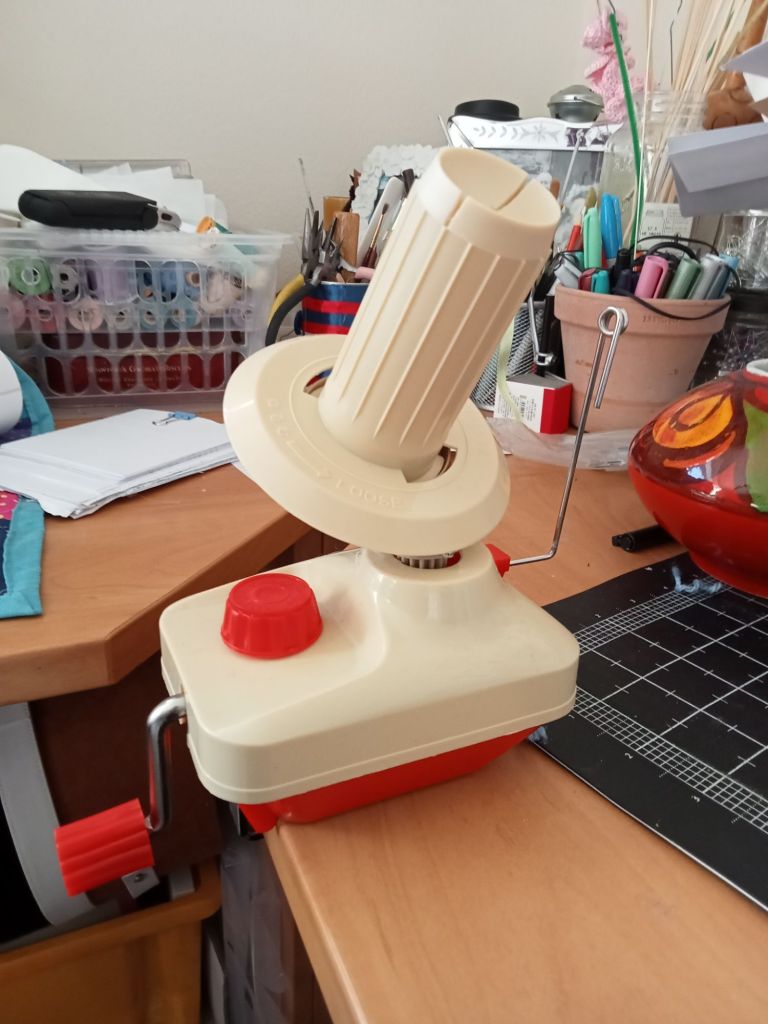
Ball winder 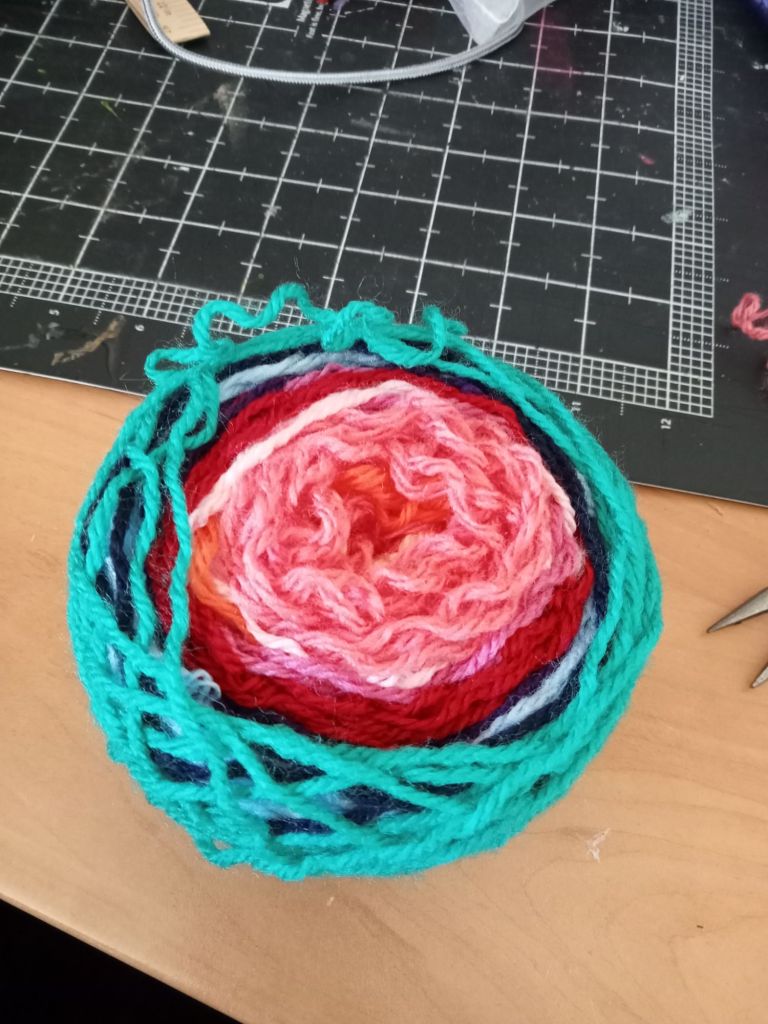
My first cake! So, get sorting this January, you will discover a whole wealth of reloved craft materials.
-
New Year, New Craft
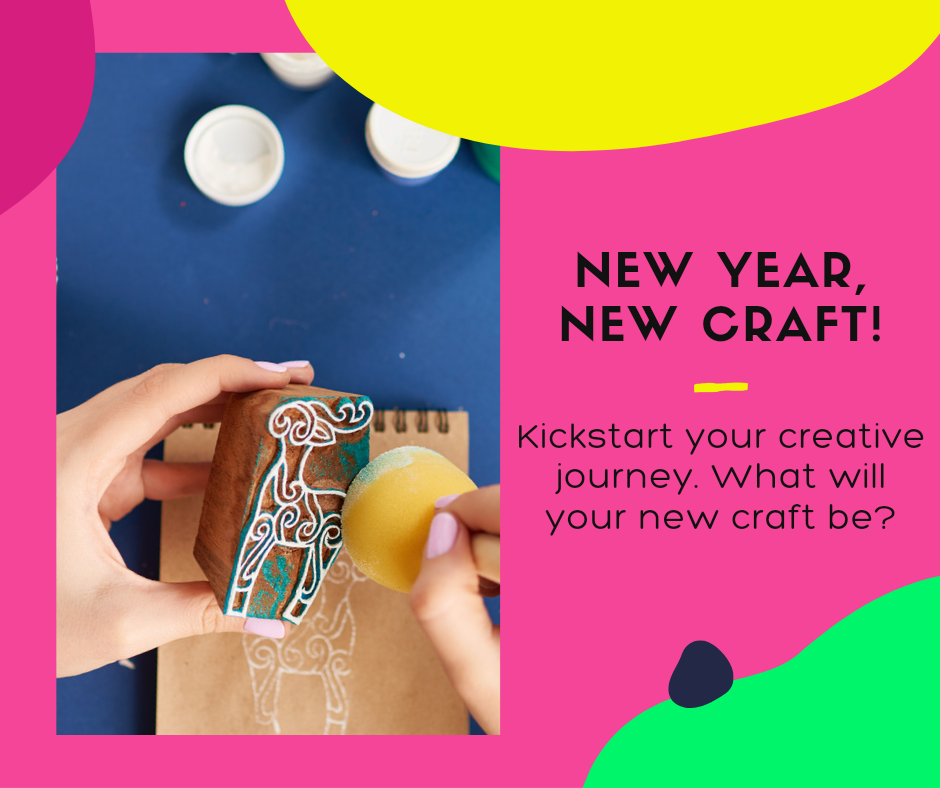
The 12th night has passed and we are officially out of the Christmas period and it’s time to look ahead to a new year. New year’s resolutions are so easily broken, so this year I’m going to try something new instead. I read that it’s much easier to try something new for 30 days than try not to do something, like eating sweets!
What’s better than a new craft for a new year. I’m going to try Calligraphy. I’ve had a kit for some time and now is the chance to try it out. Watch this space.
I always take a bit of a break from my own workshops at this time of year. Mostly to give myself time to tidy up the craft room after the Christmas chaos but also to take stock of what’s on the agenda for the year, what went well last year – and what didn’t!
Amongst what went well, were the Crochet courses I ran. So much so that my last lot of beginners are moving up to the advanced. I’m starting a new run of beginners lessons from January ( that course is already full) and another session ready to start at Easter time.
-
Lights, Camera Action
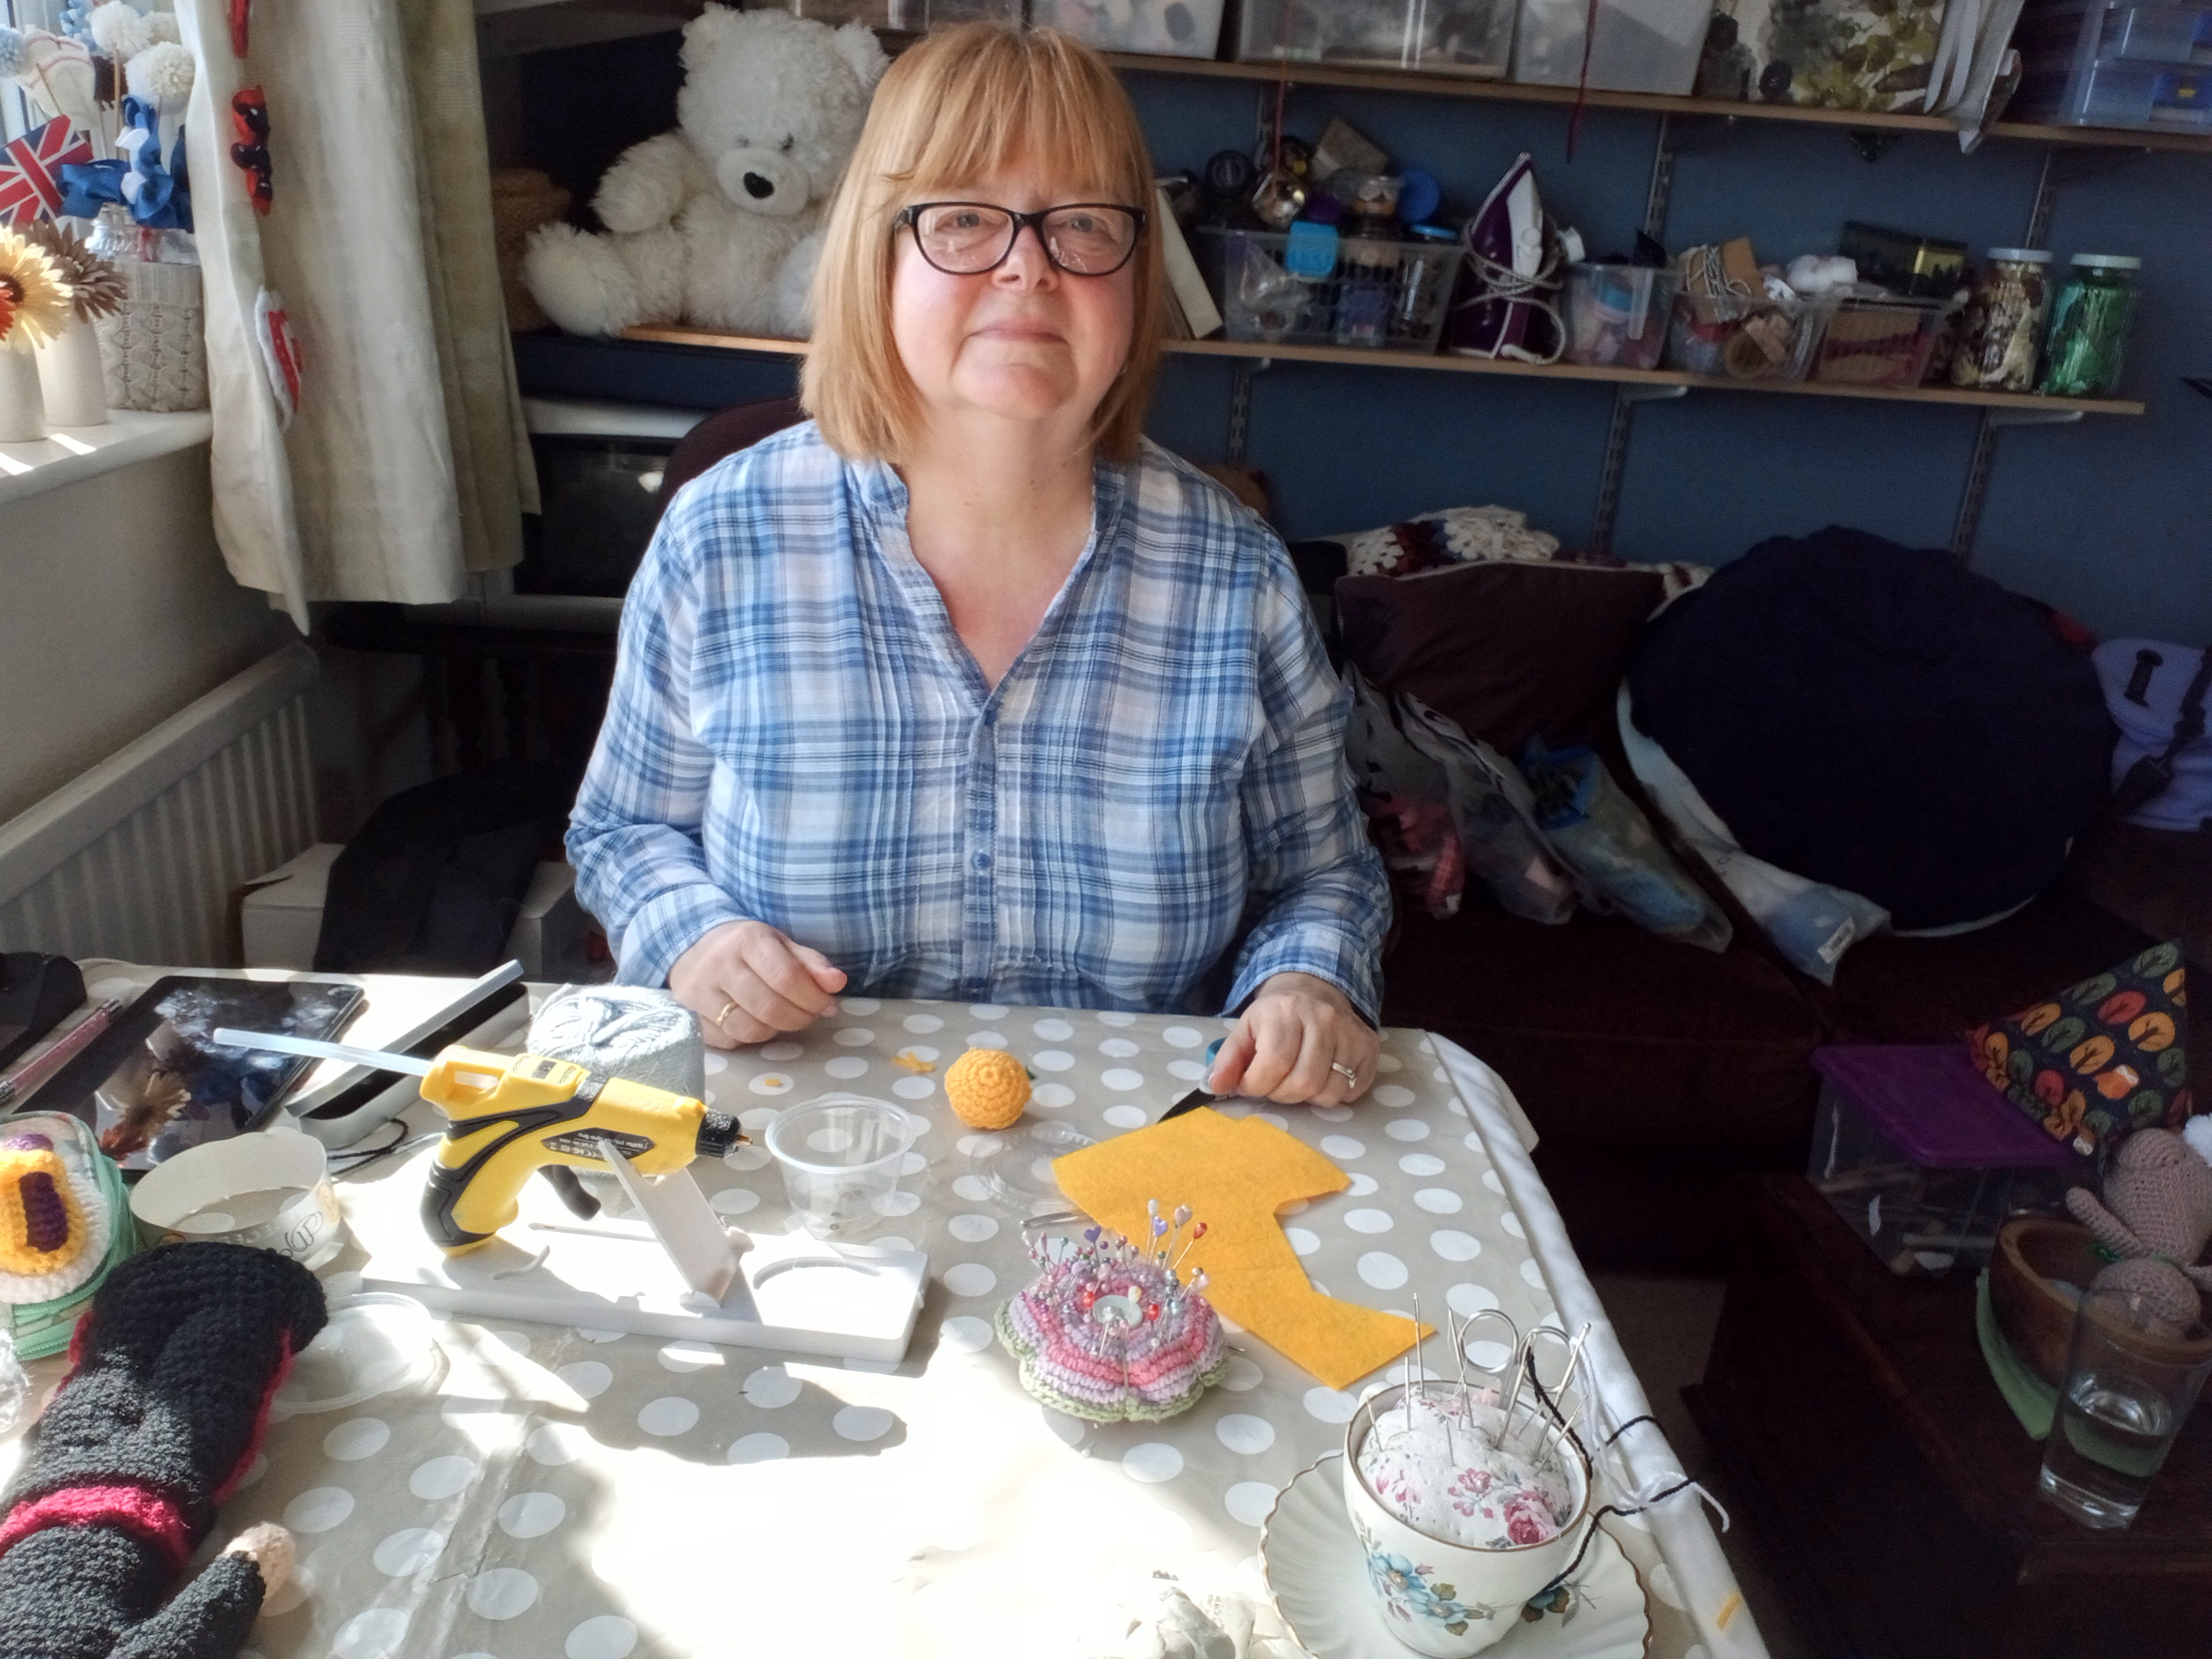
For a couple of years, I’ve been doing online demonstrations. I love doing it, either through Facebook Live or also with the Royal Voluntary Service. They run a Facebook page called the Virtual Village Hall. It started up during lockdown to give people chance to take part in all the activities that they would have done in groups at their local village hall.
They have classes for everything – exercise, meditation, languages, cooking and, of course, crafts. And this is where I come in. They asked me to do one demonstration for Easter three years ago and I’m still doing them! I do a couple of classes each month on lots of different things – I’m always trying a new craft and once I’ve got it I do a workshop.
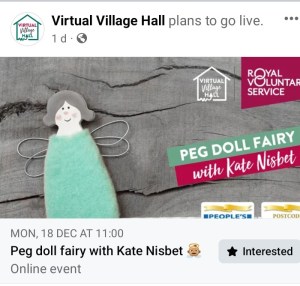
I find it very easy being on camera, it’s like talking to yourself, so easy for me Ha ha. Once you get the hang of setting up the camera and connecting to the VVH, then it’s a doddle. I’ve built up a little following of regular viewers,
So, if you use Facebook, search @virtual village hall for live classes or go to their YouTube channel to look at past classes. Check out my demo’s while you there.
-
Homes for Gnomes
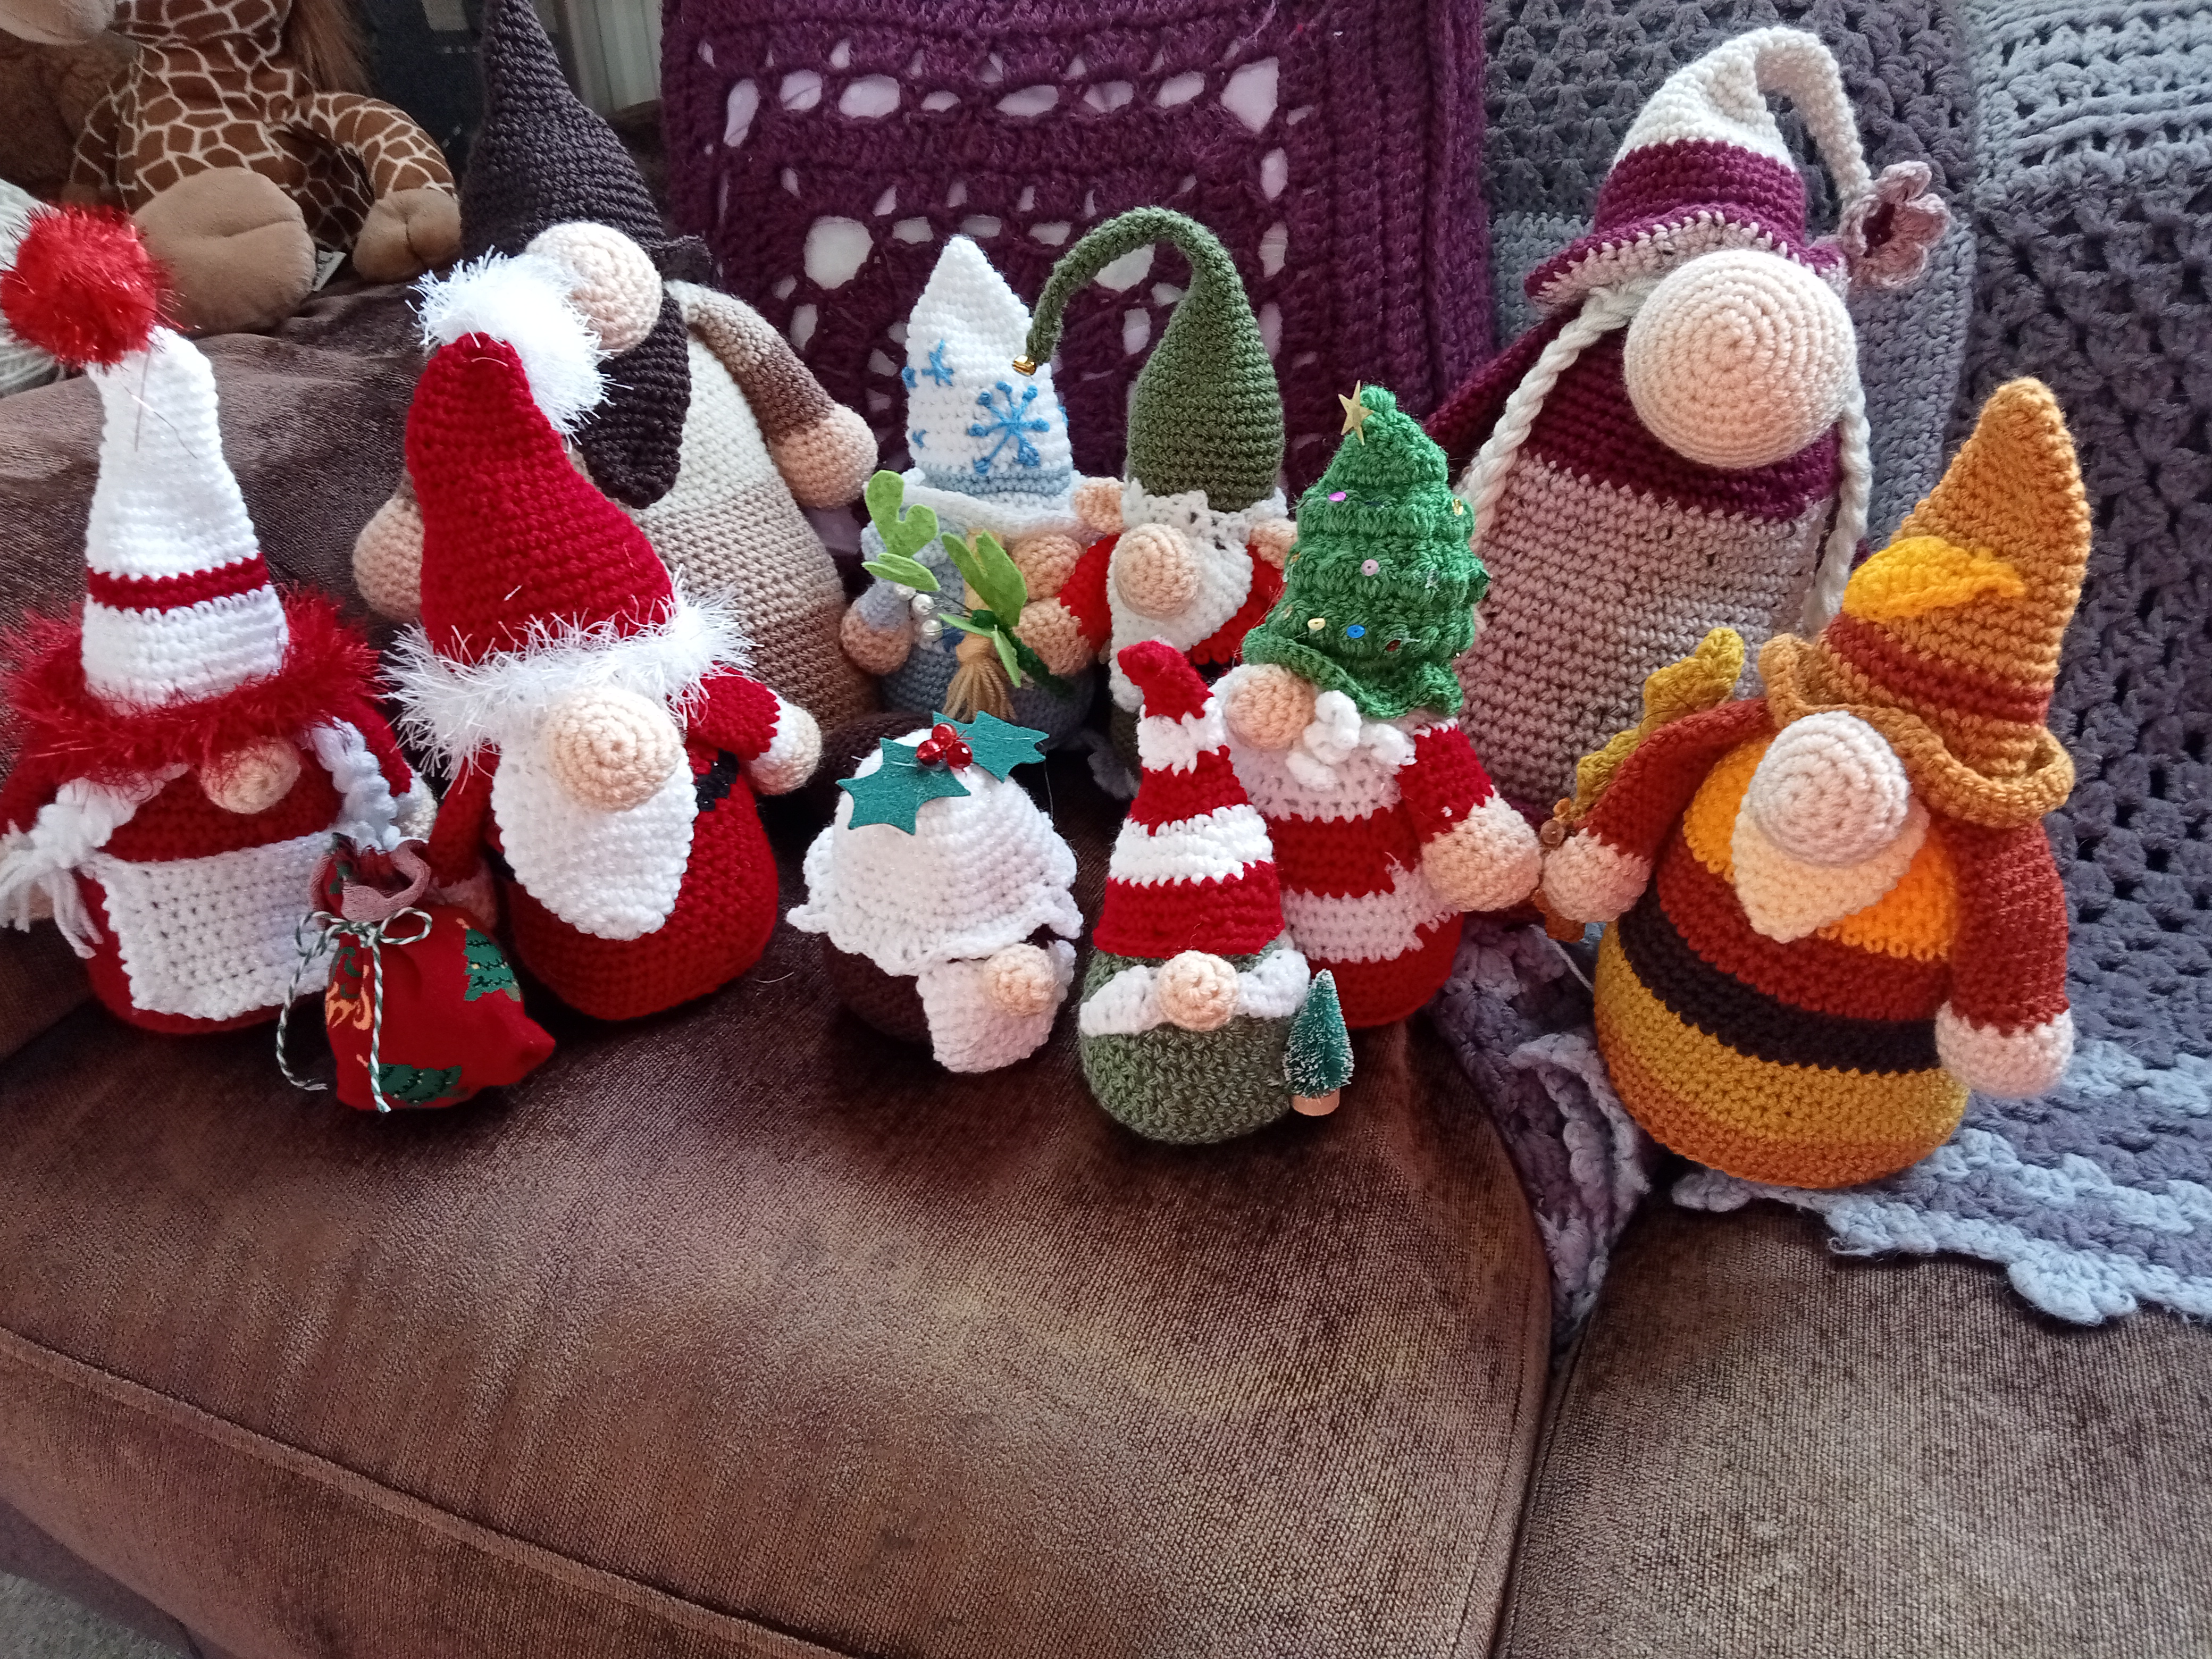
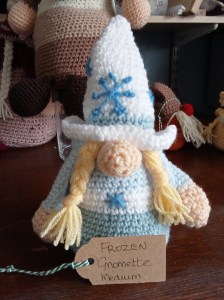
I have a love/hate relationship with craft fairs. I love going to them as a seller but hate them if I don’t sell anything. This year I organised an Autumn Gift Fair in November at my Village Hall, so I decided I would have a stall with a few friends, none of us having enough stock for having one each. But what to sell?
The answer was Gnomes! Gnomes are my new passion, I love making them. And I wouldn’t need many to fill my small space. I started making them at the start of September, but they soon started to take over the house.
I made big ones as doorstops, small ones for the Christmas tree and a variety of themed ones middling sized. Most of them were on a Christmas theme and they sold like hot cakes! Best result I’ve ever had for a craft fair.
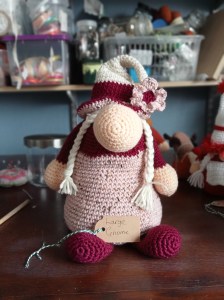
And now Christmas is coming around, and all my remaining gnomes are off to new homes as presents.
Could you give a Gnome a Home?
-
Wee Jack’s Pet Emporium
Ive been working on a new line of designs – Wee Jack’s Pet Emporium – inspired by my little fluff munchkin. Being a true crafty pet momma, I’ve made quite a few things for jack over the last year he has lived with us and I thought I’d try them out on the wider public.
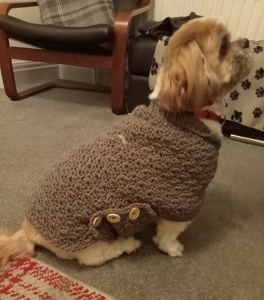
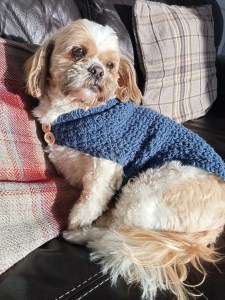
Now we are ready to roll! Ive set up an Etsy shop (again) and booked a table at a sale. Ive got my stock ready, not just dog accessories but toys for cats, and small animals too.
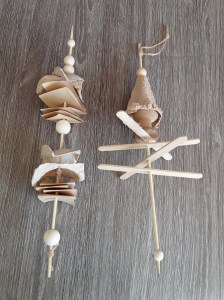
Yet again I’m putting myself out there in the hope that someone will buy something. I’m always very optimistic when I start these venture but the truth is I’ve hardly ever sold anything. It can be quite dis-heartening if you let it. But, I enjoy the process of designing and making the items, then marketing them, so as long as I don’t lose any money, I’ll keep trying.
And that’s the business of craft selling. You won’t make a fortune unless your very lucky but you will get to spend time with like minded people, online and in person.
So do you want to see some of my new line?
Pop along to our Etsy shop, https://weejackspetemporium.etsy.com if you would like to buy anything. Please !
-
Bring new life to an old favourite
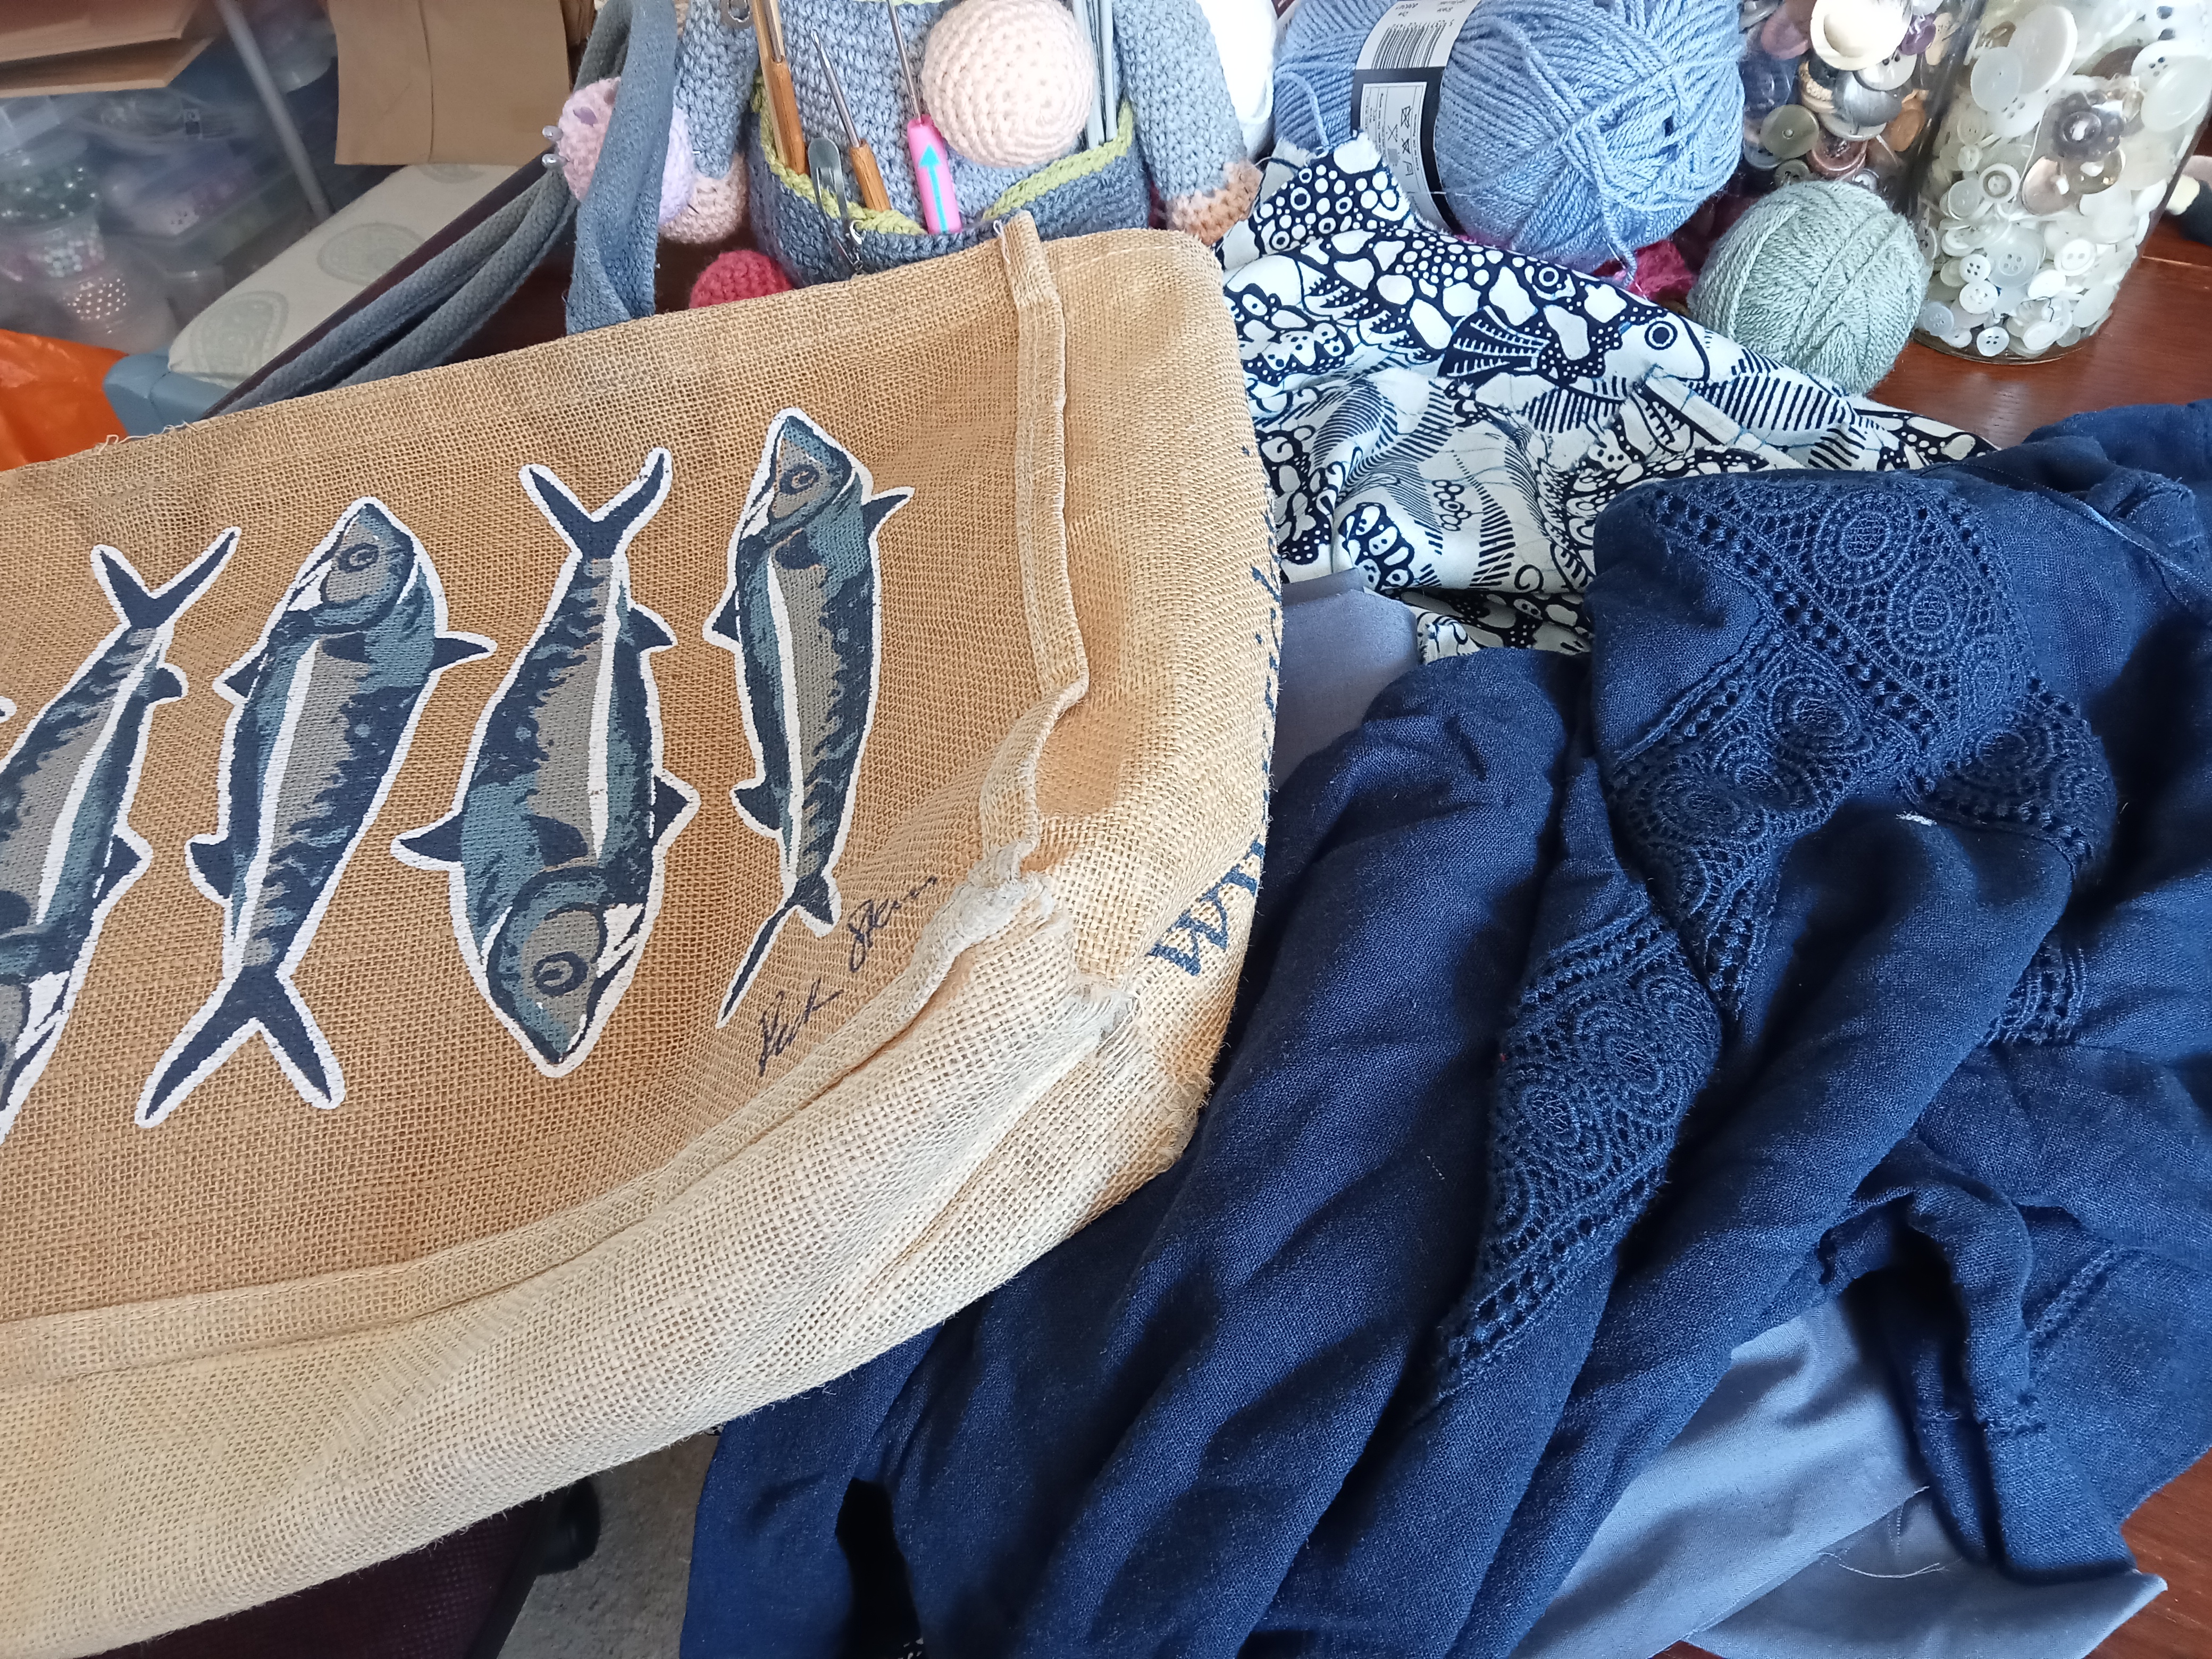
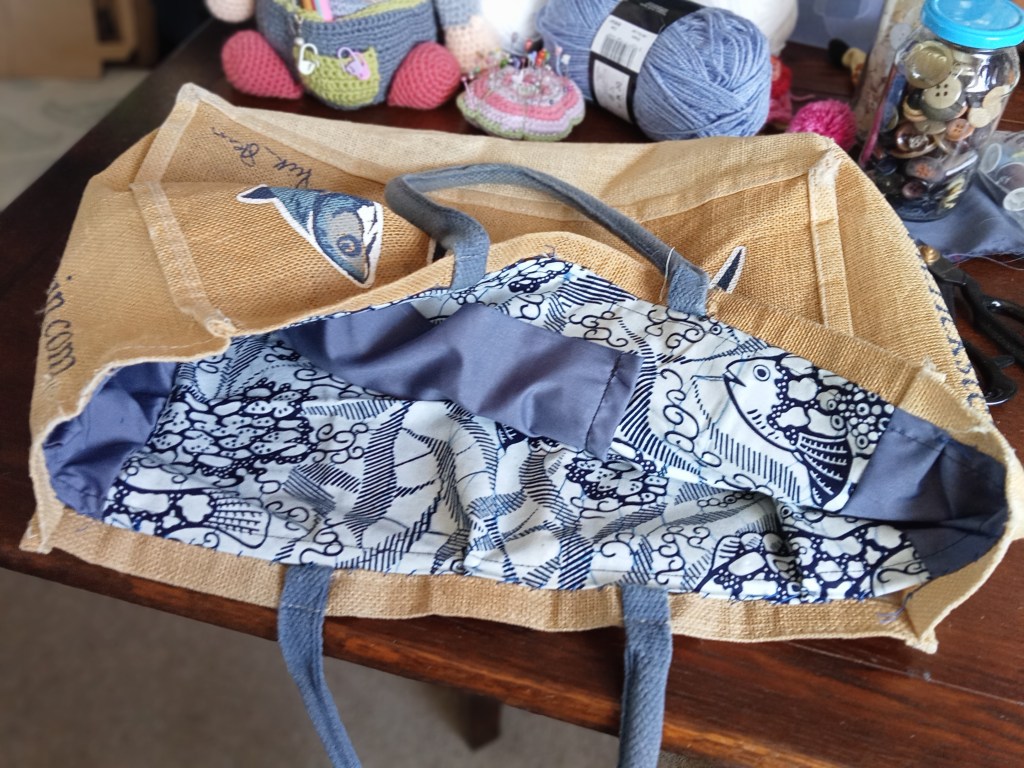
I’ve had this Rick Stein tote bag for a lot of years. It was a present from my mum after a holiday to Cornwall. I love fish and have a lot of things on a fishy theme and used this bag almost constantly. But as a consequence, the lining deteriorated and I put it away in the cupboard. During a recent tidying session, I came across it again and decided to revive it.
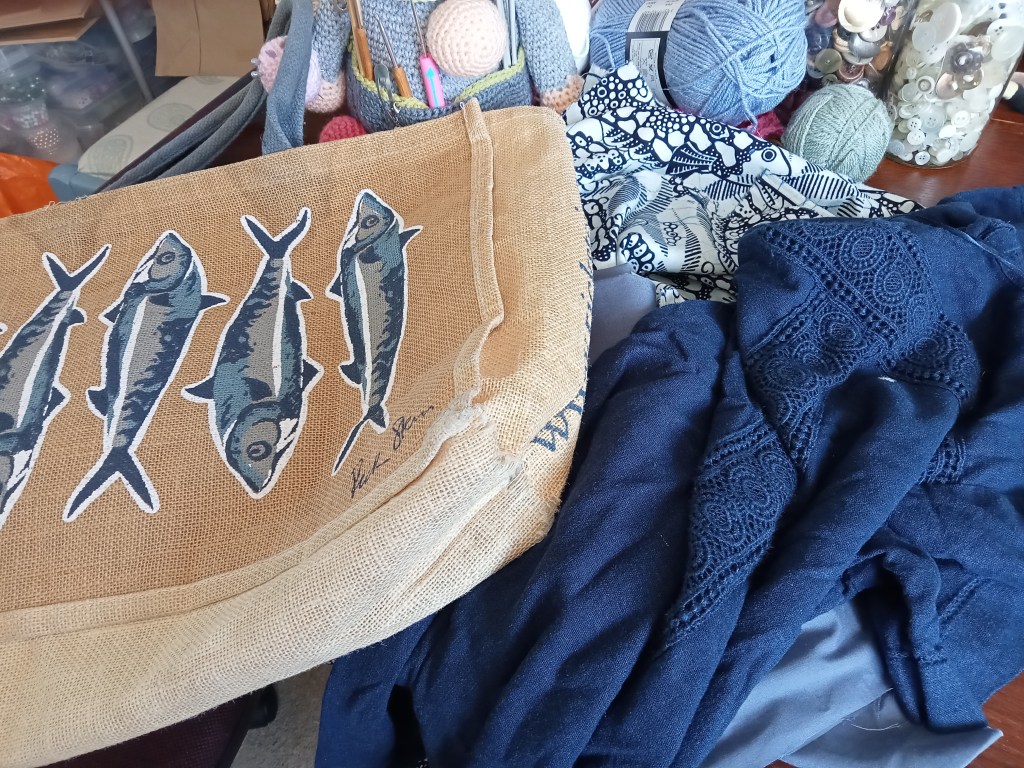
In the same tidy, I found a small piece of fabric with a batik style print of fish in blue and white and another small piece of a plain fabric that co-ordinated. These two would be enough fabric to make a new lining for the bag. I had enough to make a pocket too.
Lining a bag is quite easy to do:
Measure your bag sides and bottom on the outside and add a half cm seam allowance.
Cut your pieces of fabric to this size, 2 long sides, 2 short sides and a bottom, pin and check the size against your bag.
Stitch all the sides, attach the bottom and press out the seams.
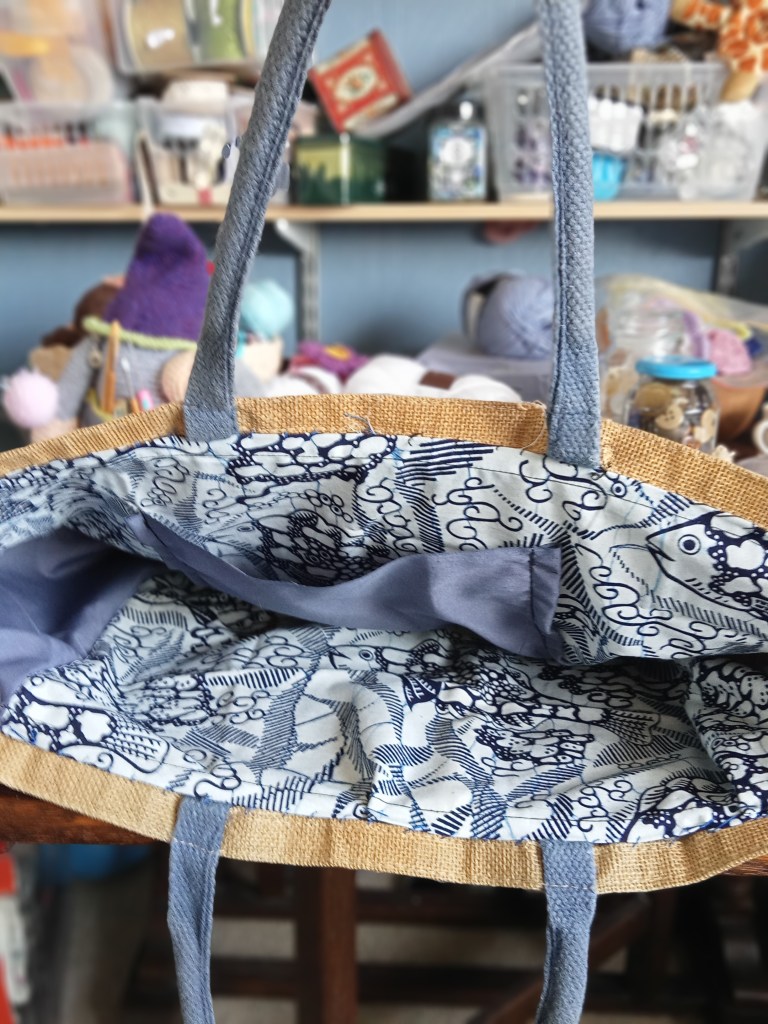
Drop your lining into the bag and slip stitch in place.
Now, I can use my favourite bag again.
-
Flower Power
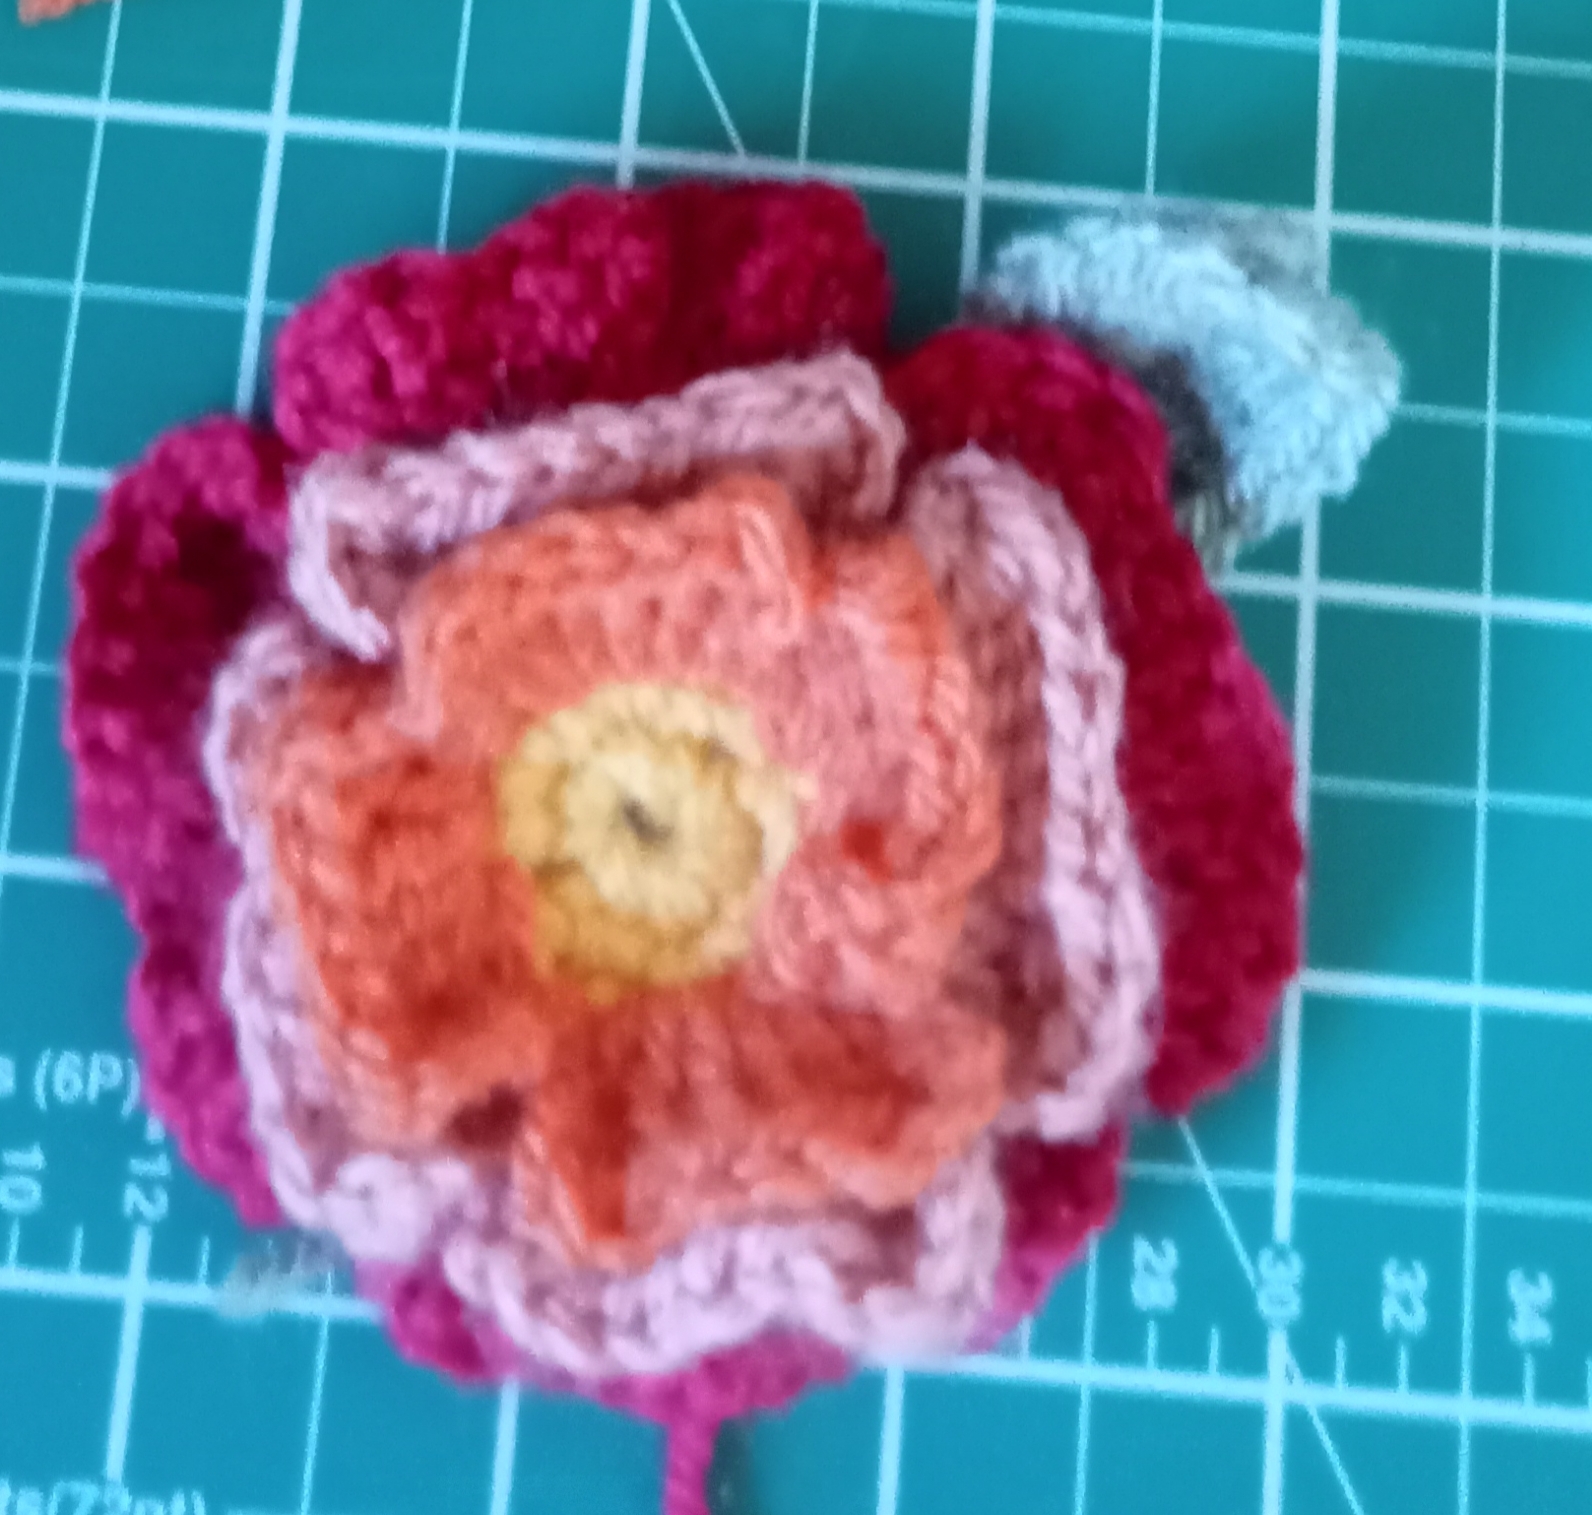
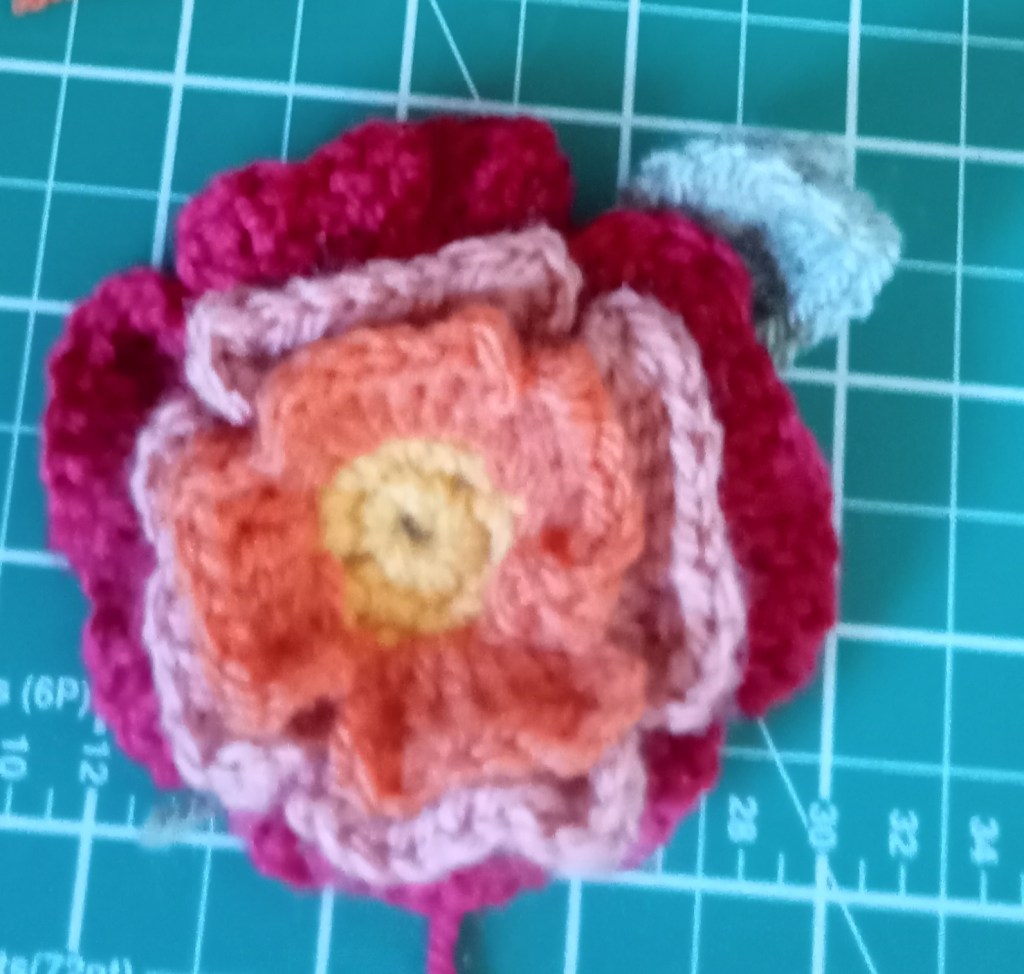
I run a Crochet social here at my home studio, a sort of crochet collective. Not quite a class and not quite a social gathering. The ladies that come along have all graduated from my beginners crochet class and now have the basic skills, and so we share projects, knowledge and crochet collectively. We take on a projects together and they get the benefit of my knowledge to help their skills improve.
The last project we took on was a basic tea cosy, which we will then decorate with embellishments of our choice. As a couple of us are using crochet flowers to decorate them, I thought I’d share with you the basic patterns I produced for the group.
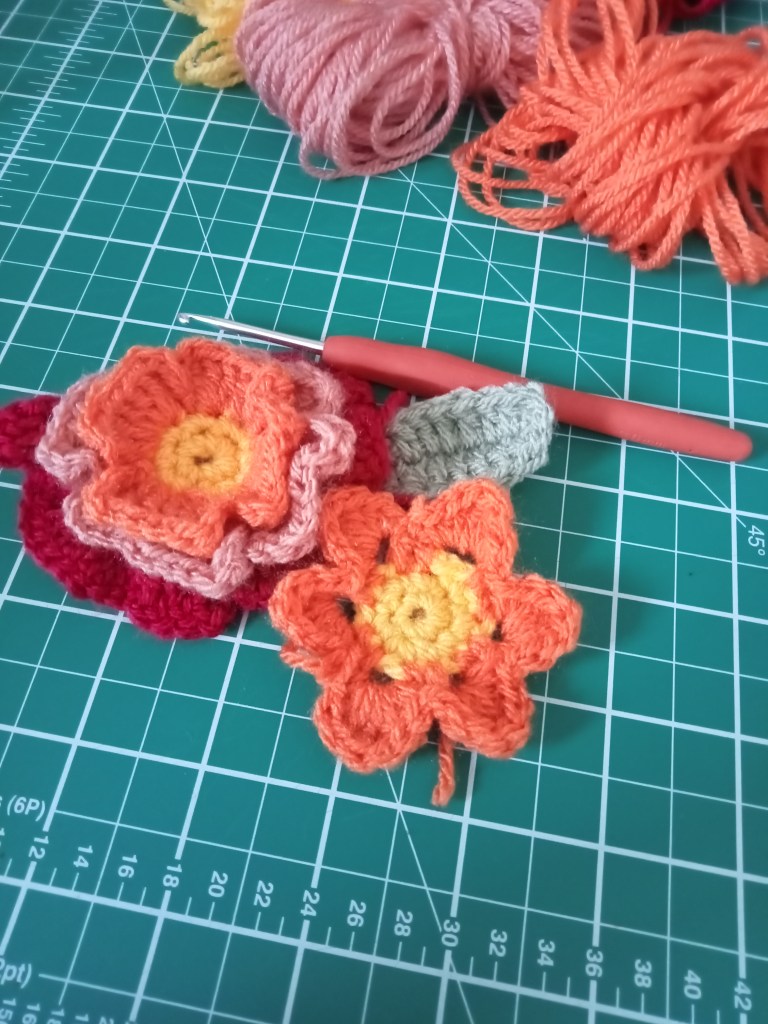
Simple Flower pattern
You will need:
small amounts if DK yarn in yellow and petal colour
3mm hook
darning needle
Abbreviations:
ch – chain
MR – magic ring
dc – double crochet
htr – half treble
tr treble
ss – slip stitch
st – stitch
FO – fasten
WS – wrong side
RS – Right side
Instructions:
- Start with yellow. Use an MR or 2ch to start, work 6 dc into ring or 2nd ch from hook. Pull ring tight
- Work 2 dc in each st from previous round (12)
- (1dc, 3 ch, 1dc) repeat to end . FO (6 3ch loops)
- Join petal colour to any 3 ch loop. In each ch loop work (1dc,1htr,1tr,1htr,1dc) ss to st between. FO and weave in ends.
Multi-layer Crochet Flower
You will need:
Small amount of DK yarn in yellow and three other colours.
3mm crochet hook
darning needle
Abbreviations:
ch – chain
MR – magic ring
dc – double crochet
htr – half treble
tr – treble
dtr – double treble
ss – slip stitch
st – stitch
FO – fasten
RS – right side
WS – wrong side
Instructions:
- With yellow yarn. Start with a MR or 2 ch. Work 6 dc into MR or second chain from hook.
- Work 2dc in each stitch from previous round. FO yellow
- Join first petal colour to any dc from previous round.
Petals are worked over three st’s as follows:
- (4 ch, 1 dtr, 1 tr into same st, 2 tr into next st, 1 tr, 1 dtr I next st, 4ch and ss to same st) repeat three more times. Ss to beginning ch. FO
You work the next round on the WS of your work. Turn the flower over and join your second petal colour to the space between 2 petals from the previous round.
- Ch 5 , ss to space between next to petals. Repeat all round. Ss to first ch (4 x 5ch loops made)
- Turn work to RS. ss into first 5ch loop and work 4ch, 2dtr, 5 tr, 2dtr, all into 5ch loop, ch 4 and ss into 5ch loop. Ss to next chain loop and repeat to end. FO.
Turn work to WS and attach 3rd petal colour to any space between petals from previous round.
- Ch 7, ss to space between next to petals. Repeat all round (4 x 7ch loops)
- Turn work to RS. Ss into first 7ch loop. (Work 4 ch, 3 dtr, 7 tr, 3dtr 4ch ss into loop, ss into next loop) repeat all round FO.
Weave in ends.
And if you want to add a leaf to your flower…
Crochet Leaf pattern
You will need:
Small amount of DK yarn in green
3mm Hook
darning neede
Abbreviations:
ch – chain
dc – double crochet
htr – half treble
tr treble
ss – slip stitch
st – stitchFO – fasten
FO – fasten
Instructions:
- Ch 9, dc in 2nd ch from hook, 1htr,4 tr, 1htr, 1dc.
- Ch1 and work down other side of chain, 1dc,1htr,4tr,1htr,1dc,ss to end FO.
-
Bee Happy for World Bee Day
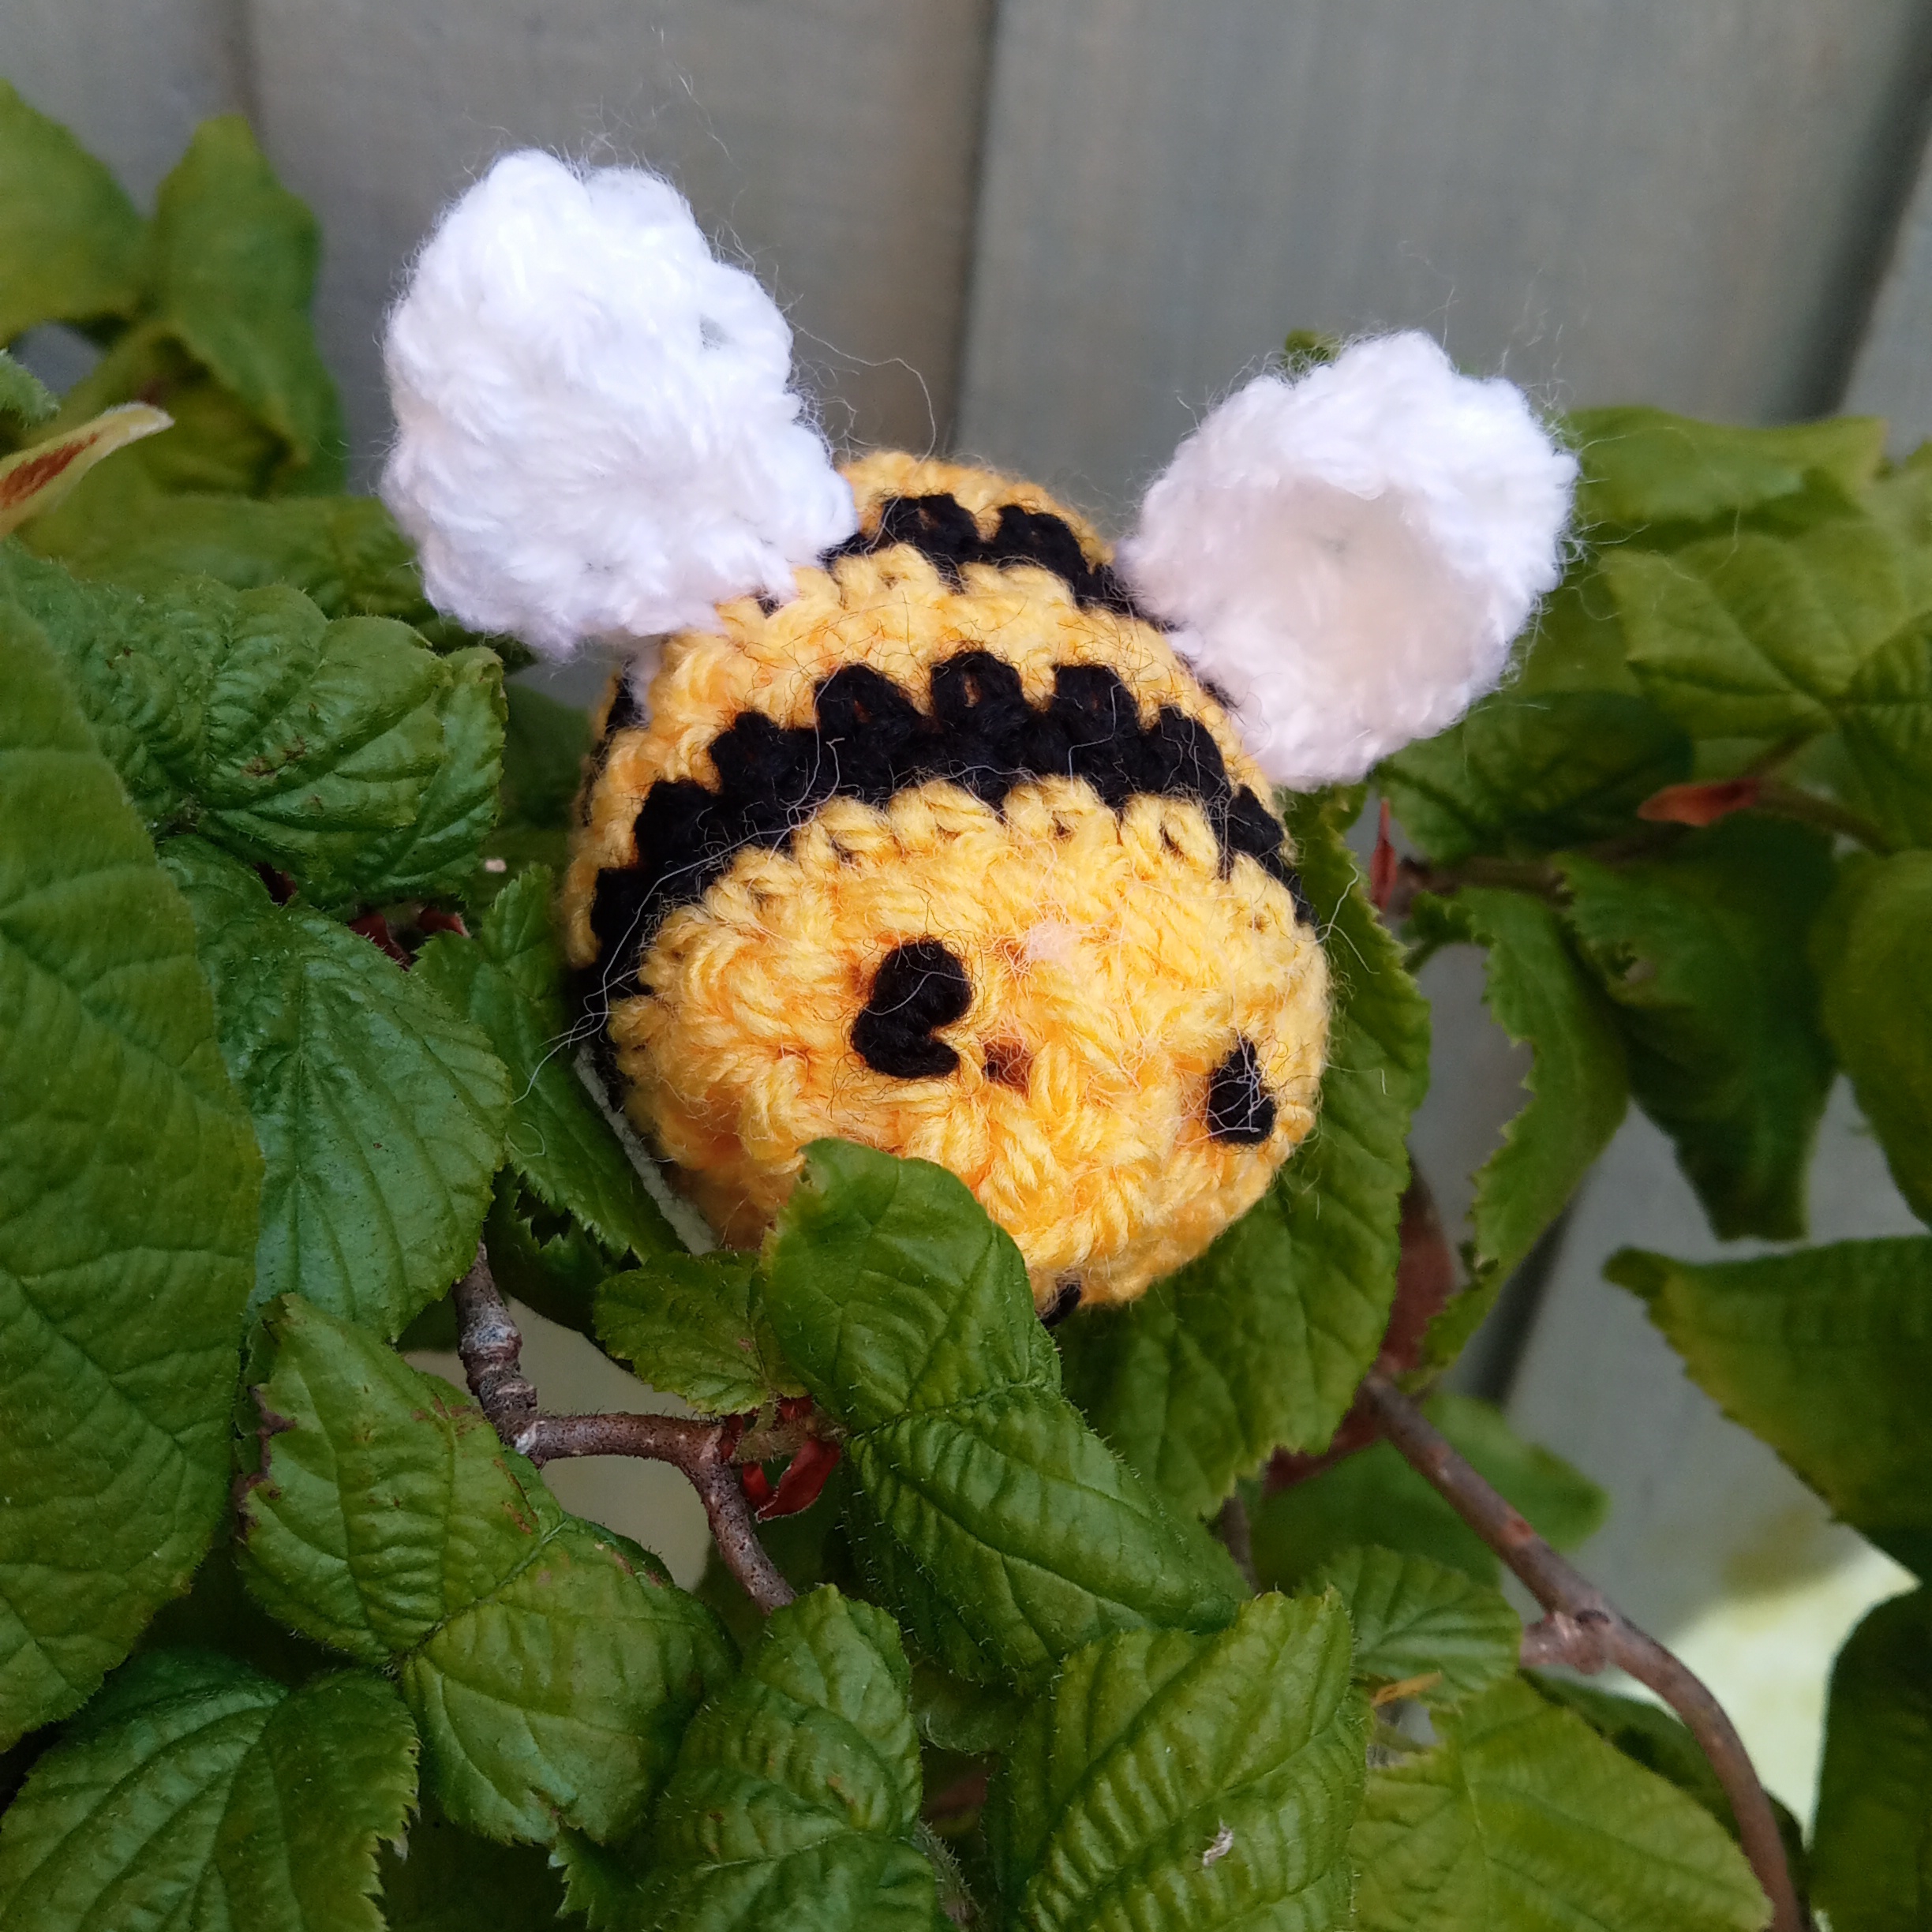
Saturday 20th May is World Bee Day 2023 and to celebrate, why not make yourself this lovely little Bee.
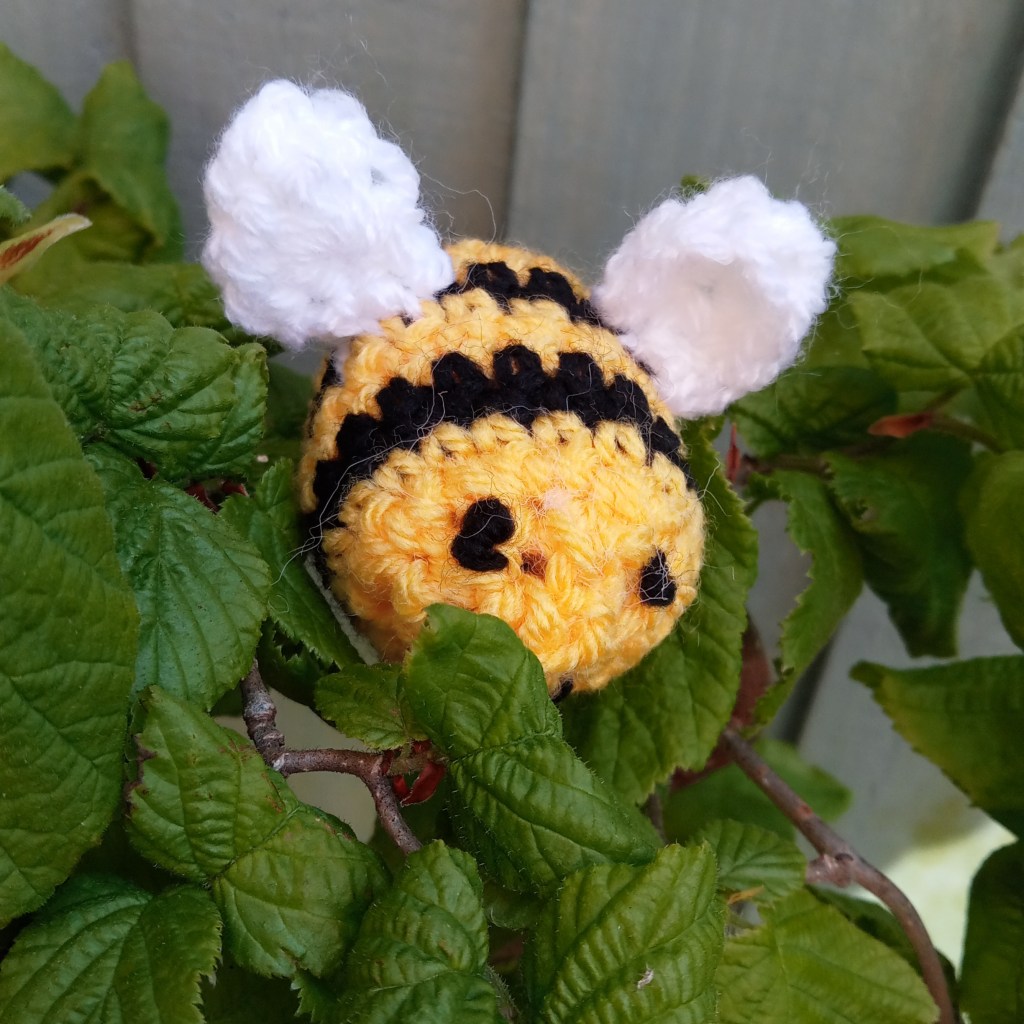
Bee Happy Bee Bee Happy Pattern for World Bee Day
MATERIALS
Small amount of yellow, black and white DK yarn
Black embroidery thread
Toy stuffing
3mm hook
Sewing needle
ABBREVIATIONS
MR magic ring
Ch chain
dc double crochet
htr half treble crochet ( yarn over push through stitch, yarn over and pull through all loops)
tr treble crochet
dtr double treble crochet ( yarn over hook twice, through stitch yarn over pull through, 4 loops on hook, yarn over pull through 2 loops, yarn over pull through 2 loops, yarn over pull through 2 loops,)
inc increase (2 stitches in same stitch )
Dec decrease (work one over next 2 st)
Fo fasten off
Colour change- on the last stitch work first part of dc in one but yarn over and pull through with new Colour
INSTRUCTIONS
Work in a spiral, use marker at beginning of row
With yellow yarn
In MR, make 6 dc
Dc inc in each of 6 stitches (12)
(1 dc, inc ) x 6. change to black in last stitch . Do not fo(18)
In black work 2 rounds, changing to yellow in last stitch
Work 2 rounds in yellow change to black in last stitch
In black work 2 rounds, changing to yellow in last stitch
Work 2 rounds in yellow change to black in last stitch
(1 dc, Dec), repeat x6 (12)
Stuff
Dec ×6 (6)
Fo and draw hole together with a needle.
Wings – make 2
Ch 4, turn dc in 2nd ch from hook and rem 2 stitches (3)
Ch 1 turn, dc in first stitch, ( 1 htr, 1 tr, 1 dtr, 1tr, 1htr) in next stitch 1 dc.
Fasten off
FINISHING
Weave in ends
Attach wings to body
Add face to yellow end with embroidery thread
If you enjoyed making your little bee, leave a comment.
Confessions of a crafty butterfly