Ive always loved to crochet, I learned as a child from my Nana and like all beginners I started with a granny square. Granny squares are great! They are simple to make, and can be used to make almost anything else. But, they are most used for blankets, and I love a blanket!
Ive made so many blankets over the years from a tiny car lovey to a king size bed blanket. I soon started making them on commission for other people as well as having a pile for myself. There’s nothing like snuggling up with a home made blanket on a cold winters evening.
So how do you go about making your own blanket. First decide on the type of design you want. Are you going to make motifs and join them together? Start in the middle and work in rounds or from the botton and work upwards.
Once you have made this decision, next step is to find a pattern . There are many,many patterns out there. You can buy blanket packs for your chosen pattern with the yarns in that you need. Or you can decide on your own colours and choose and buy your yarn. But if you want a truly unique item, design your own.
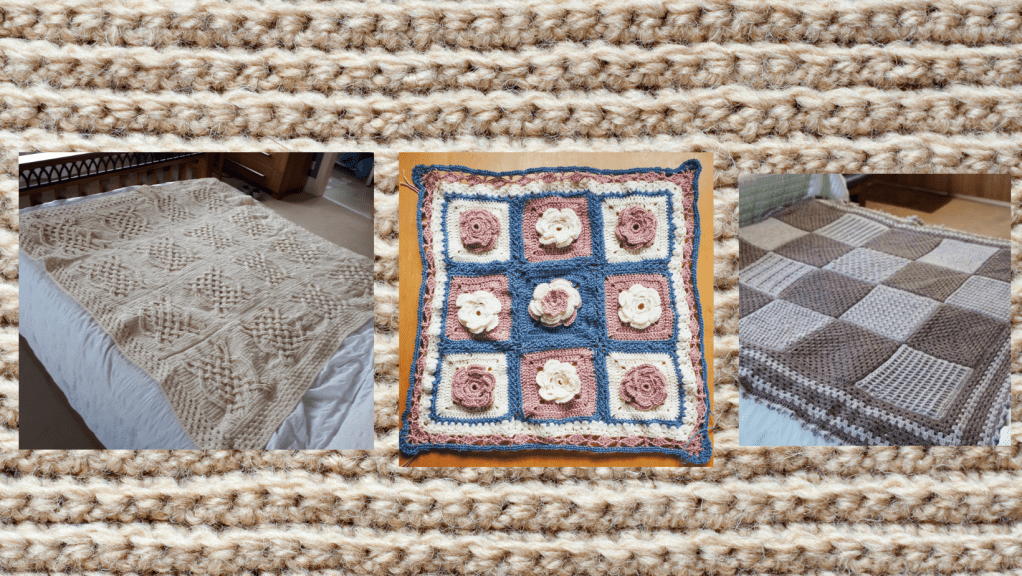
Ive made so many blankets over the years that I can look at various design inspirations and come up with an idea. This blanket was inspired by a tiled pattern on a wall. I knew I wanted to use granny shapes, and that I wanted to incorporate an ombred effect. I also knew it was to be double bed size.
I started with a plan. Anyone familiar with quilting will have done this before. My plan was very rough. All the blocks were to be different sizes but had to fit together. So this was my plan.
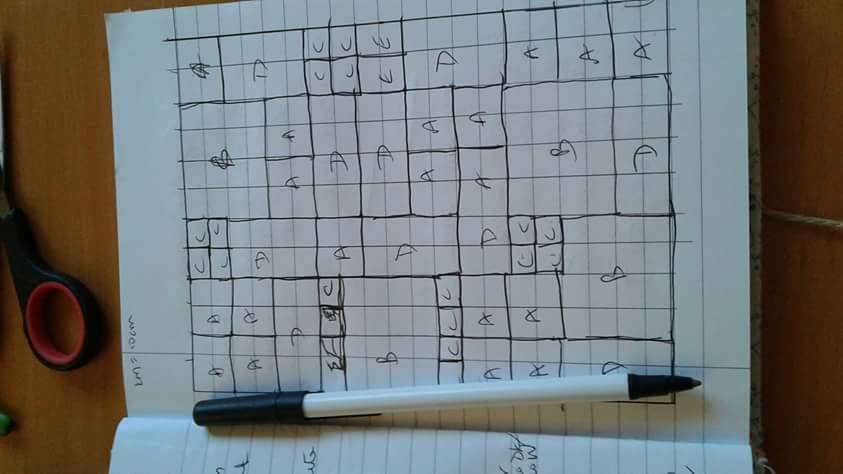
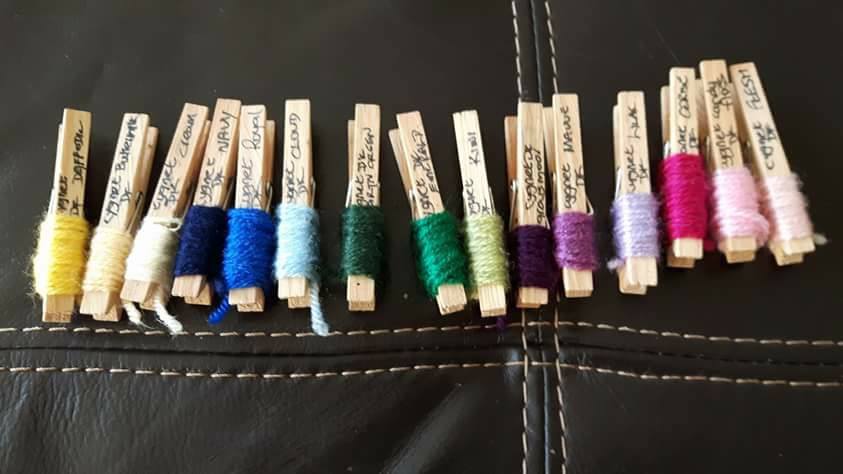
Pretty rough I admit but usable. The next step was deciding on yarn. I always go for an acrylic yarn as it is washable and hard wearing, and cheap considering how much you use. I like to keep samples on the yarn im using on wooden pegs with the maker and colour written on for easy comparison.
Then its time to get to work.
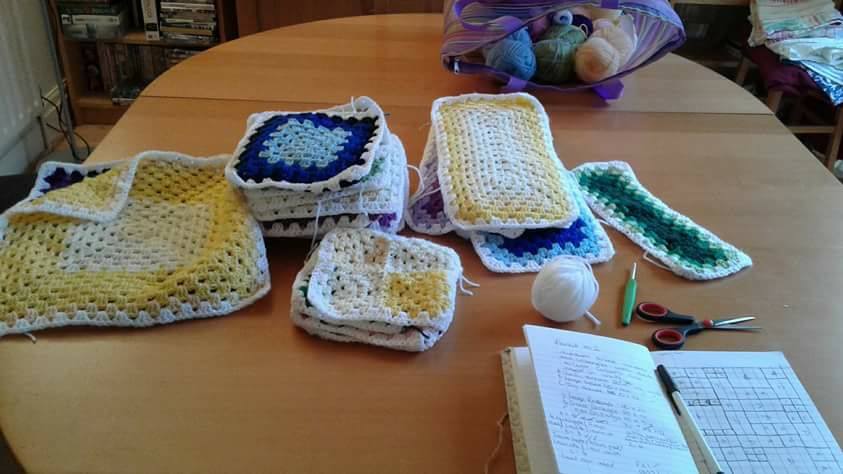
The ombre effect in the blocks is achieved by starting with the lightest (or darkest ) shade and changing evenly over the rounds in the block, then edging in your main colour.
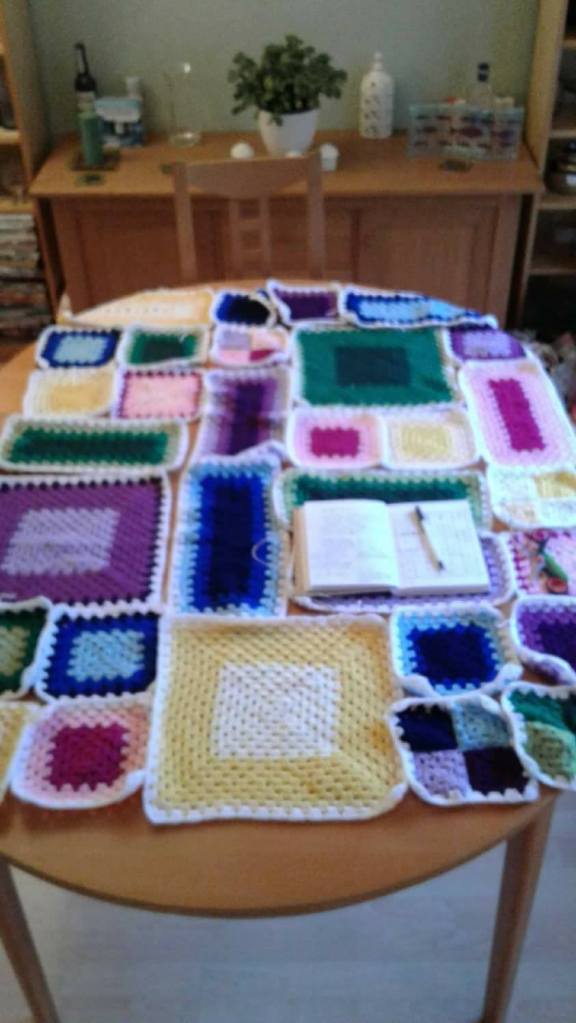
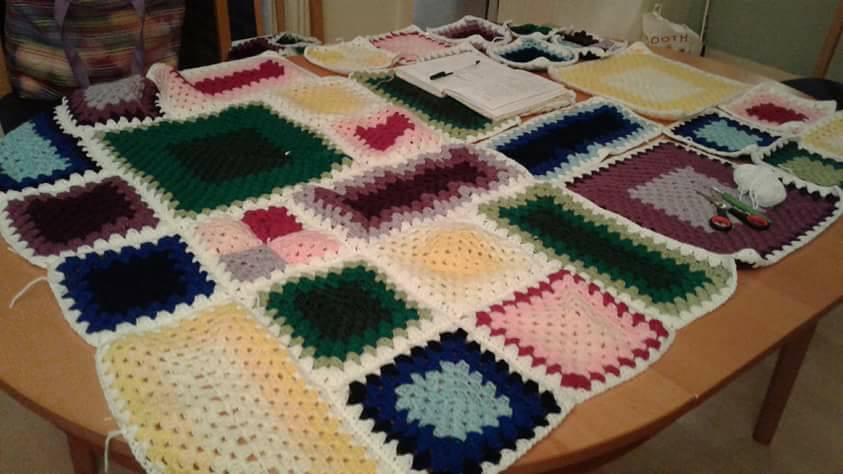
Once your blocks are made then its time to lay them out in your final arrangement. Once you happy, join them. Joining and weaving in ends are my least favourite parts of constructing a blanket. But its worth it to see the finished article.
So, next time you make a blanket, take the bull by the horns and design your own.
